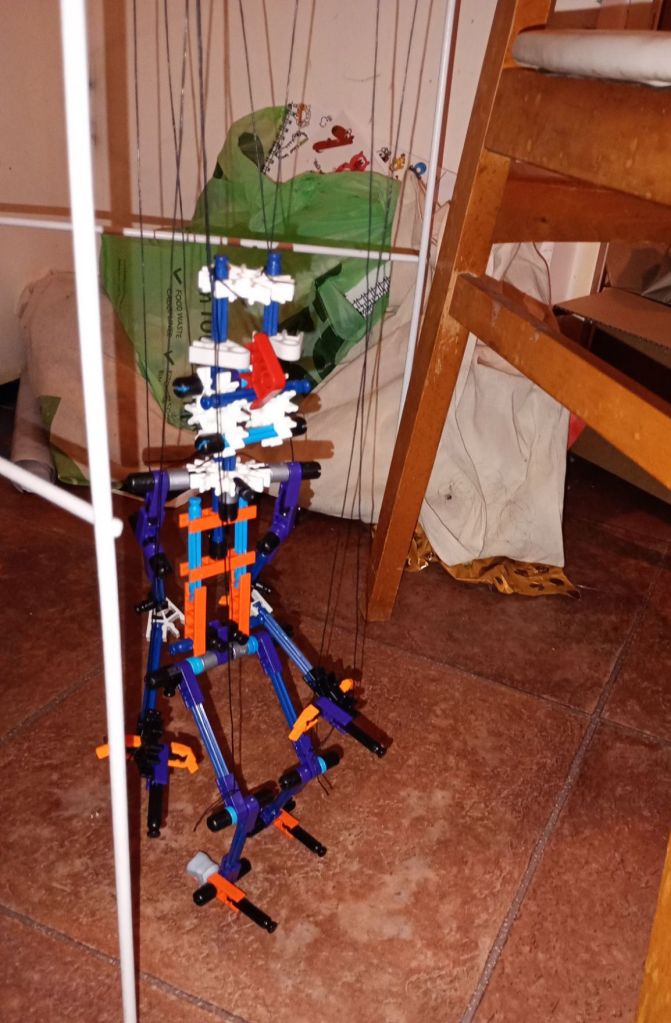
As a follow up to my post about how I made an experimental marionette out of KNEX, below are some videos demonstrating the marionette in action after stringing/attaching it to the upright control I made. I was inspired to make it by the Marionette Masterclass I went to at the Harlequin Puppet Theatre as part of the British Puppet Guild Centenary celebrations. The importance of daily practice in order to improve was mentioned so I thought I’d try the KNEX model as a quick experiment.
I feel the process has helped me to learn more about how the stringing and upright controls work. The KNEX does have many limitations for this purpose compared to conventional marionette materials (at present, as I say in the video below) the knees are able to bend in both directions, which is not ideal. It also has helped to reveal what kind of joints are useful on a marionette and which are less useful.
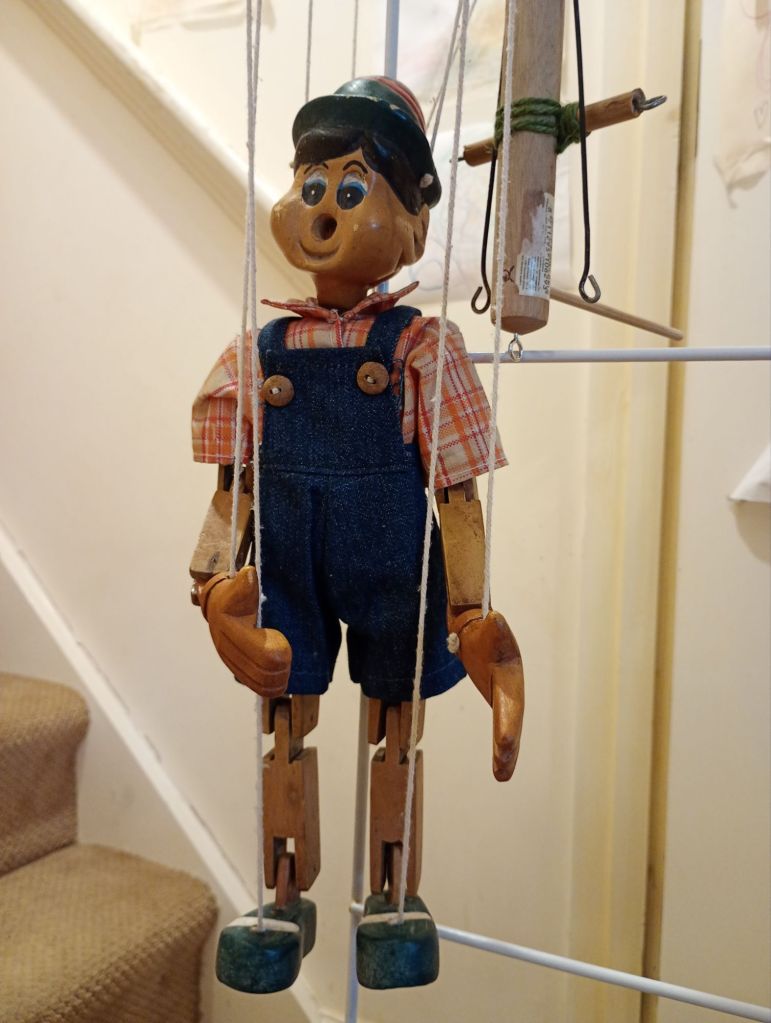
I am looking forward to further learning opportunities when I restring and refurbish the vintage wooden Pinocchio marionette I bought off Ebay, (he currently has no nose and his leg strings are attached to his feet rather than his knees). I think given that Christmas is creeping up very fast now that this will be a job for when I have time in the New Year.
Separating all the partsCreating the head and shoulder barRe-modelled head and shoulders to incorporate nodding and turning jointsFinished Model, though I added extra to the head later.
At the Marionette Masterclass I went to at the Harlequin Puppet Theatre (CLICK HERE for previous post), Ronnie Le Drew talked about how important it was to have your own marionette to practice with at home and that if you wanted to improve it was important to practice every day, just like when you are learning a musical instrument. Indeed they were keen to stress that learning to use a marionette well takes years, rather than the hours that we had spent on that 1 day masterclass.
I didn’t feel like I had money to spare to buy a really good marionette so I bought a vintage Pinocchio marionette with a missing nose that I figured I could repair and restring from Ebay as well as some of the special vintage marionette cord (of the same kind recommended by Mike Dixon).
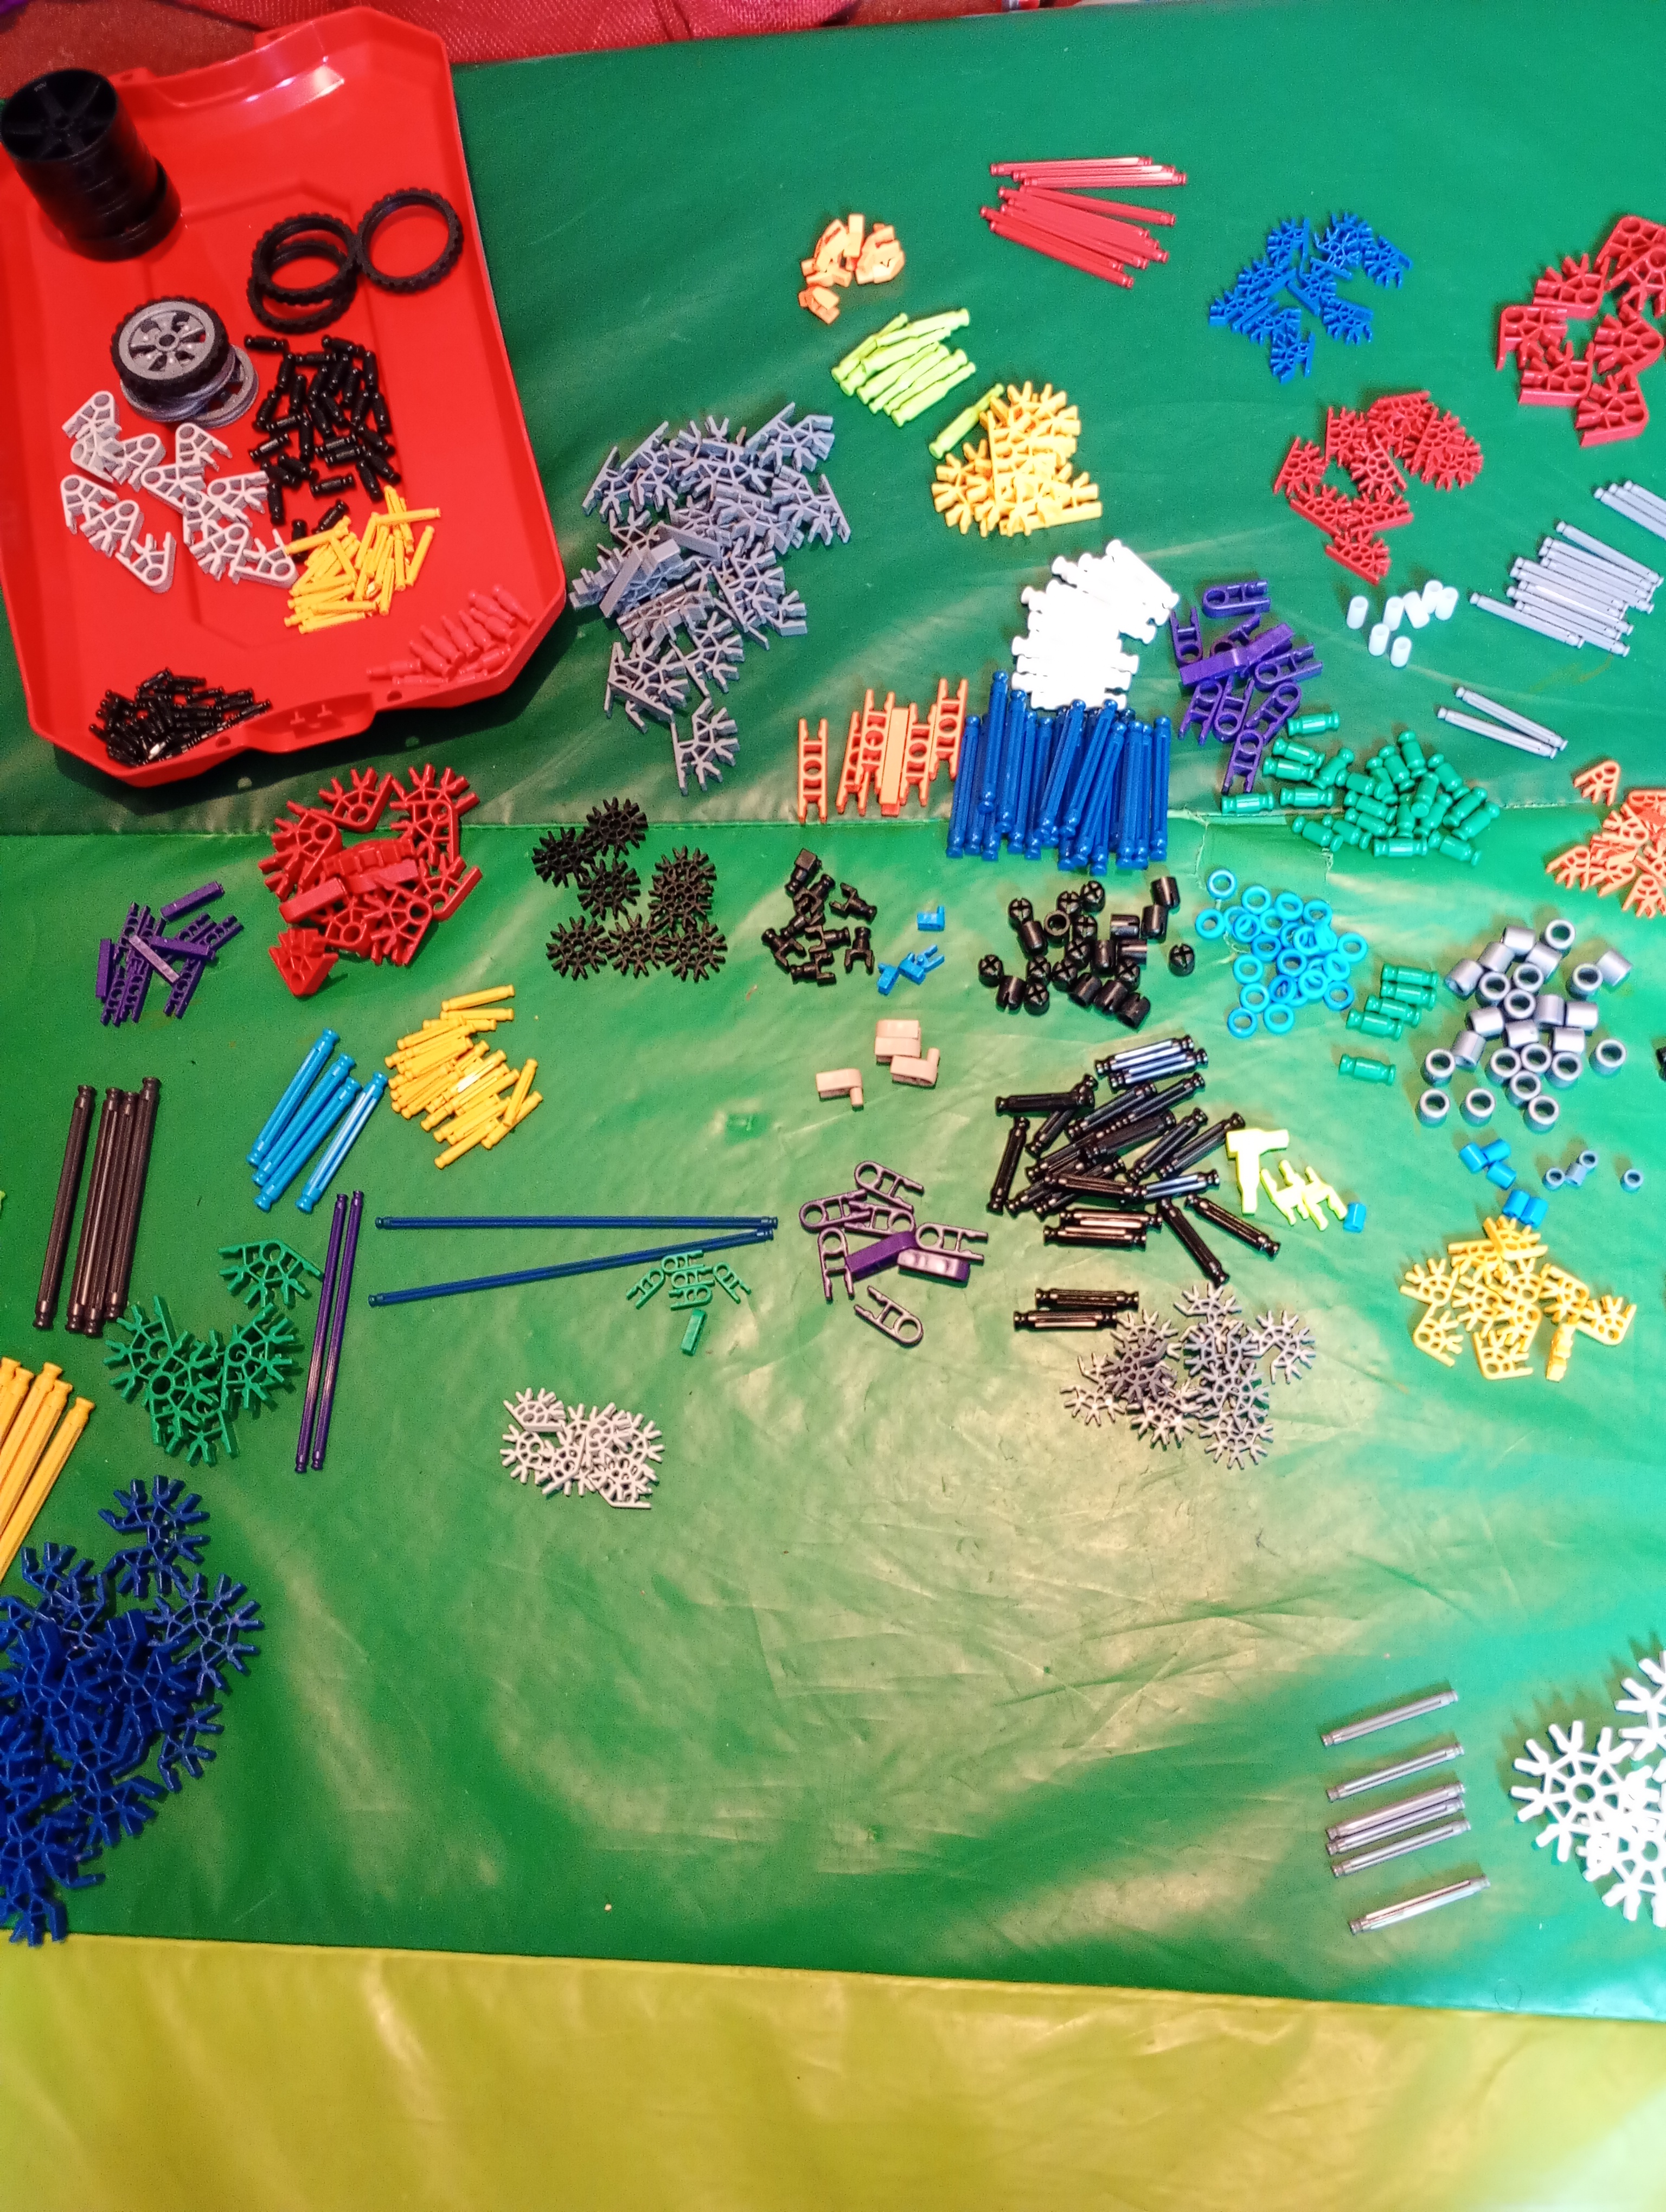
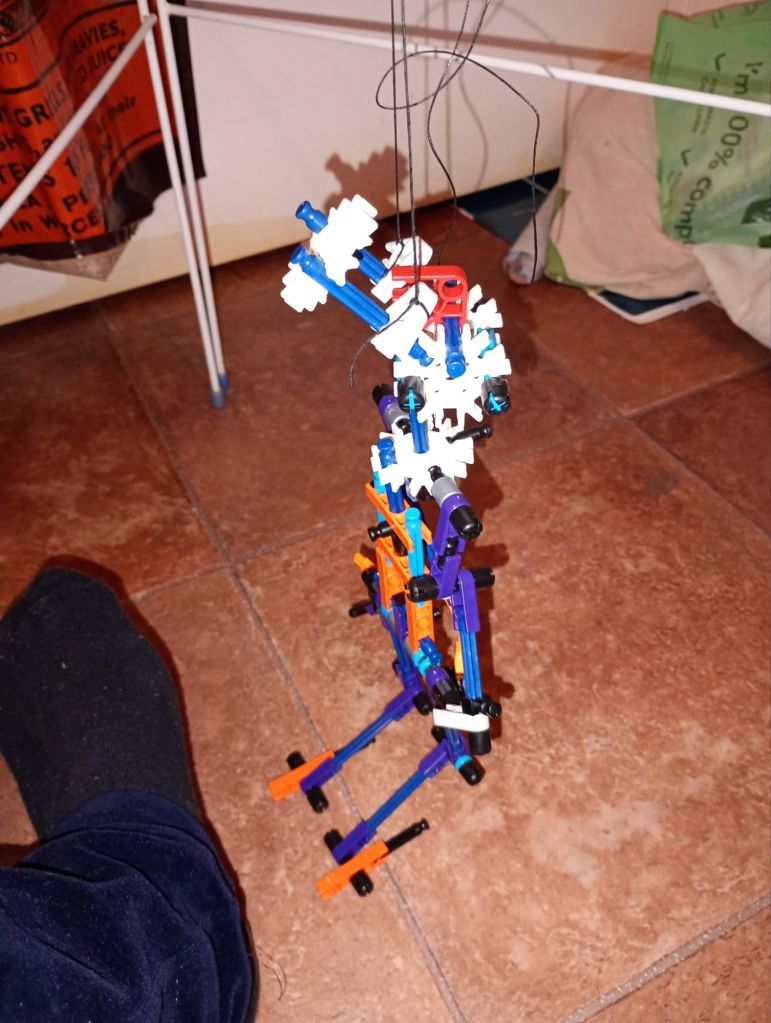
In the meantime, however, I was too impatient to wait for this to arrive so thought I might have a go at putting together an experimental marionette out of KNEX that my son had in a box in his room (and hadn’t touched so far since I bought it). I got the idea from the experimental mechanism I put together for the “Pony 3000” show automaton out of an old wooden Meccano set previously and would have used that again except that it was at my Dad’s house in an unknown location.
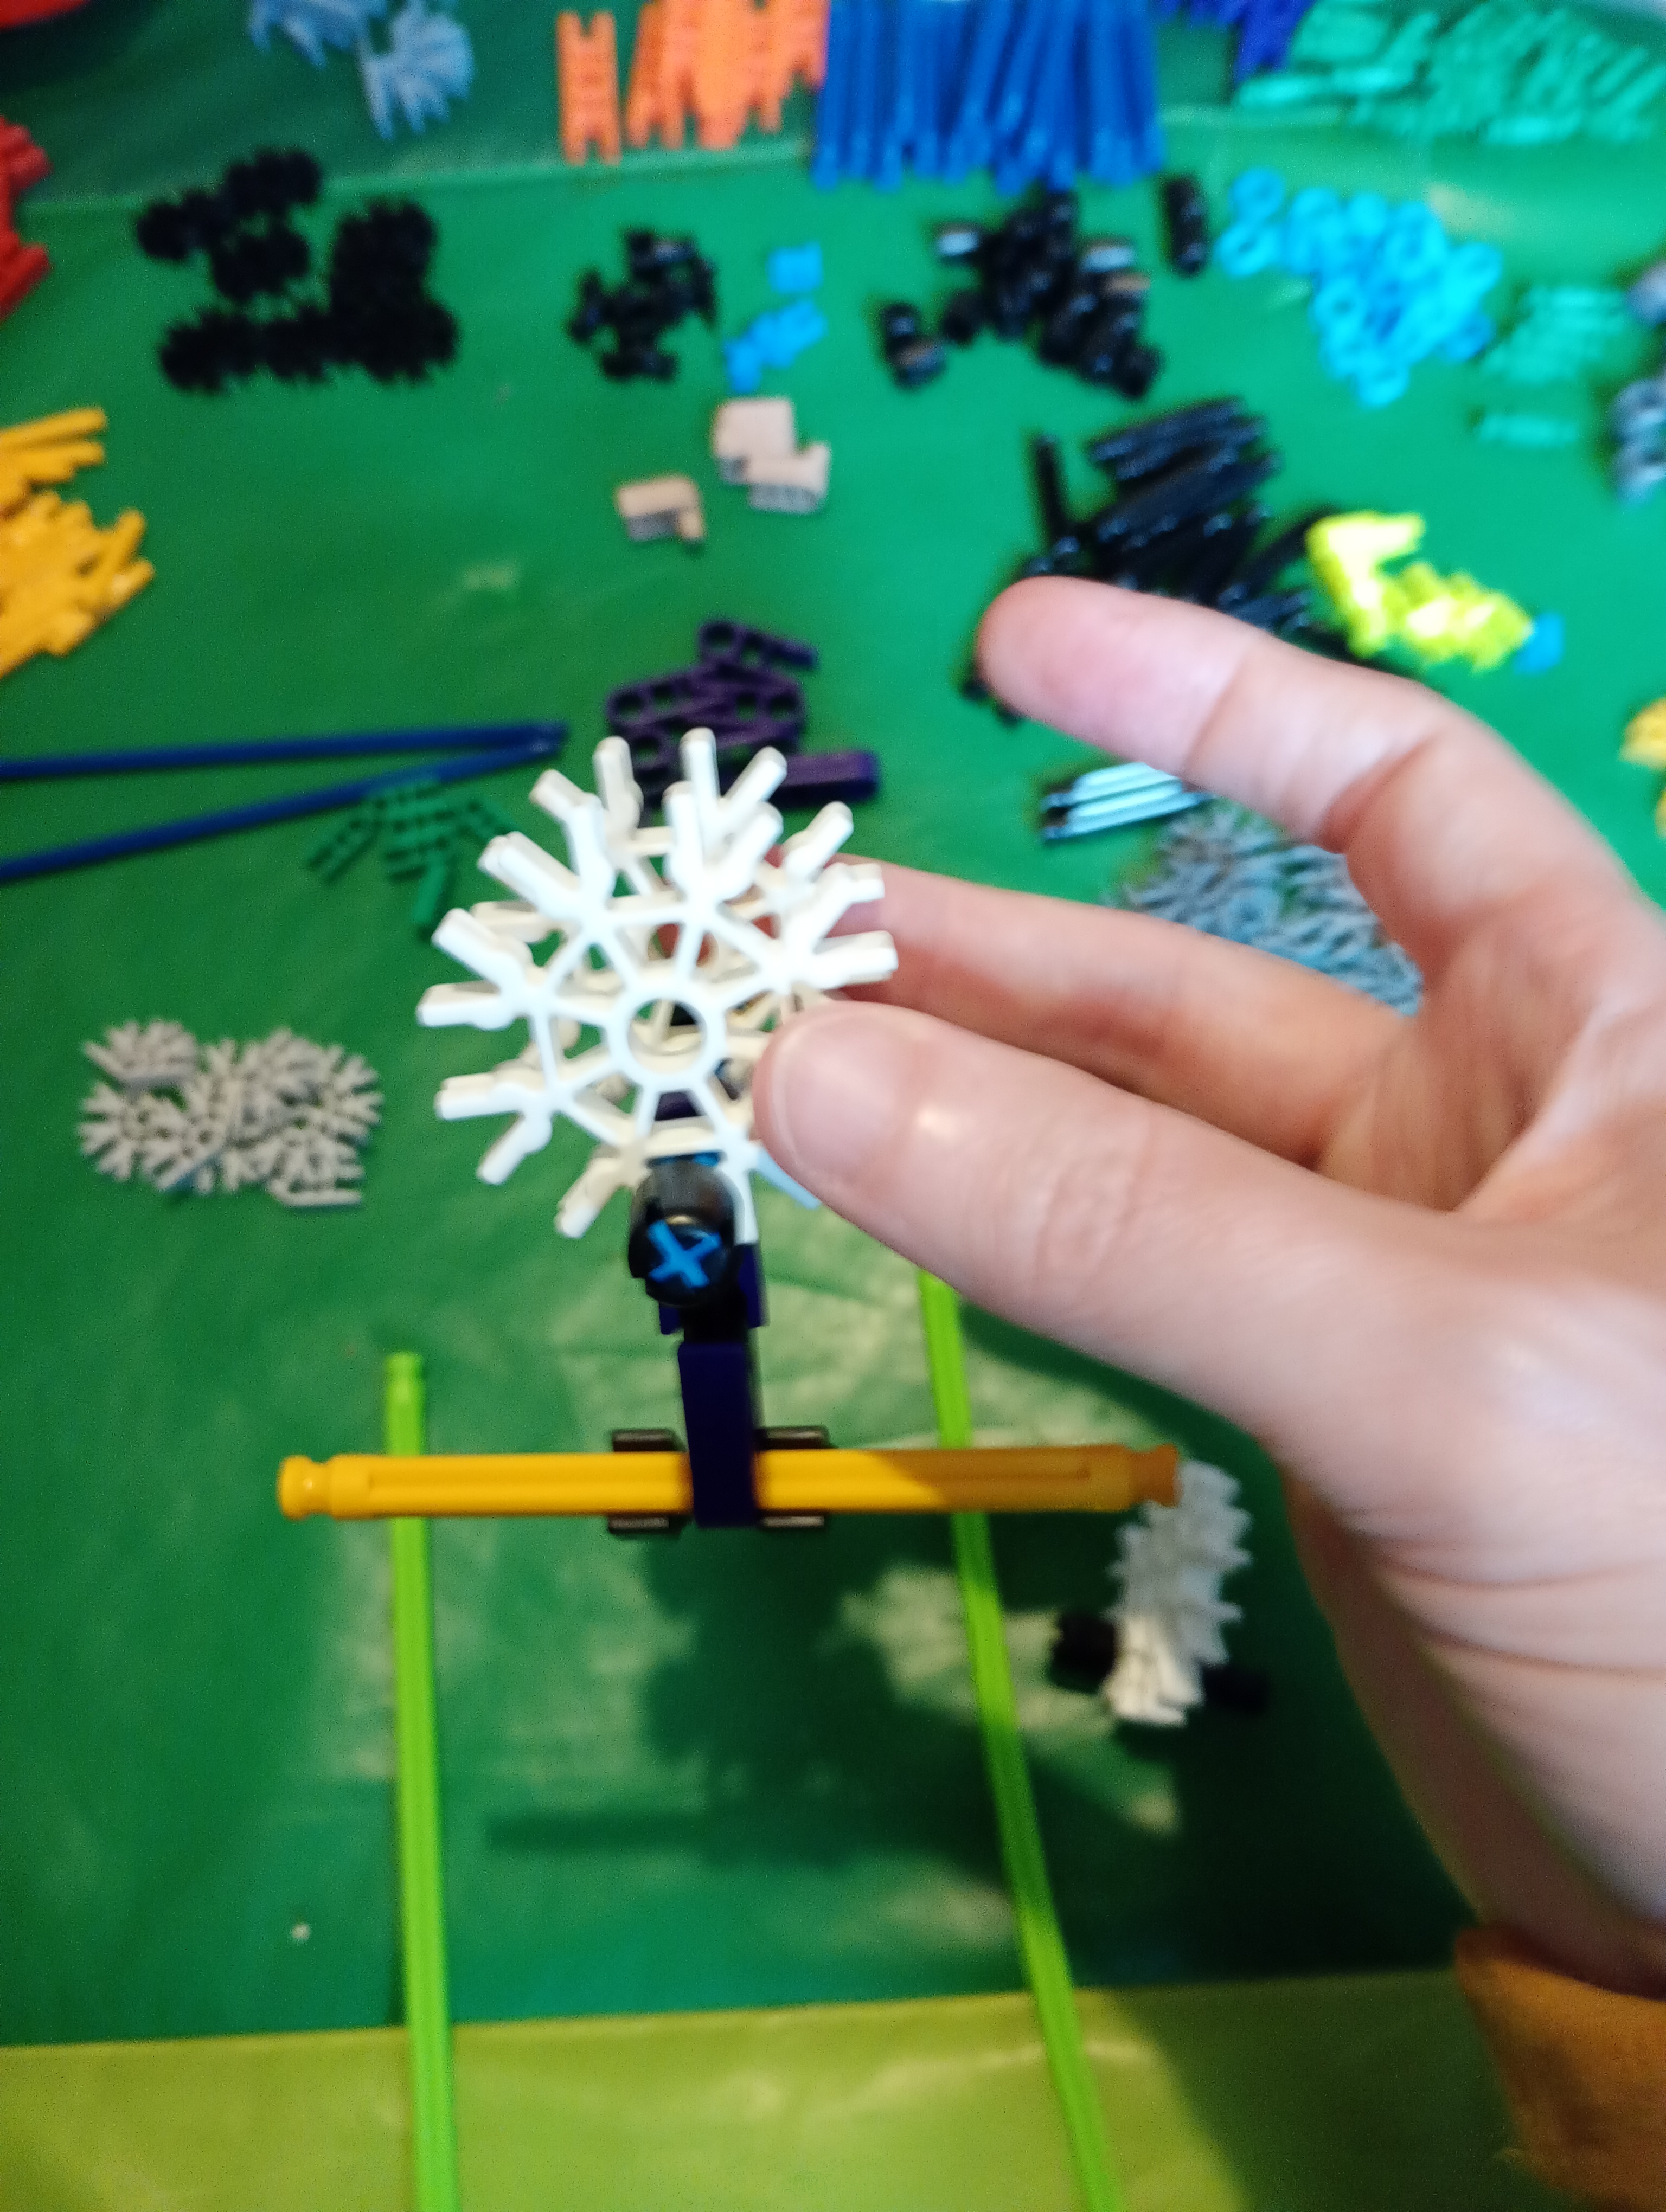
I had never actually made anything using KNEX before so I sorted all the parts into piles and tried to work out the different ways they fitted together by glancing at the instruction sheets for various models that was in the box.
It also occurred to me that it would be potentially interesting as a workshop for schools looking at “joints” as I had been booked by a school in Skipton previously when they were exploring joints as a topic. On that occasion we made wooden spoon rod puppets (you can read more about this HERE).
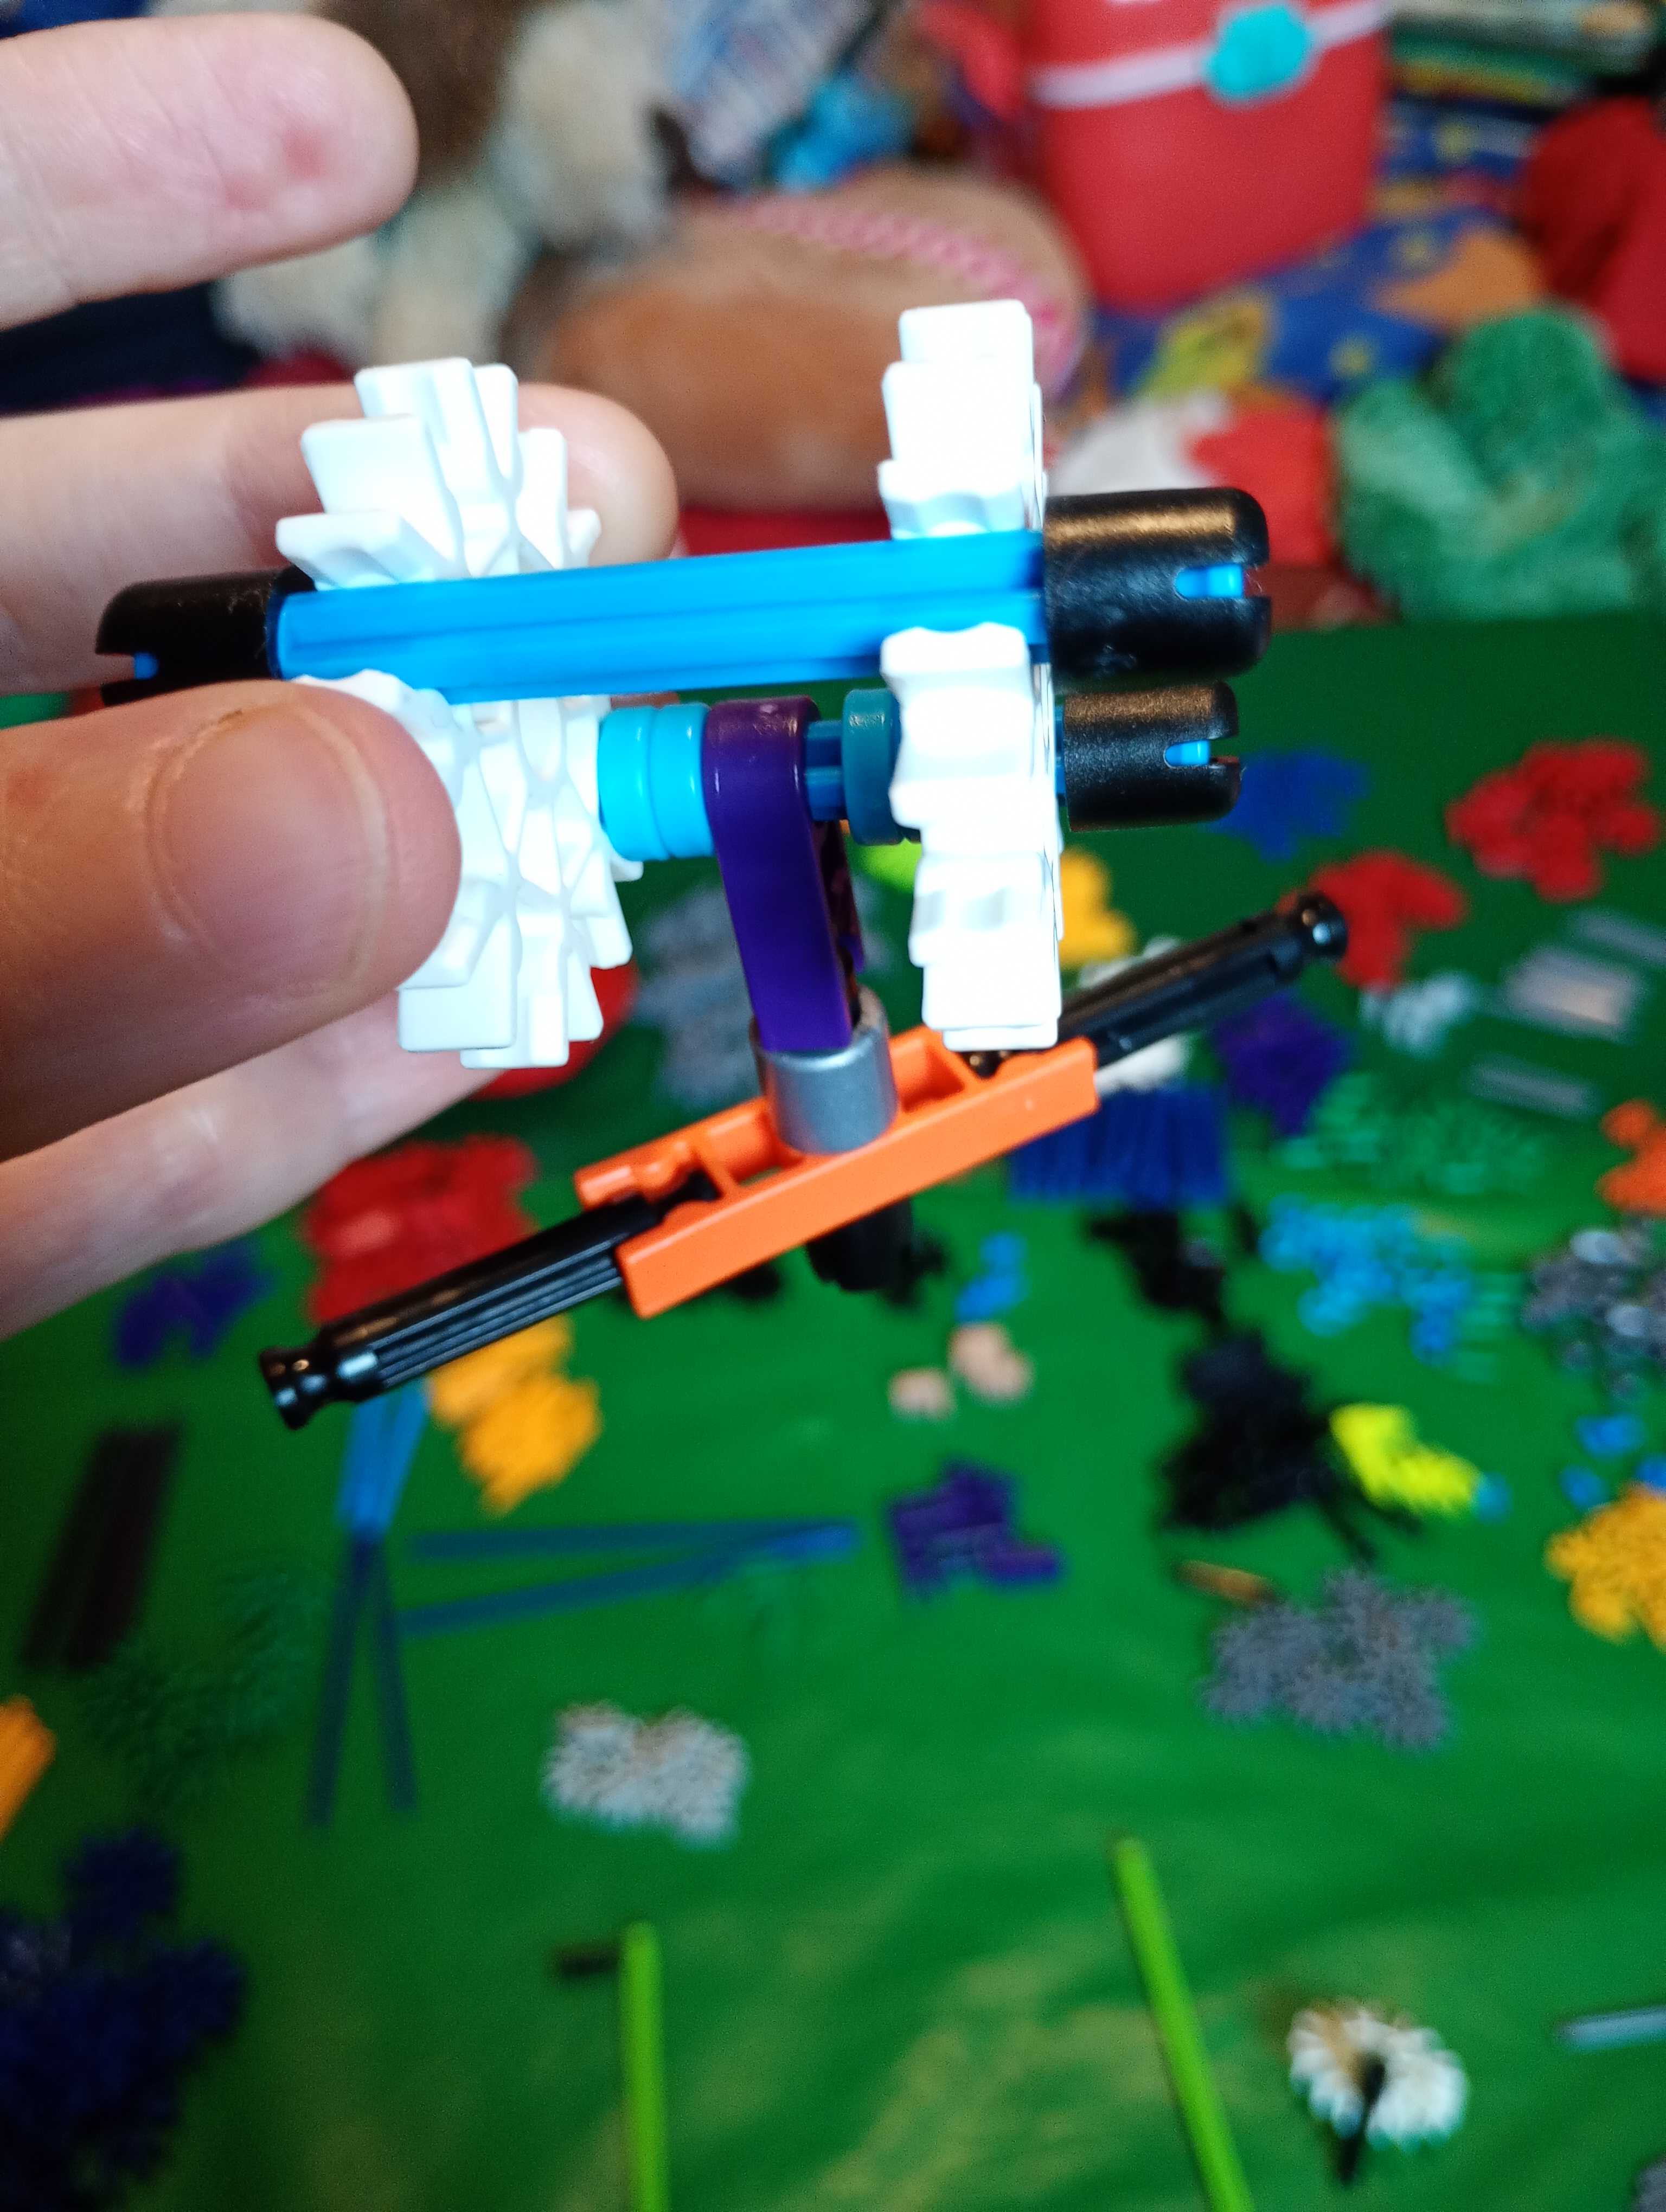
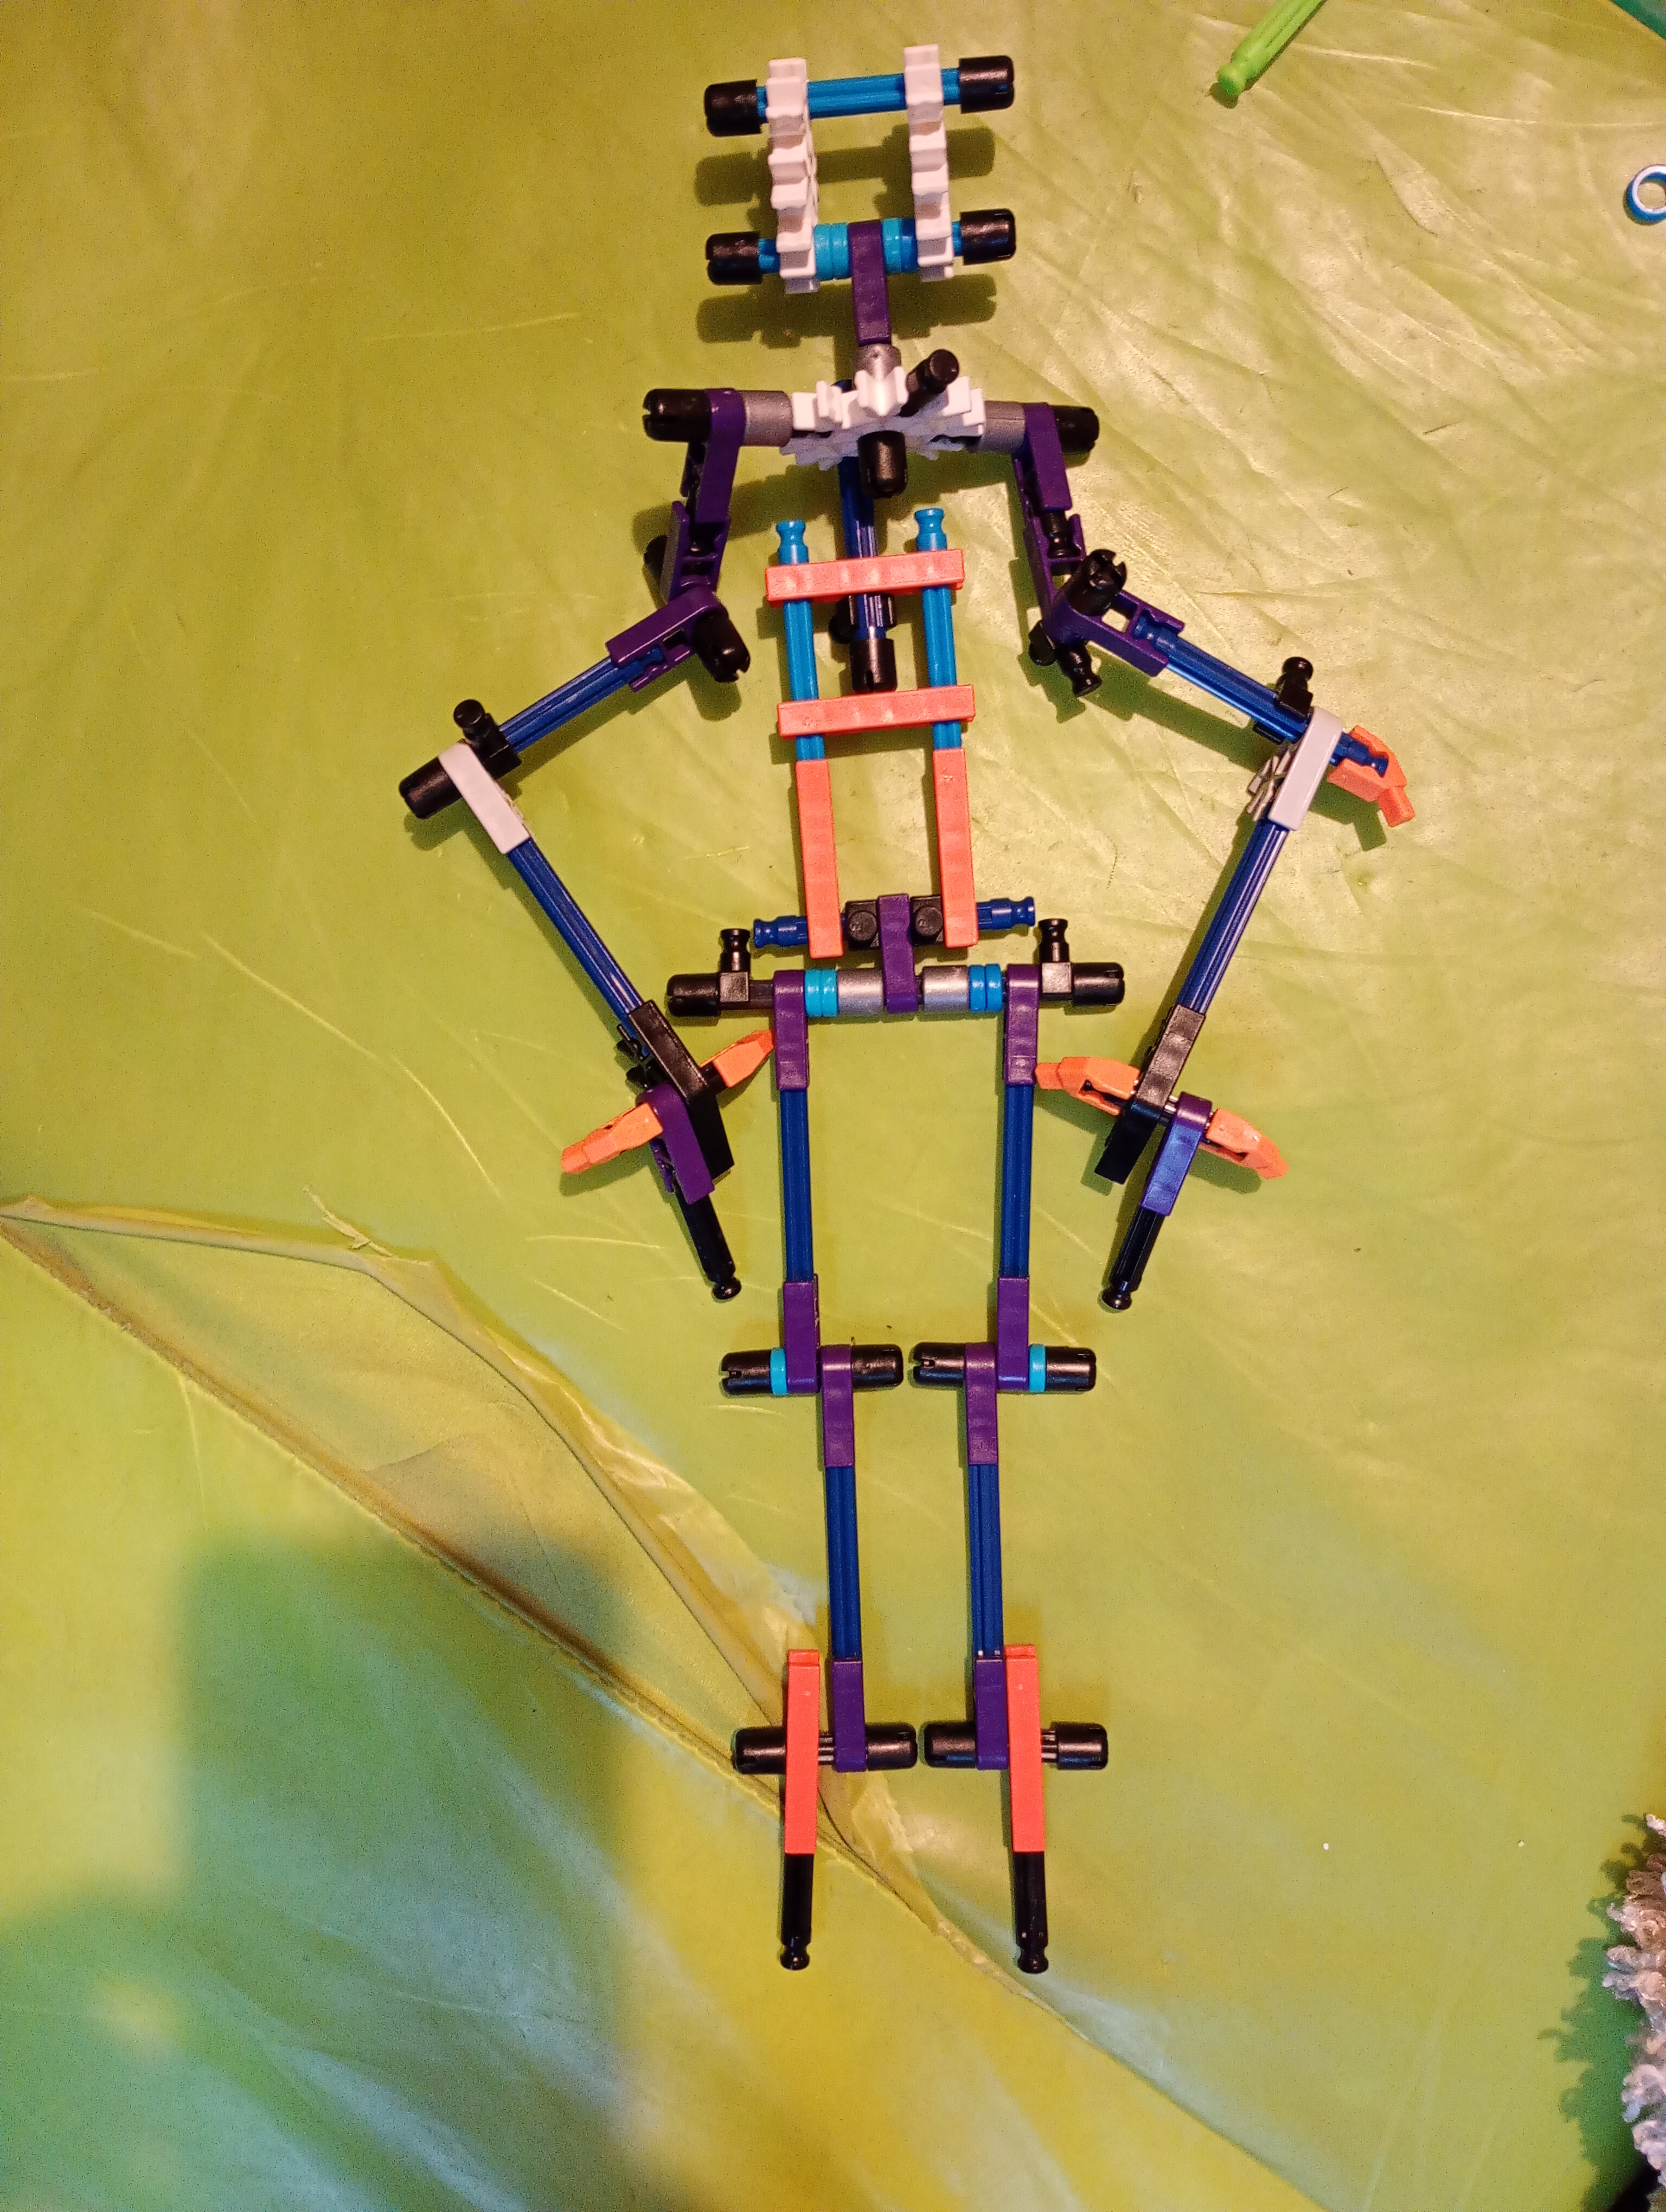
So I did my best to put the joints together in the way that those actual joints on a human being work. Creating the elbow and shoulder joints proved to be a bit beyond the physical limitations of the parts that I had in the set, so it is not jointed exactly as a human would be. I think the finished puppet will have to be something in the robot/fantasy/alien line as it will definitely not be looking like a realistic person.
Once it is strung, I may find that it would be better to reduce some of the movement/joints to make the puppet operate better, as total realism is not always the best idea in puppetry.
I was also aware that the way the KNEX works means that there would be lots of sticky out bits for the strings to snag on so while an amusing experiment, it would probably not be a very practical puppet long term. It would, however allow me to practice making and using an upright marionette control of the type that we used in the Masterclass.
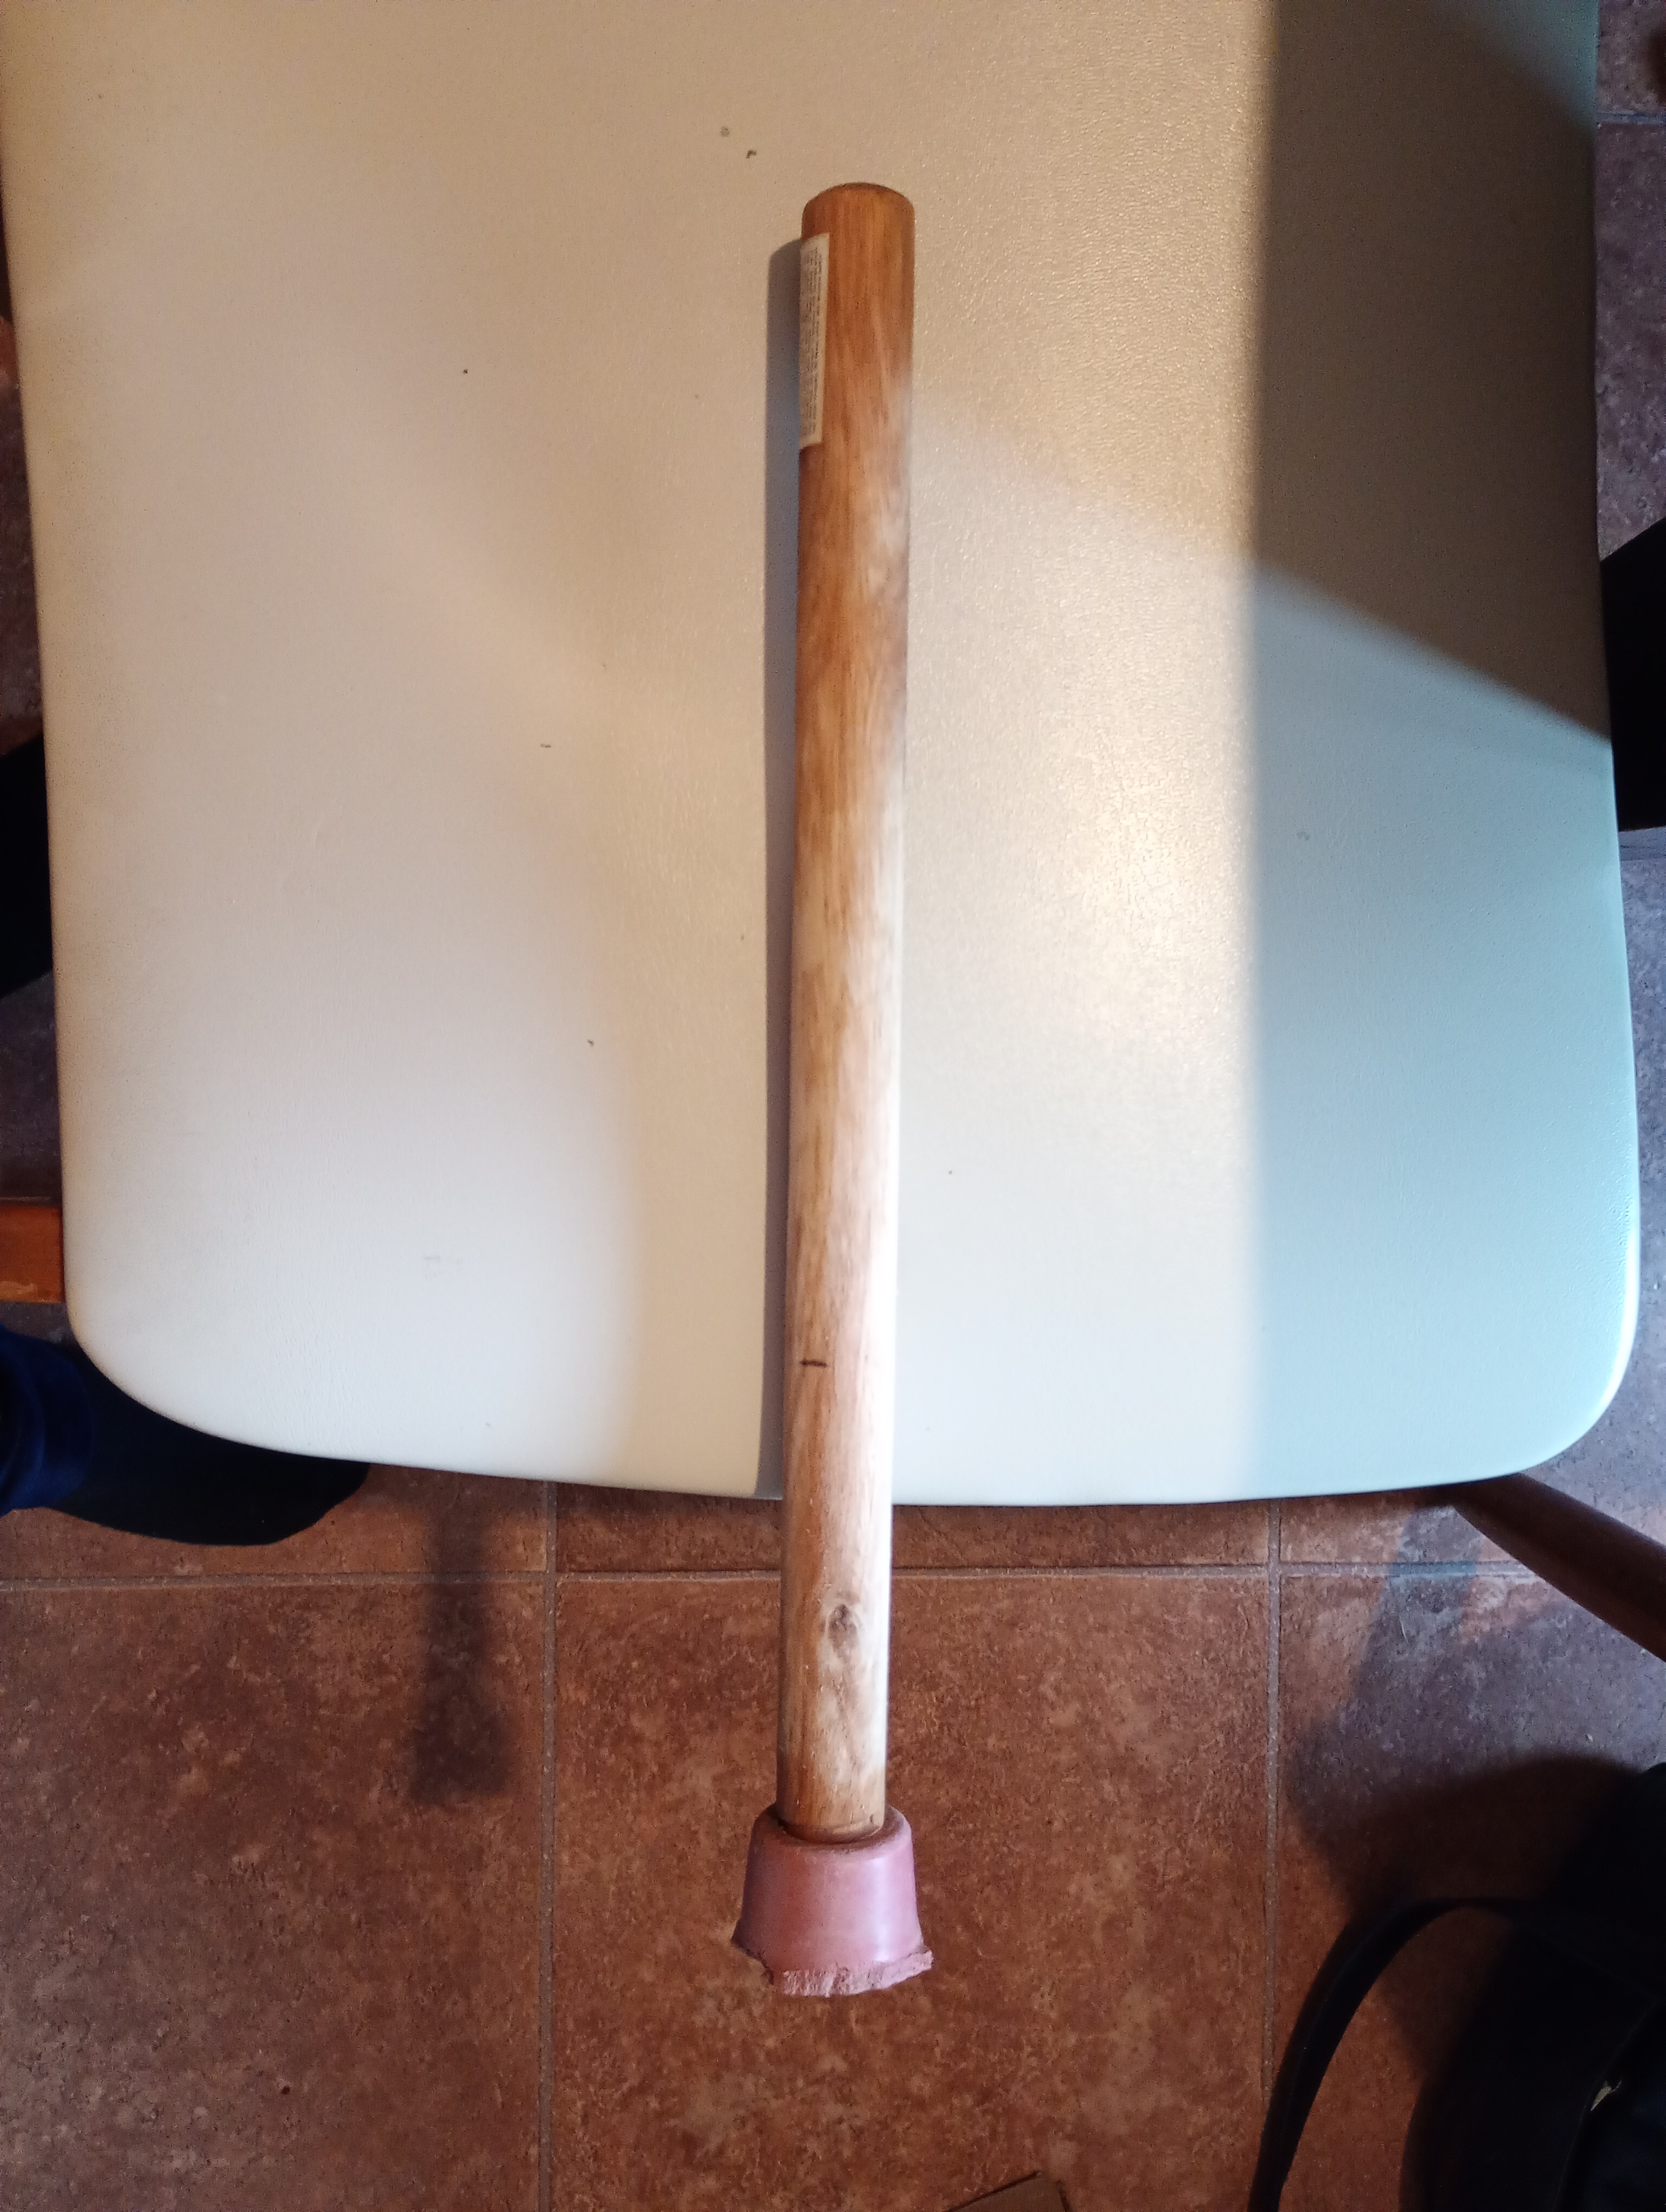
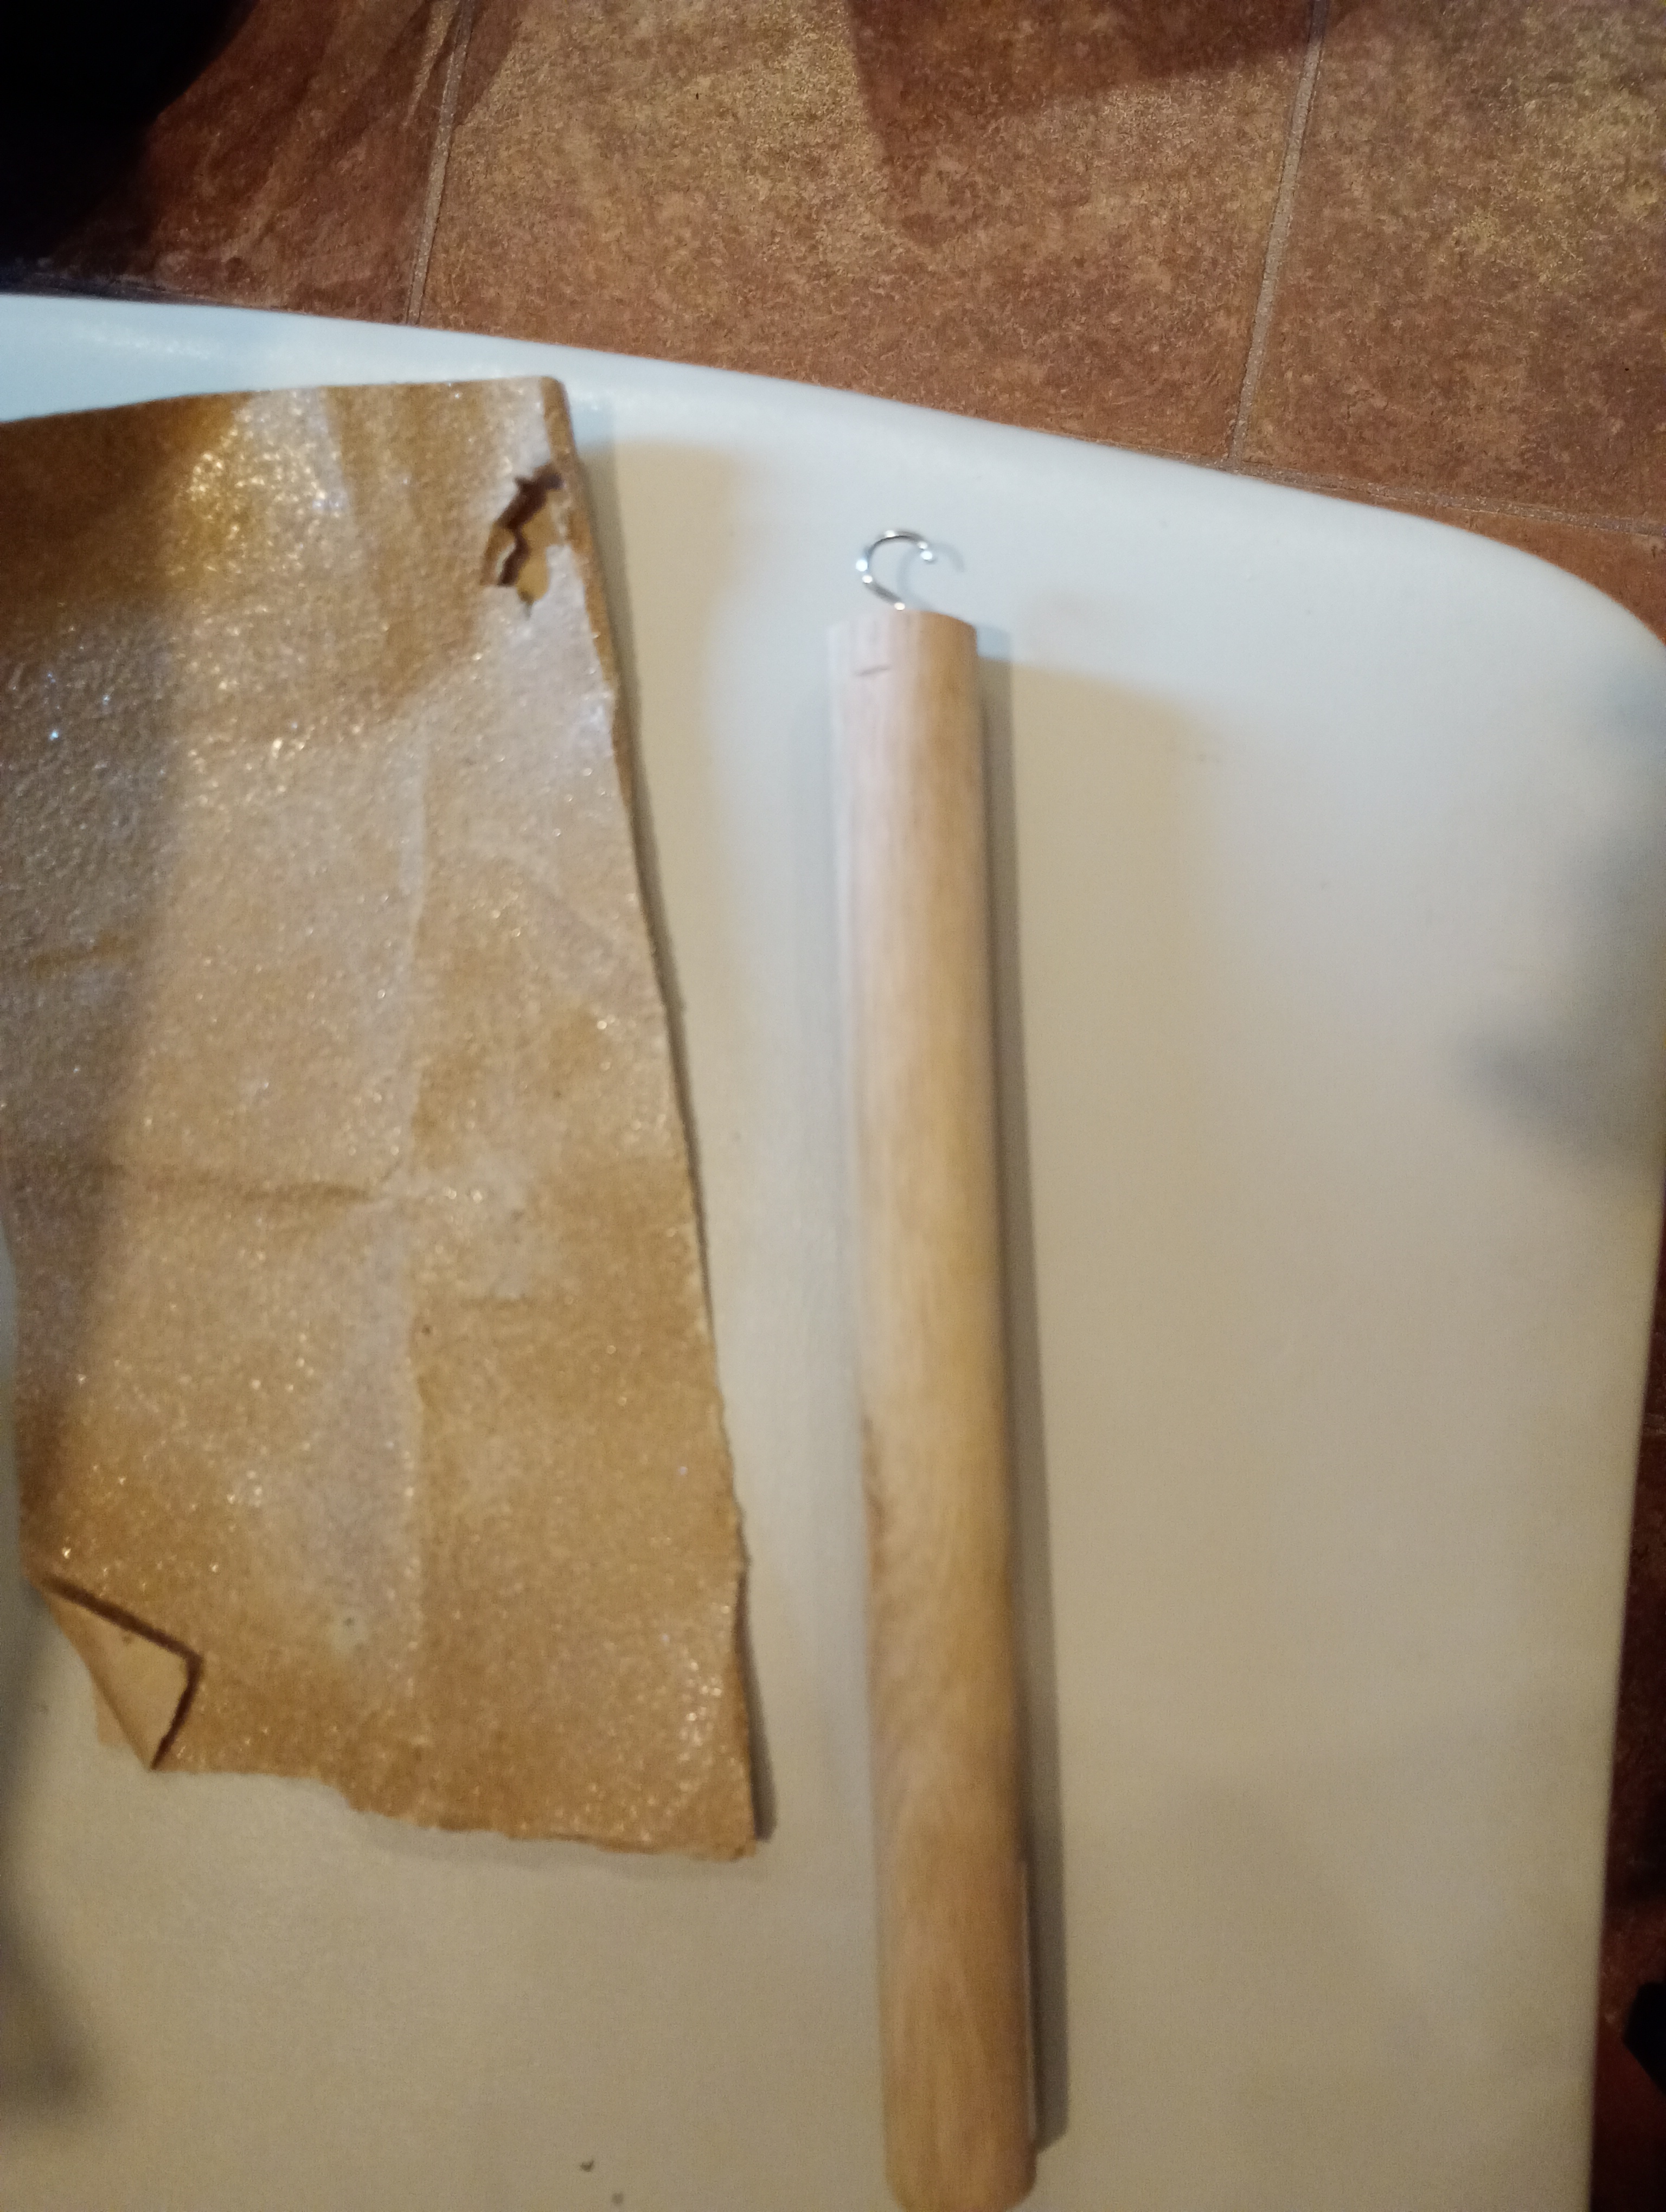
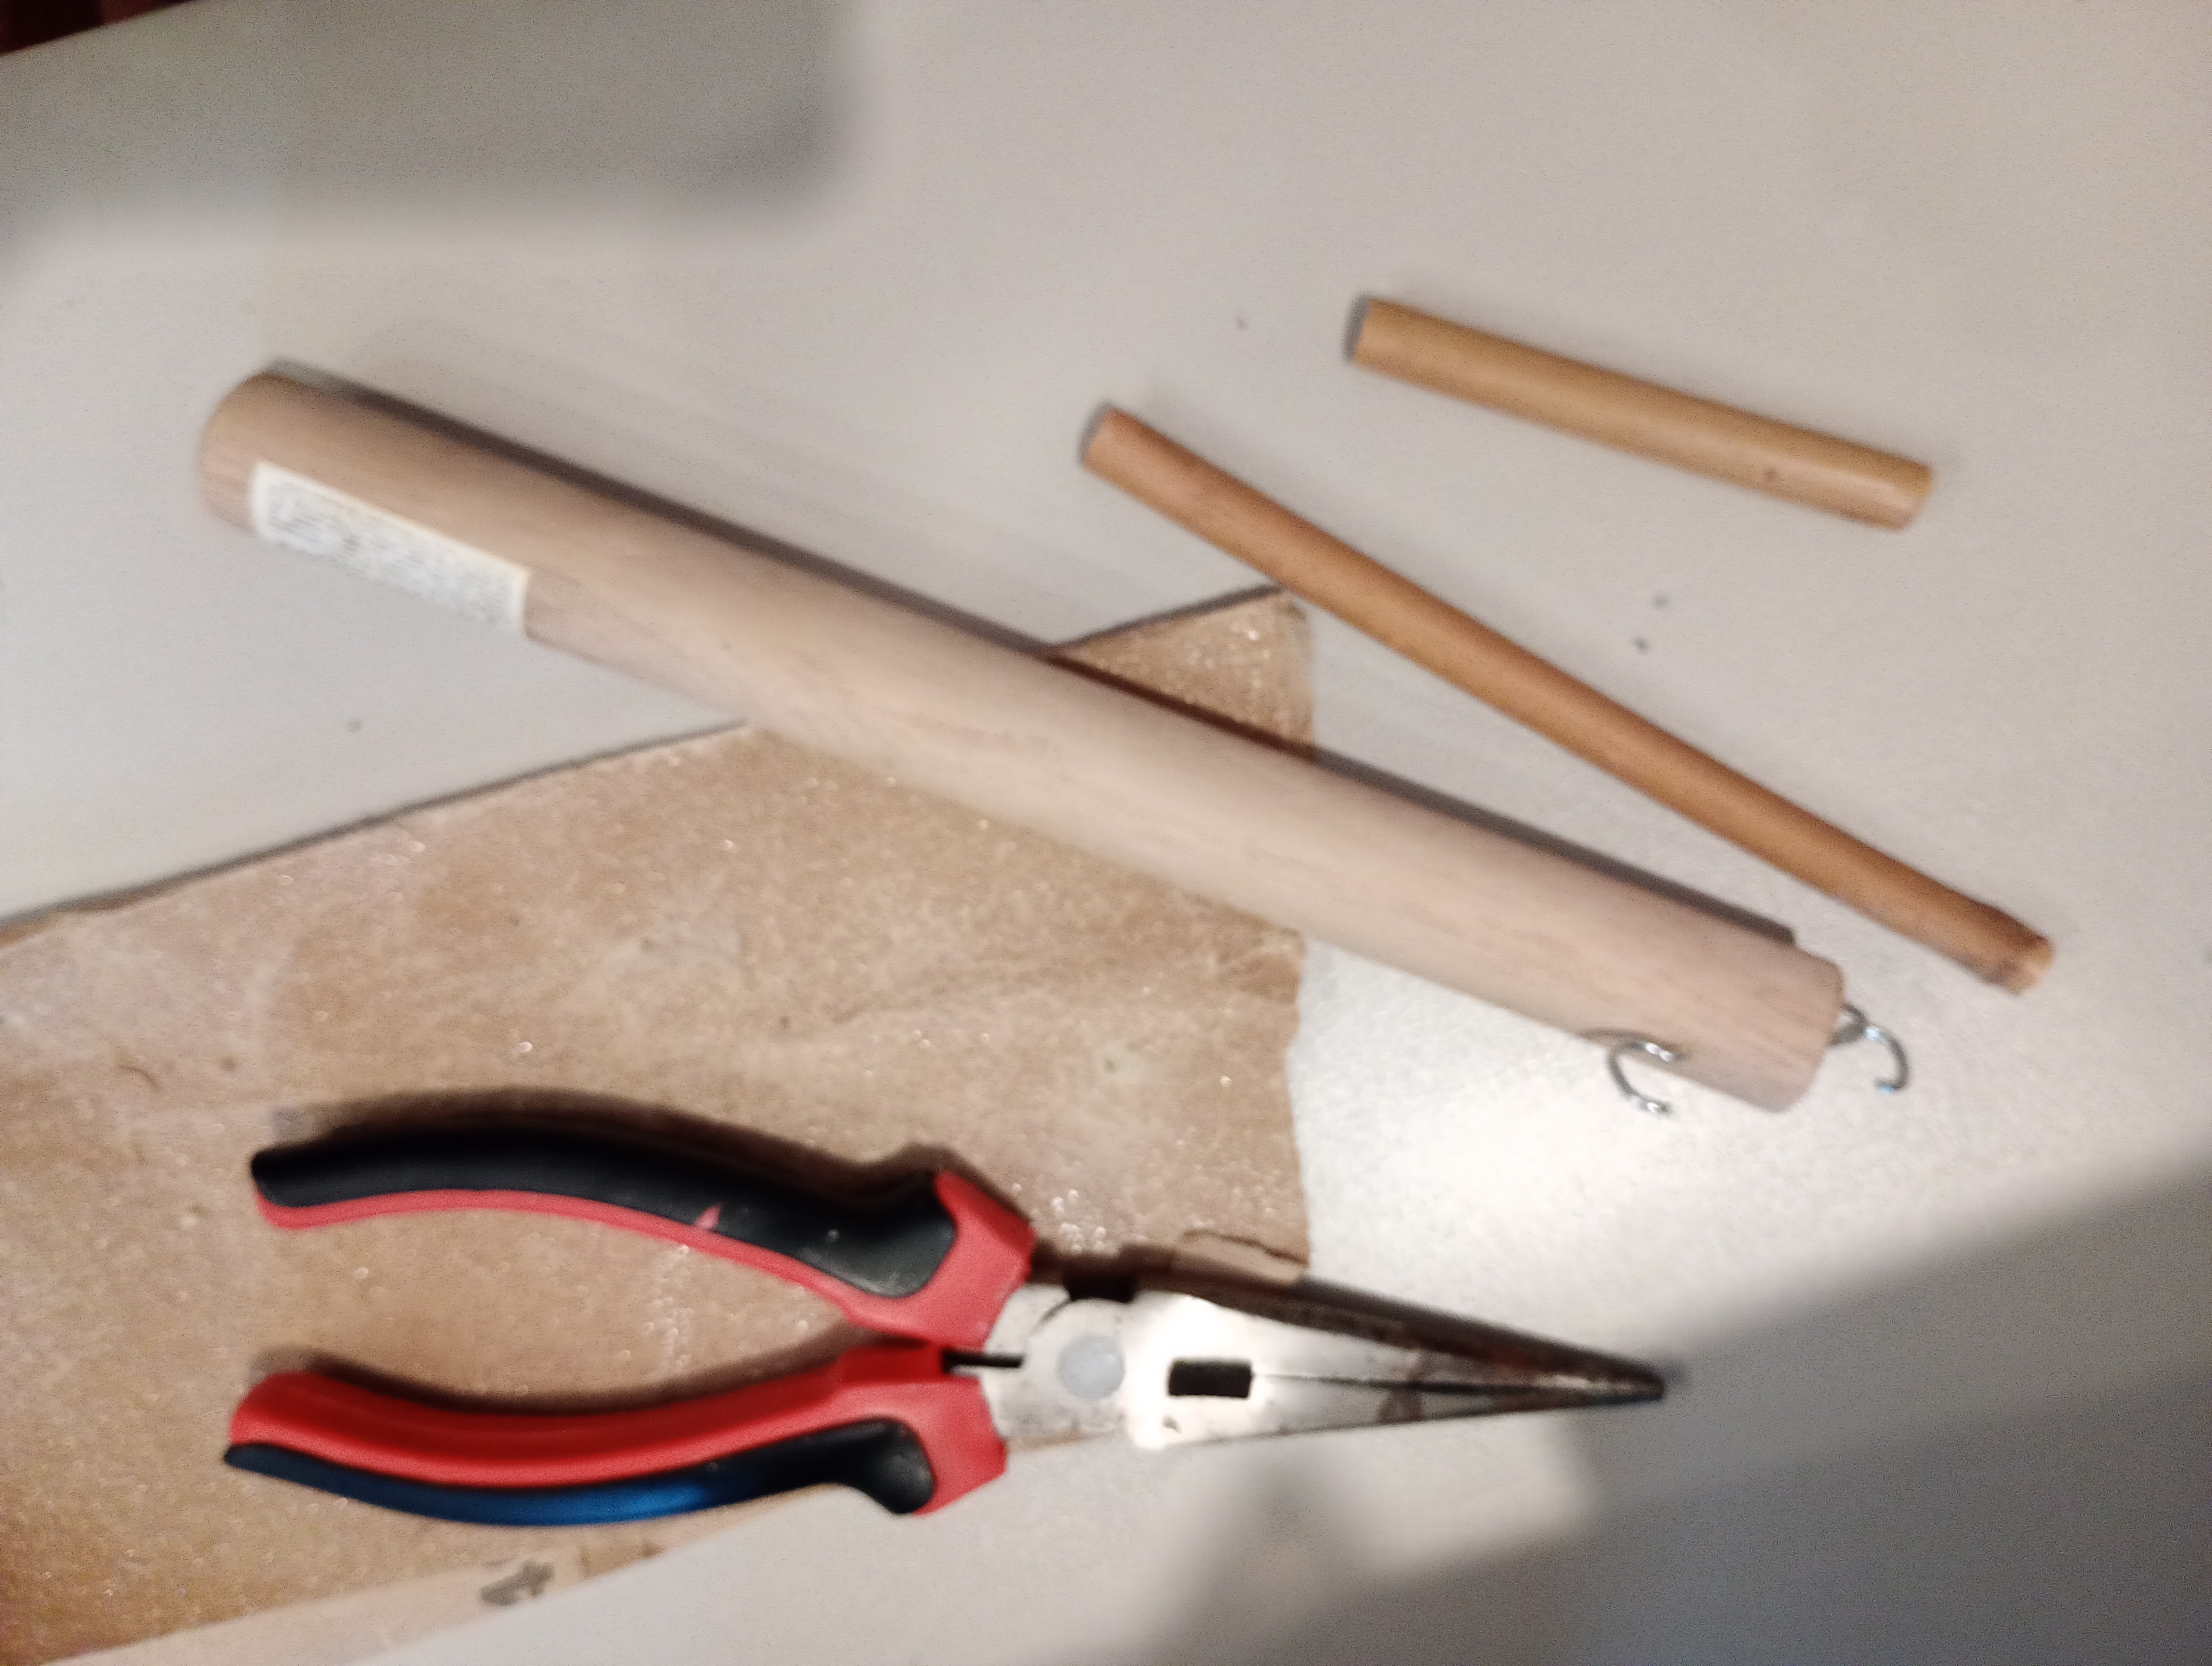
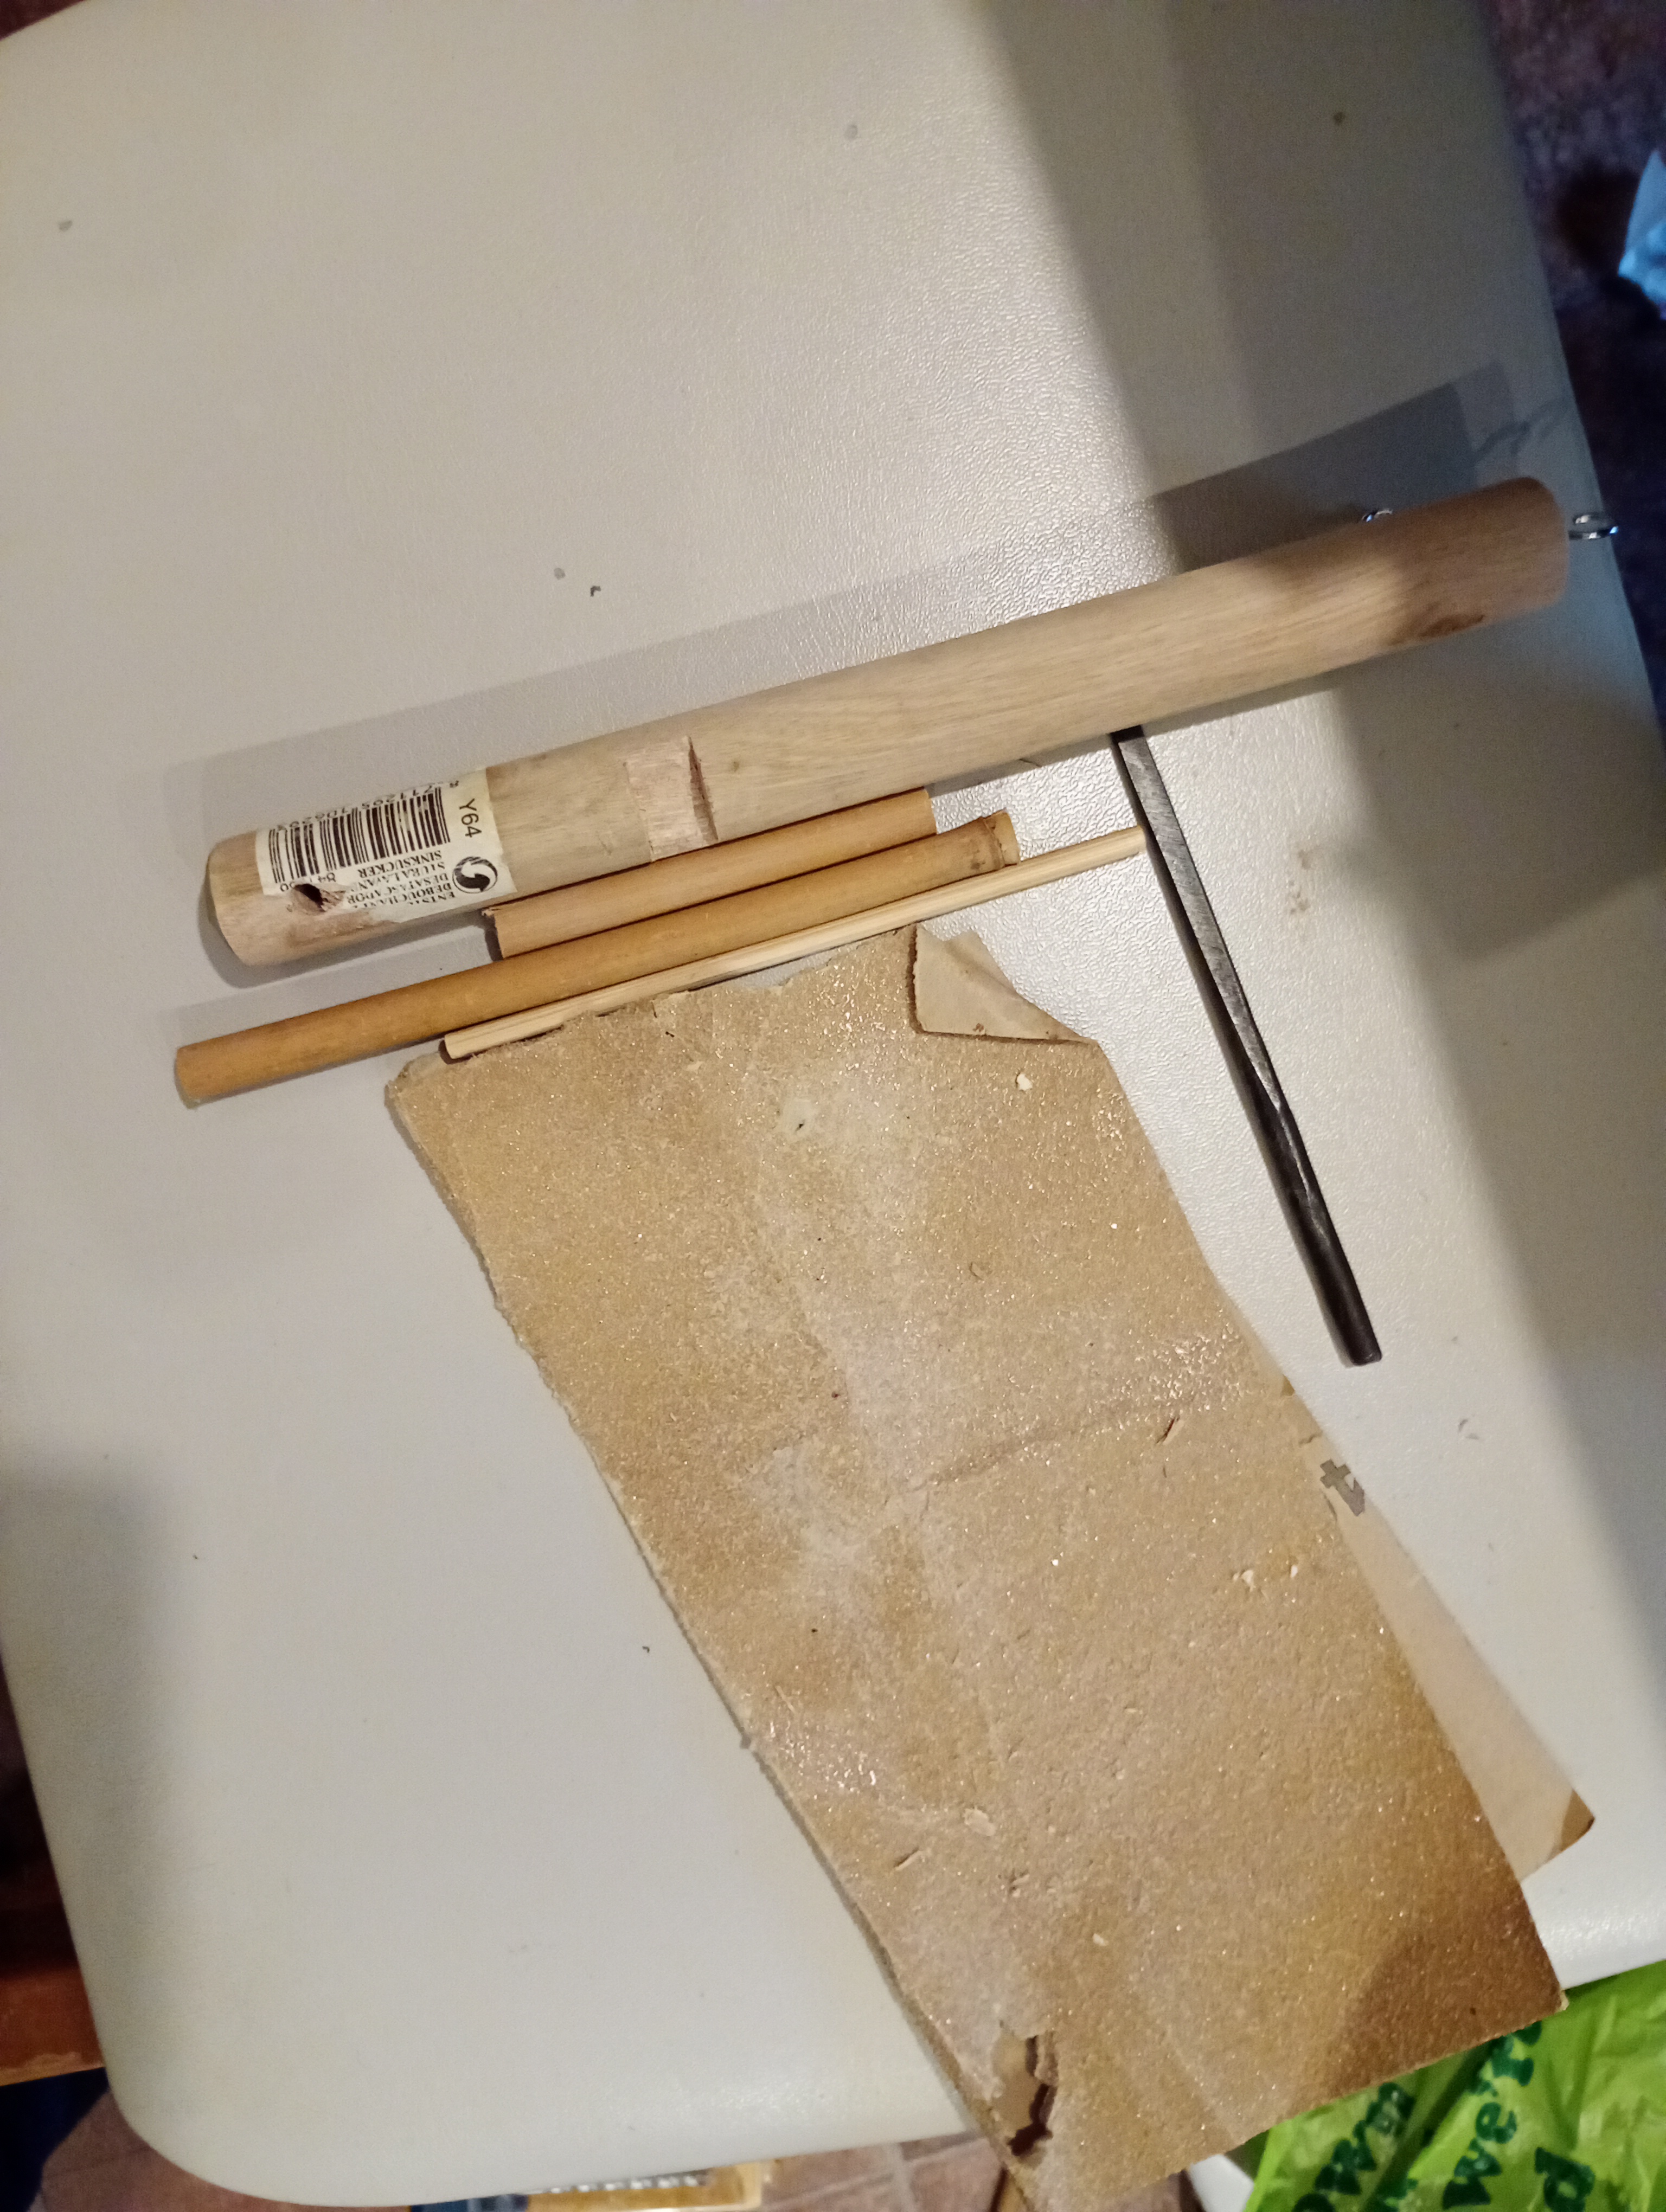
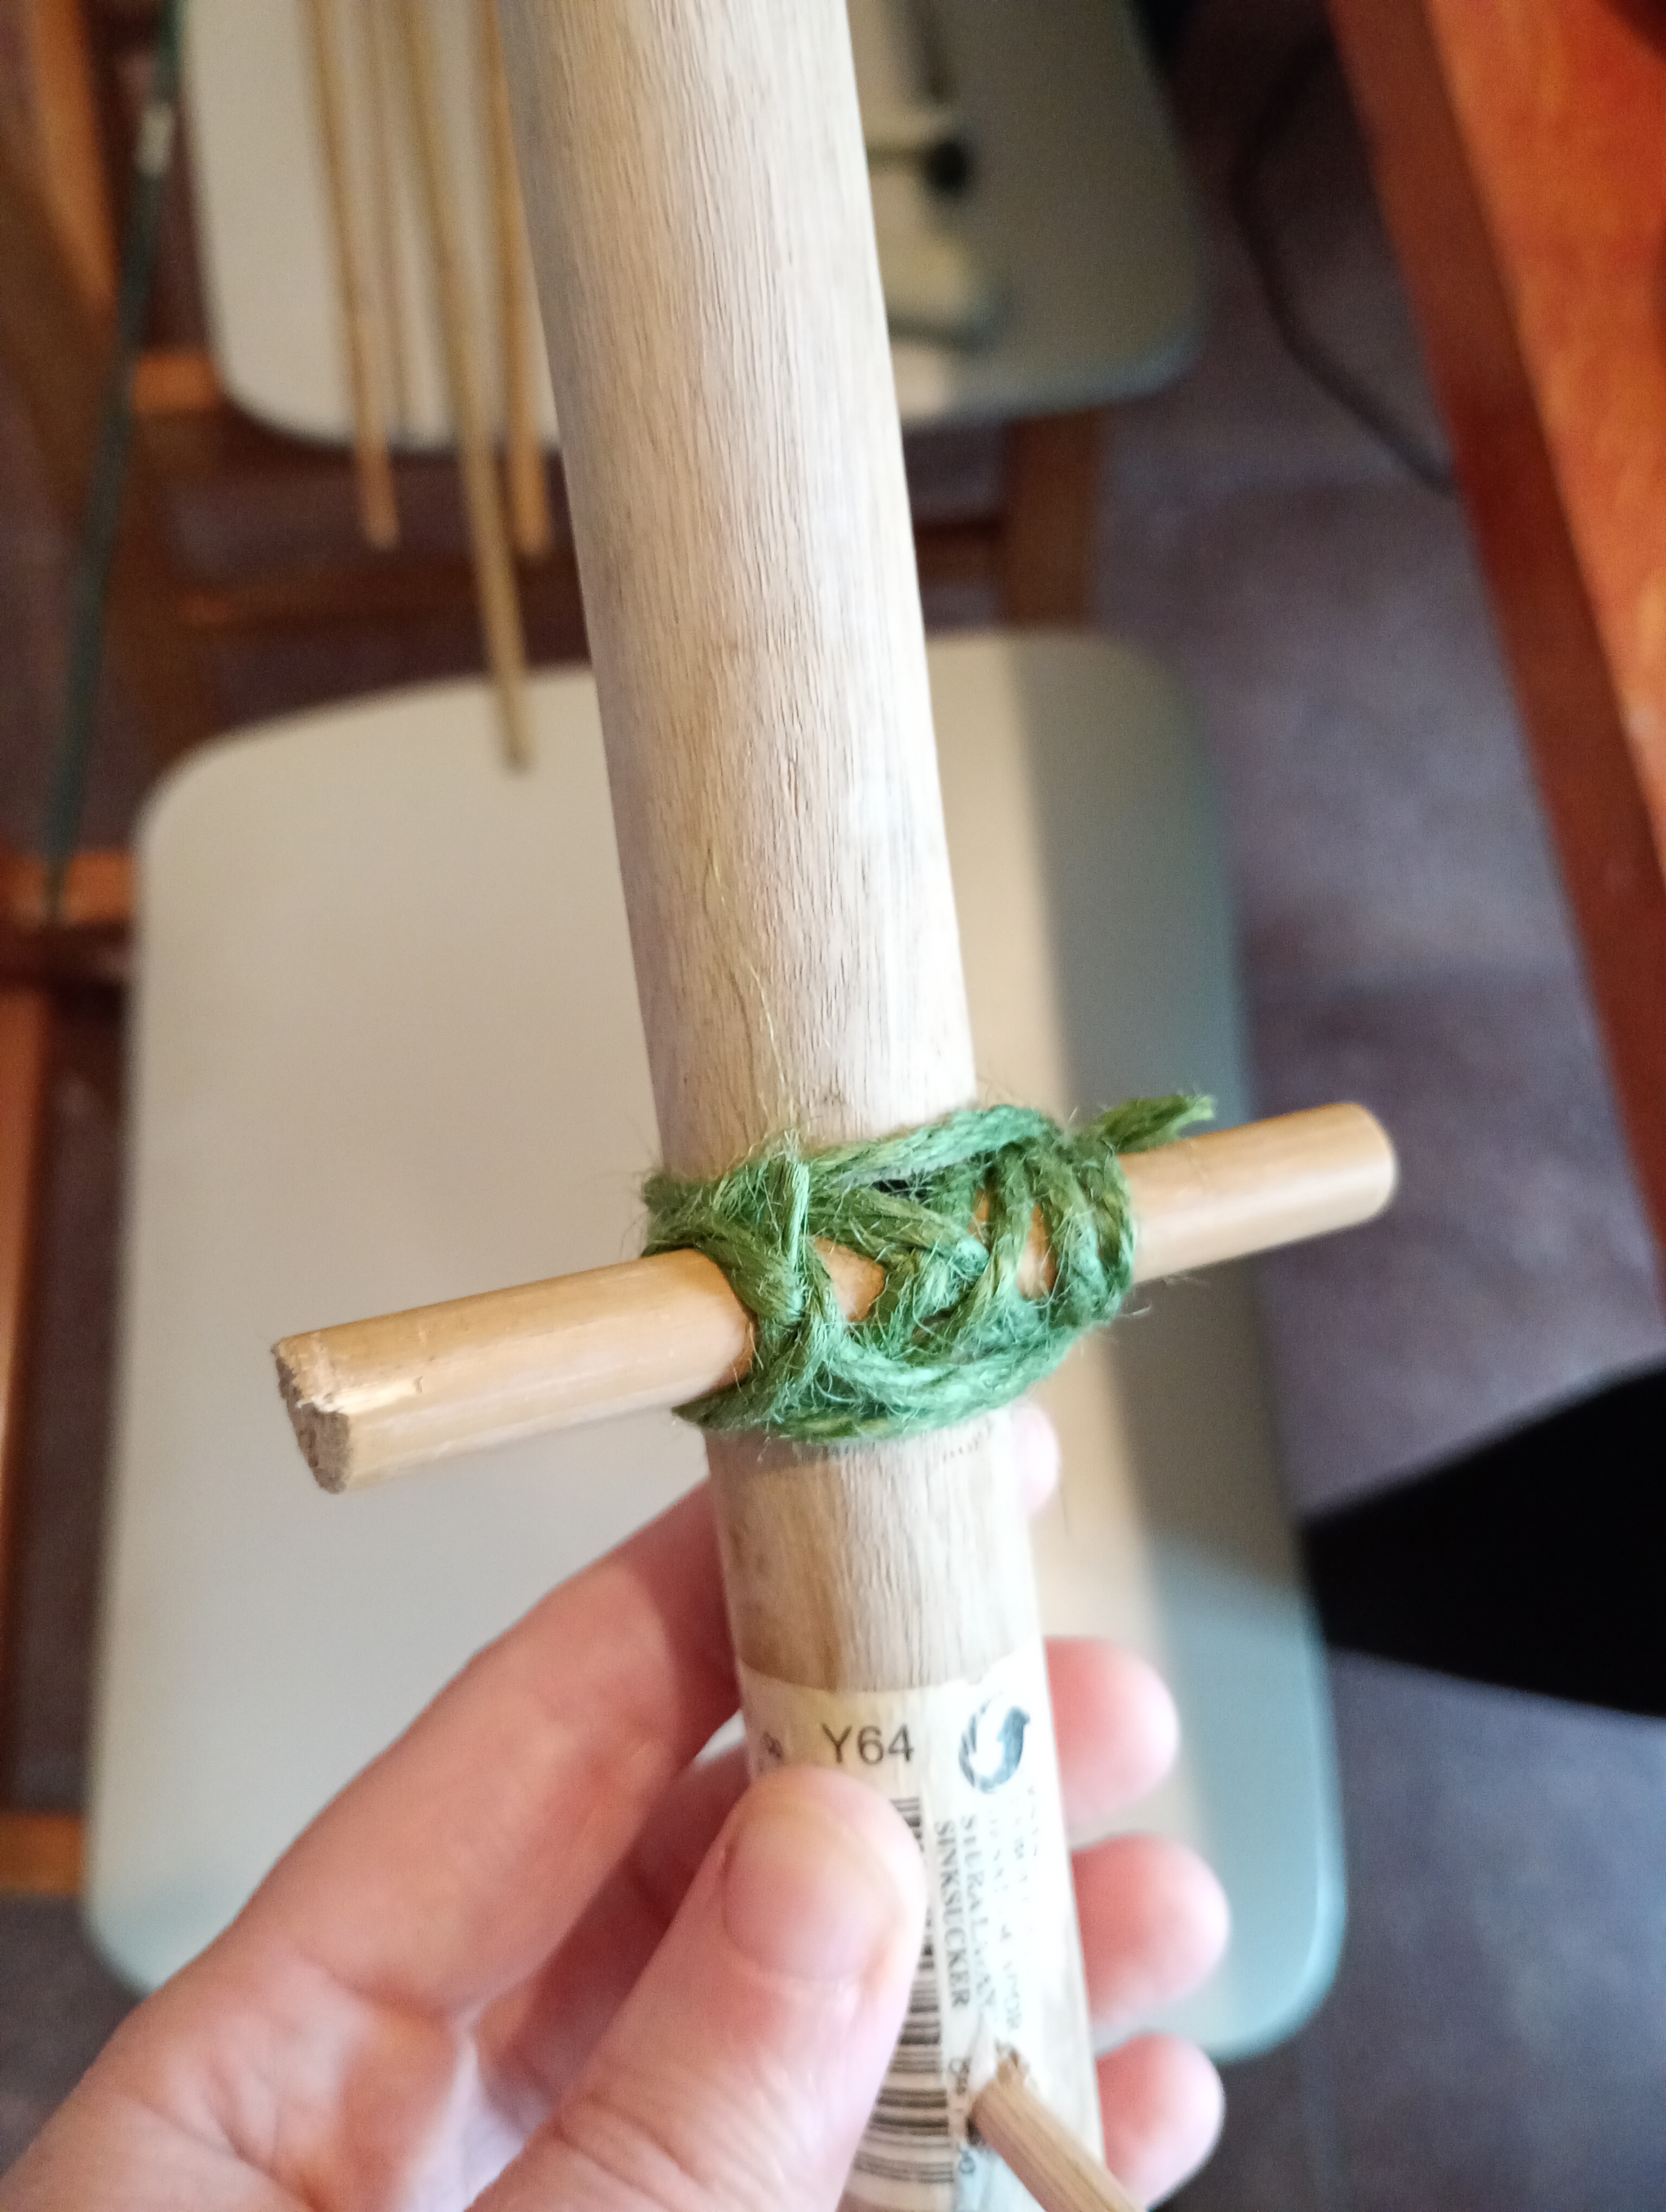
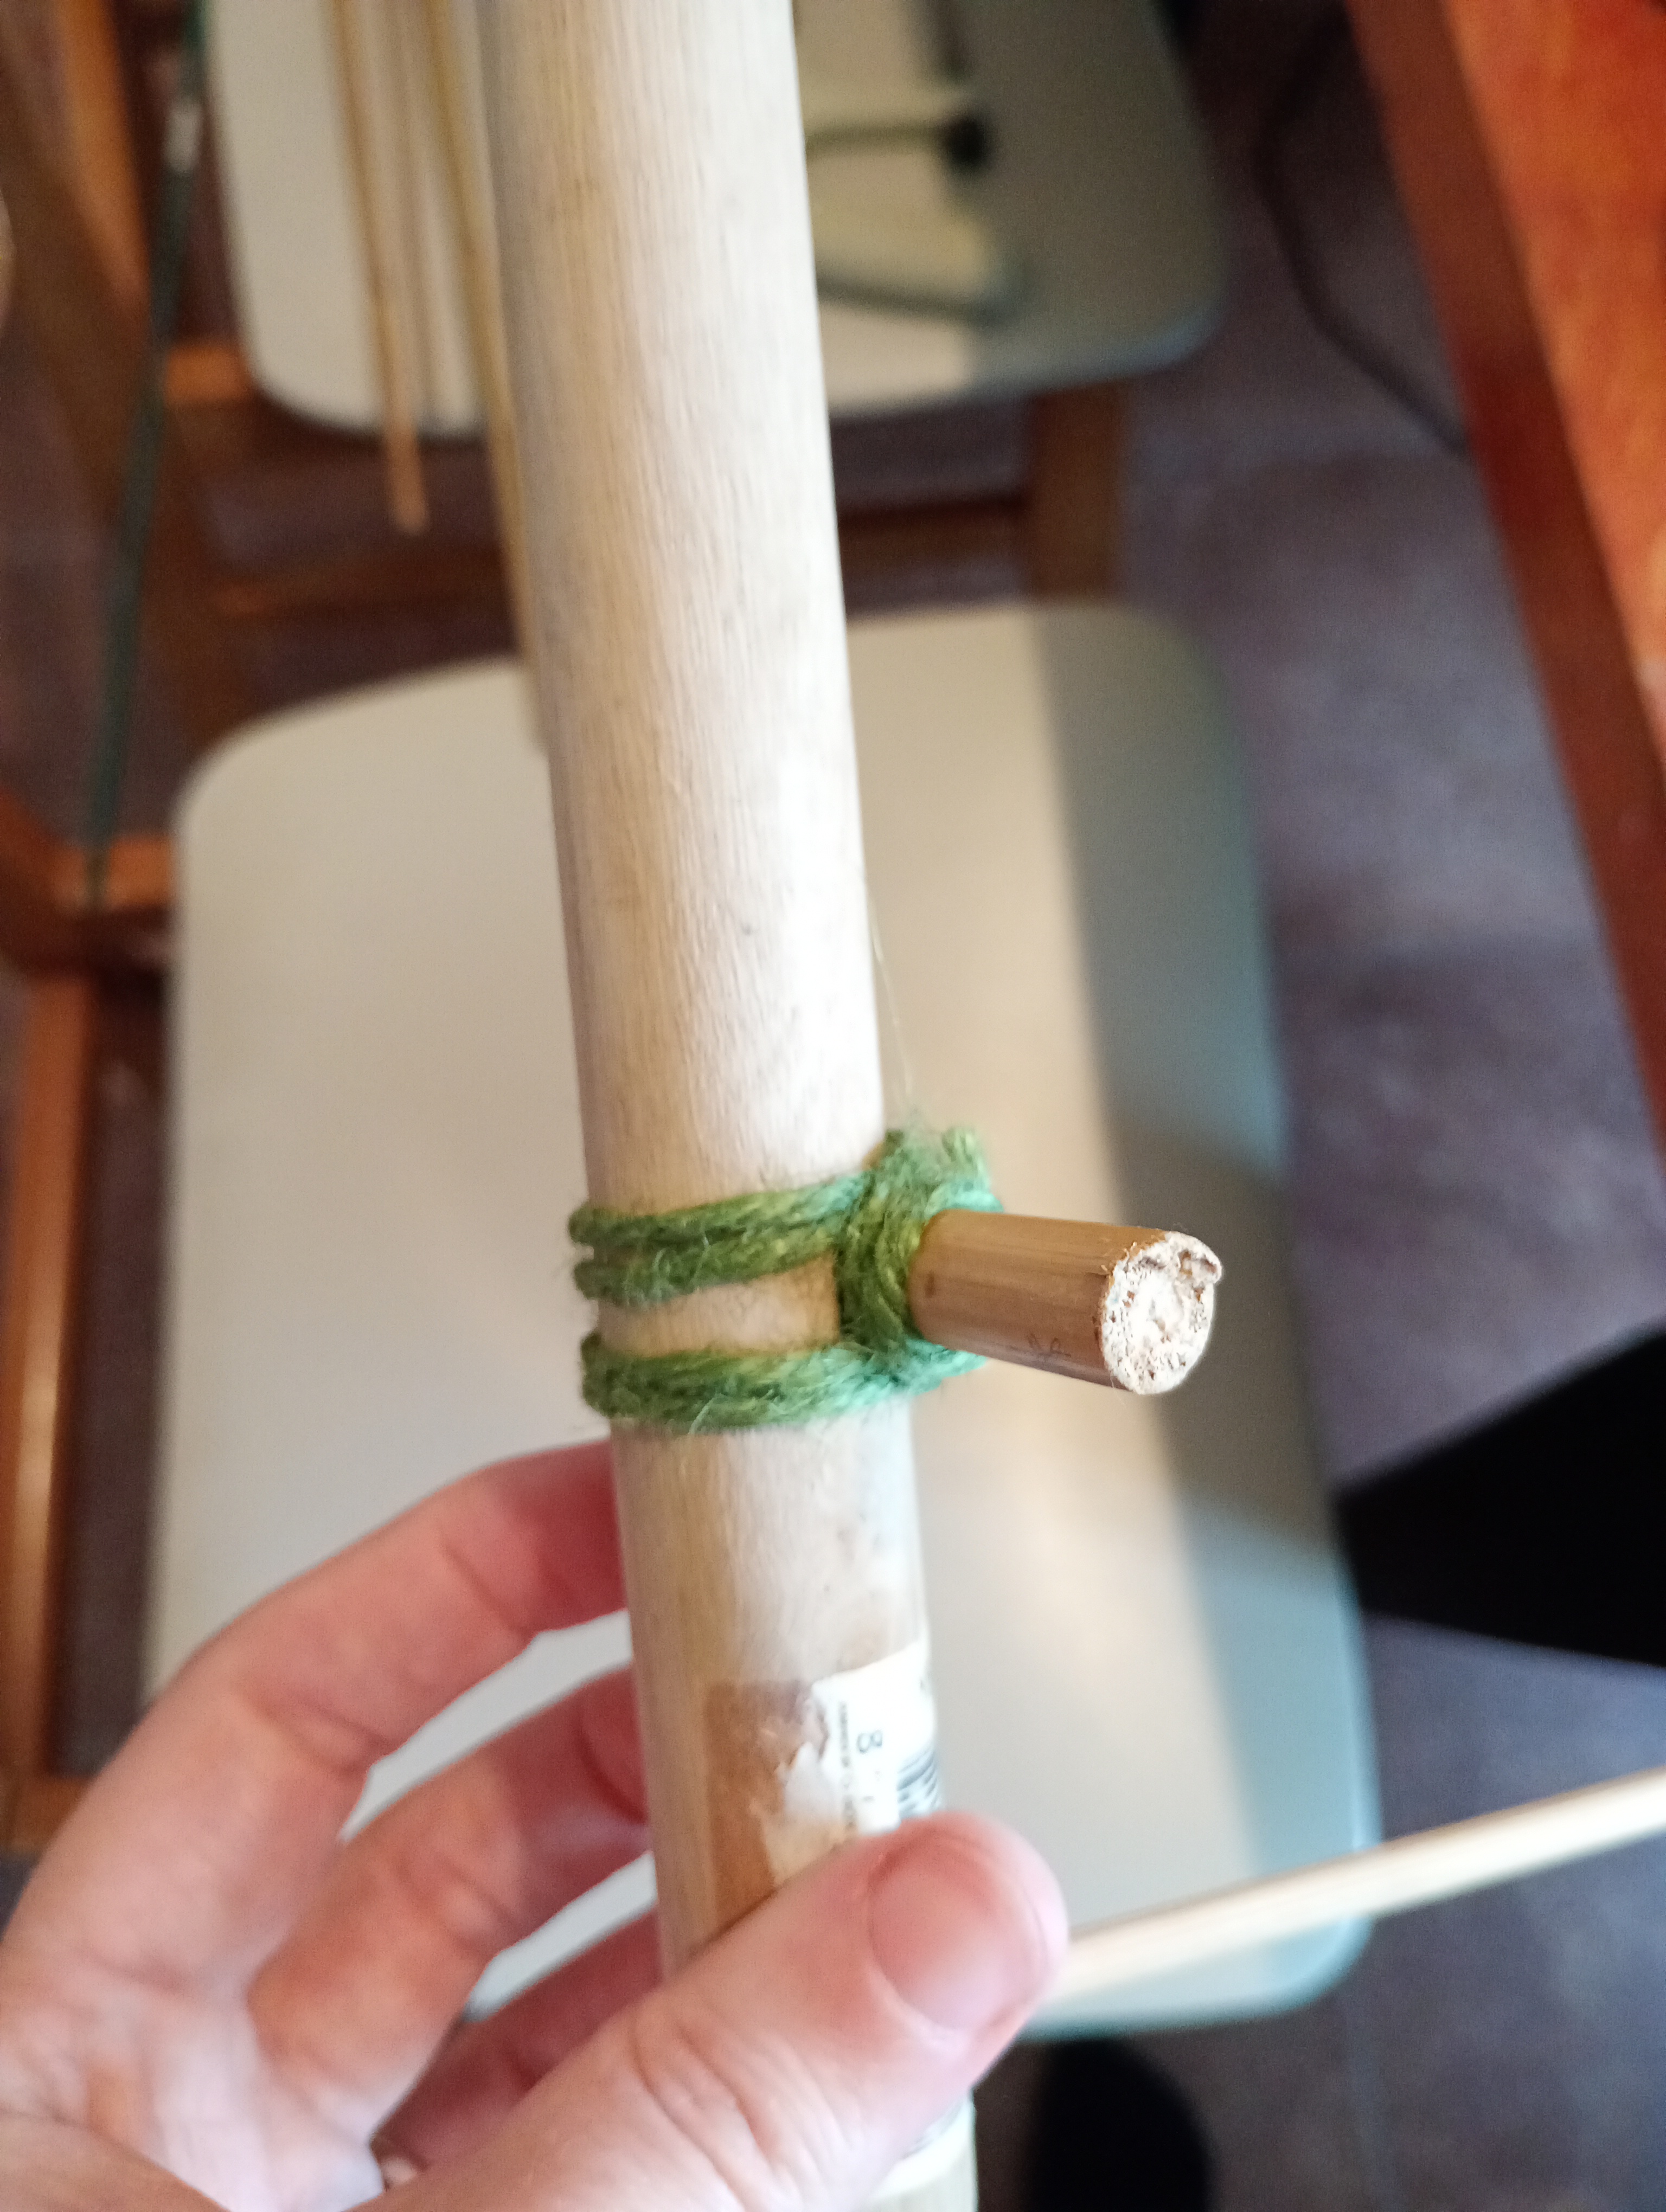
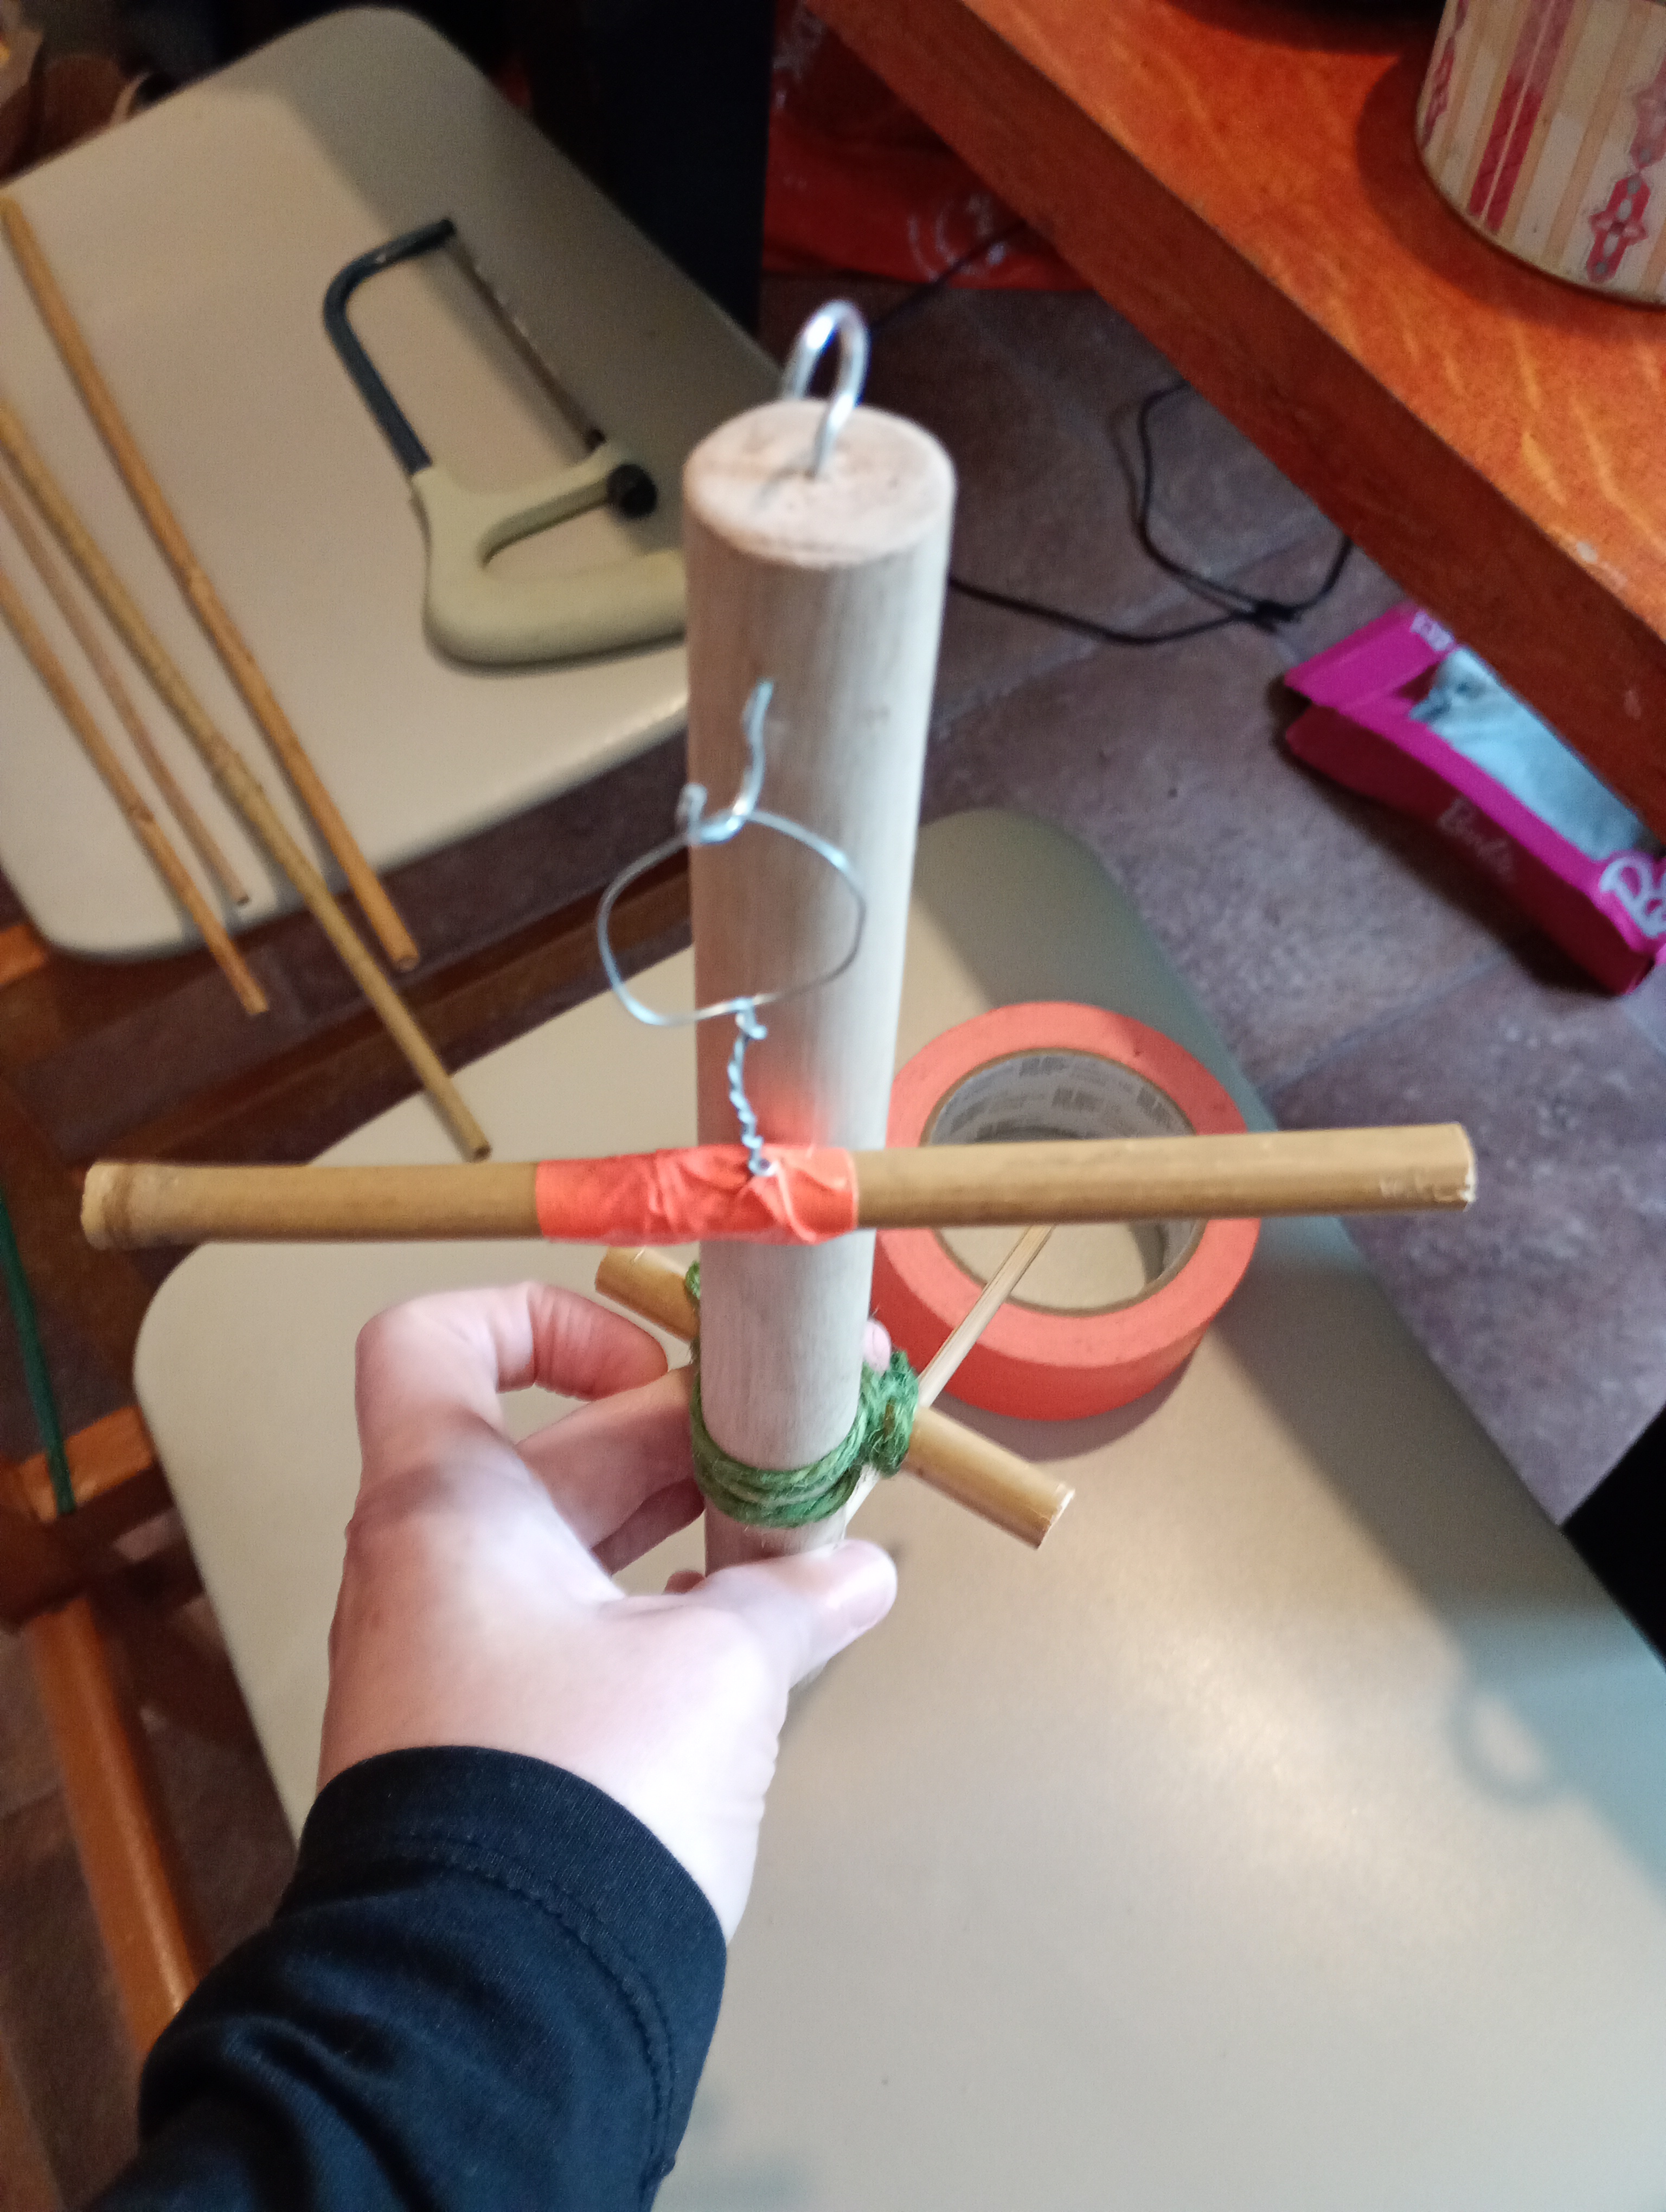
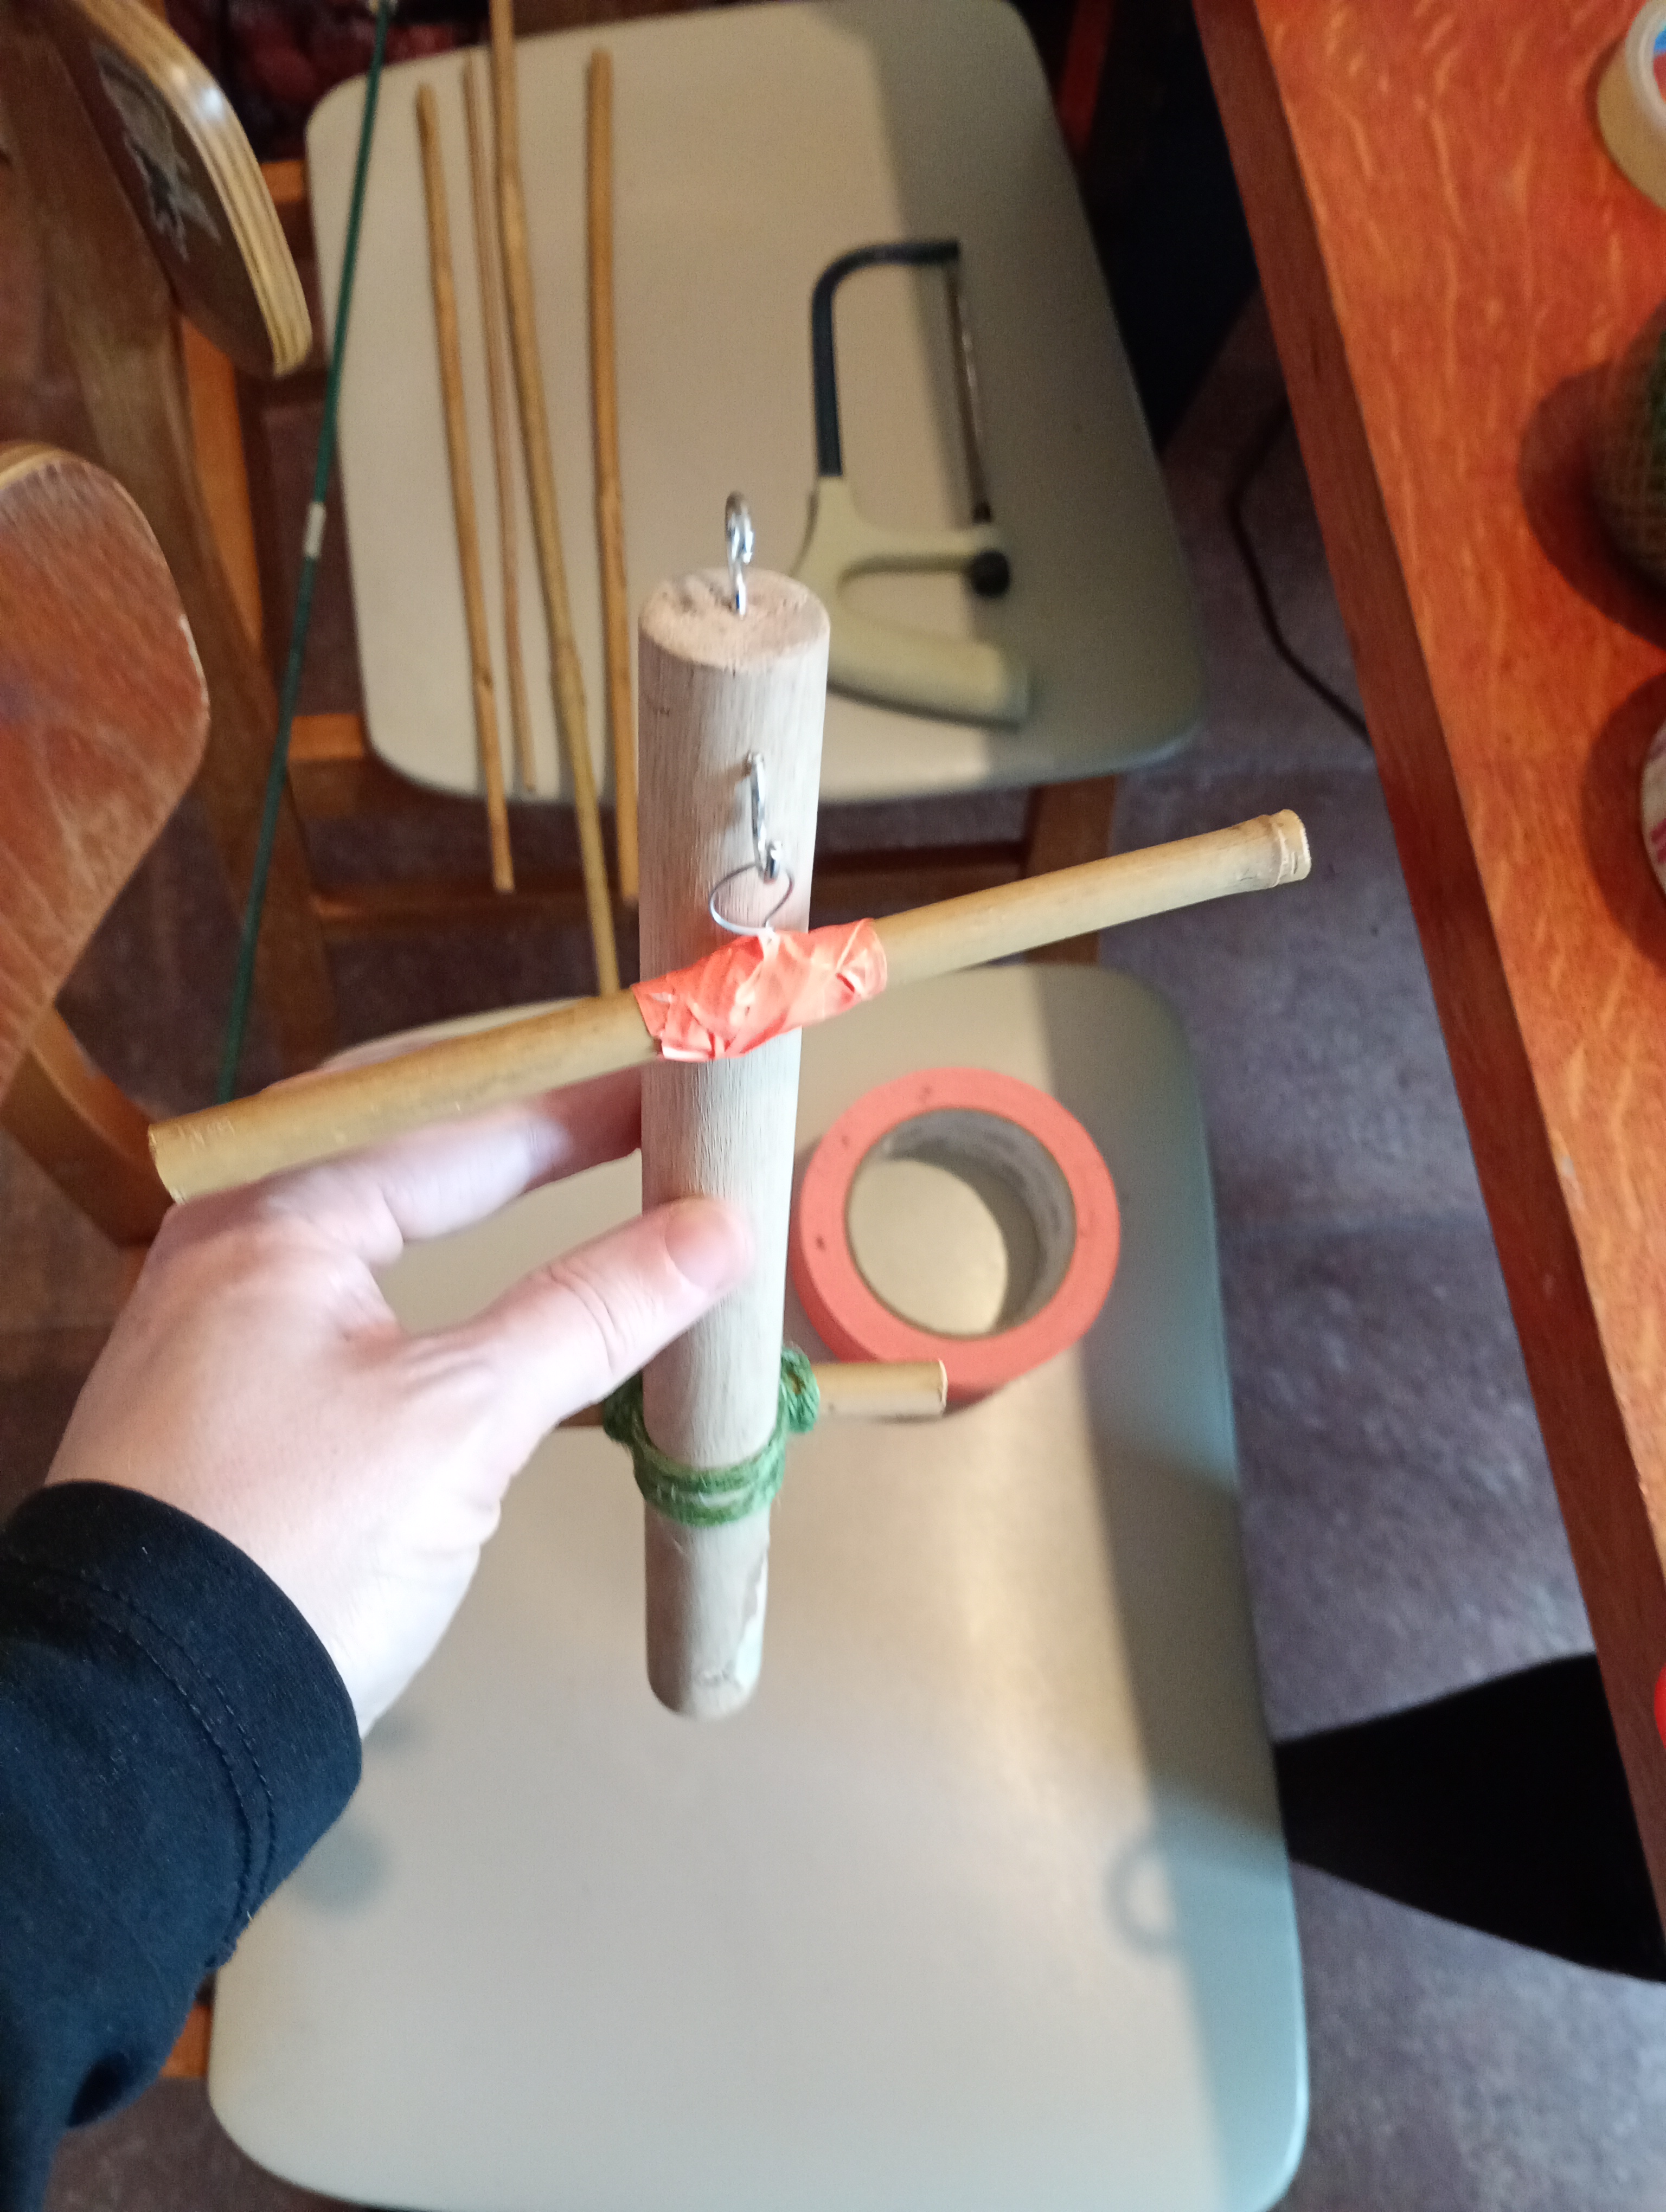
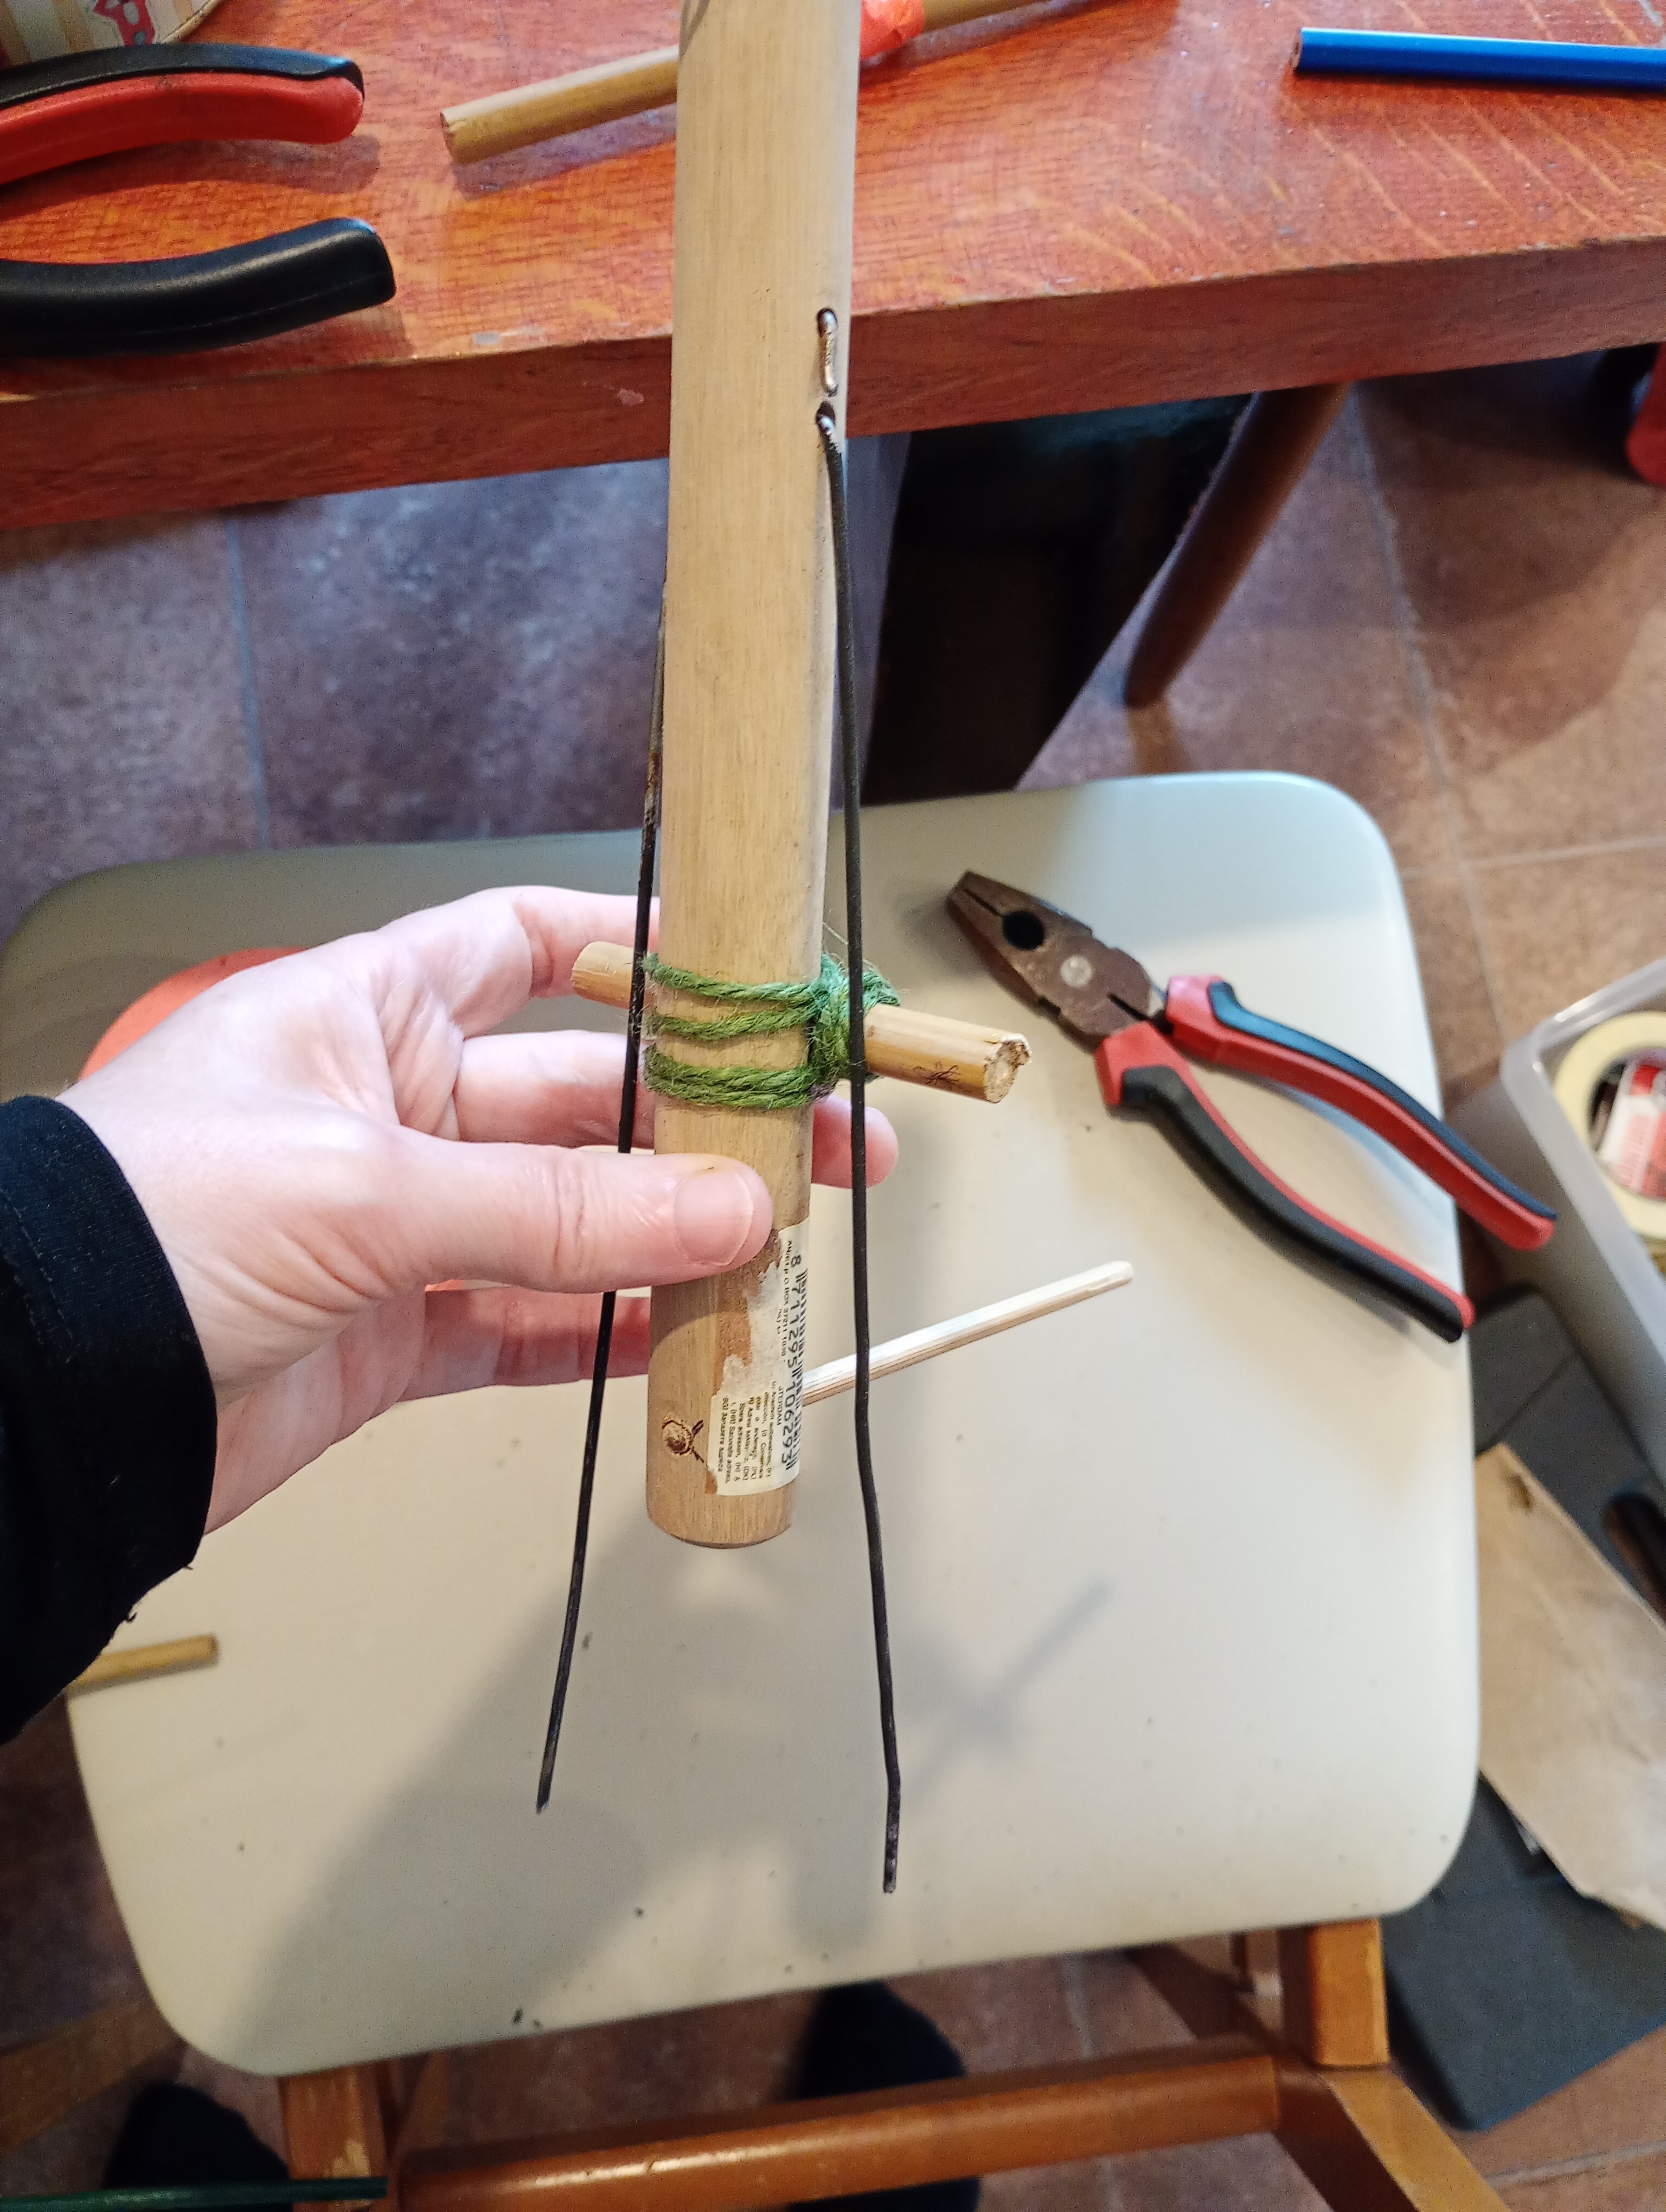
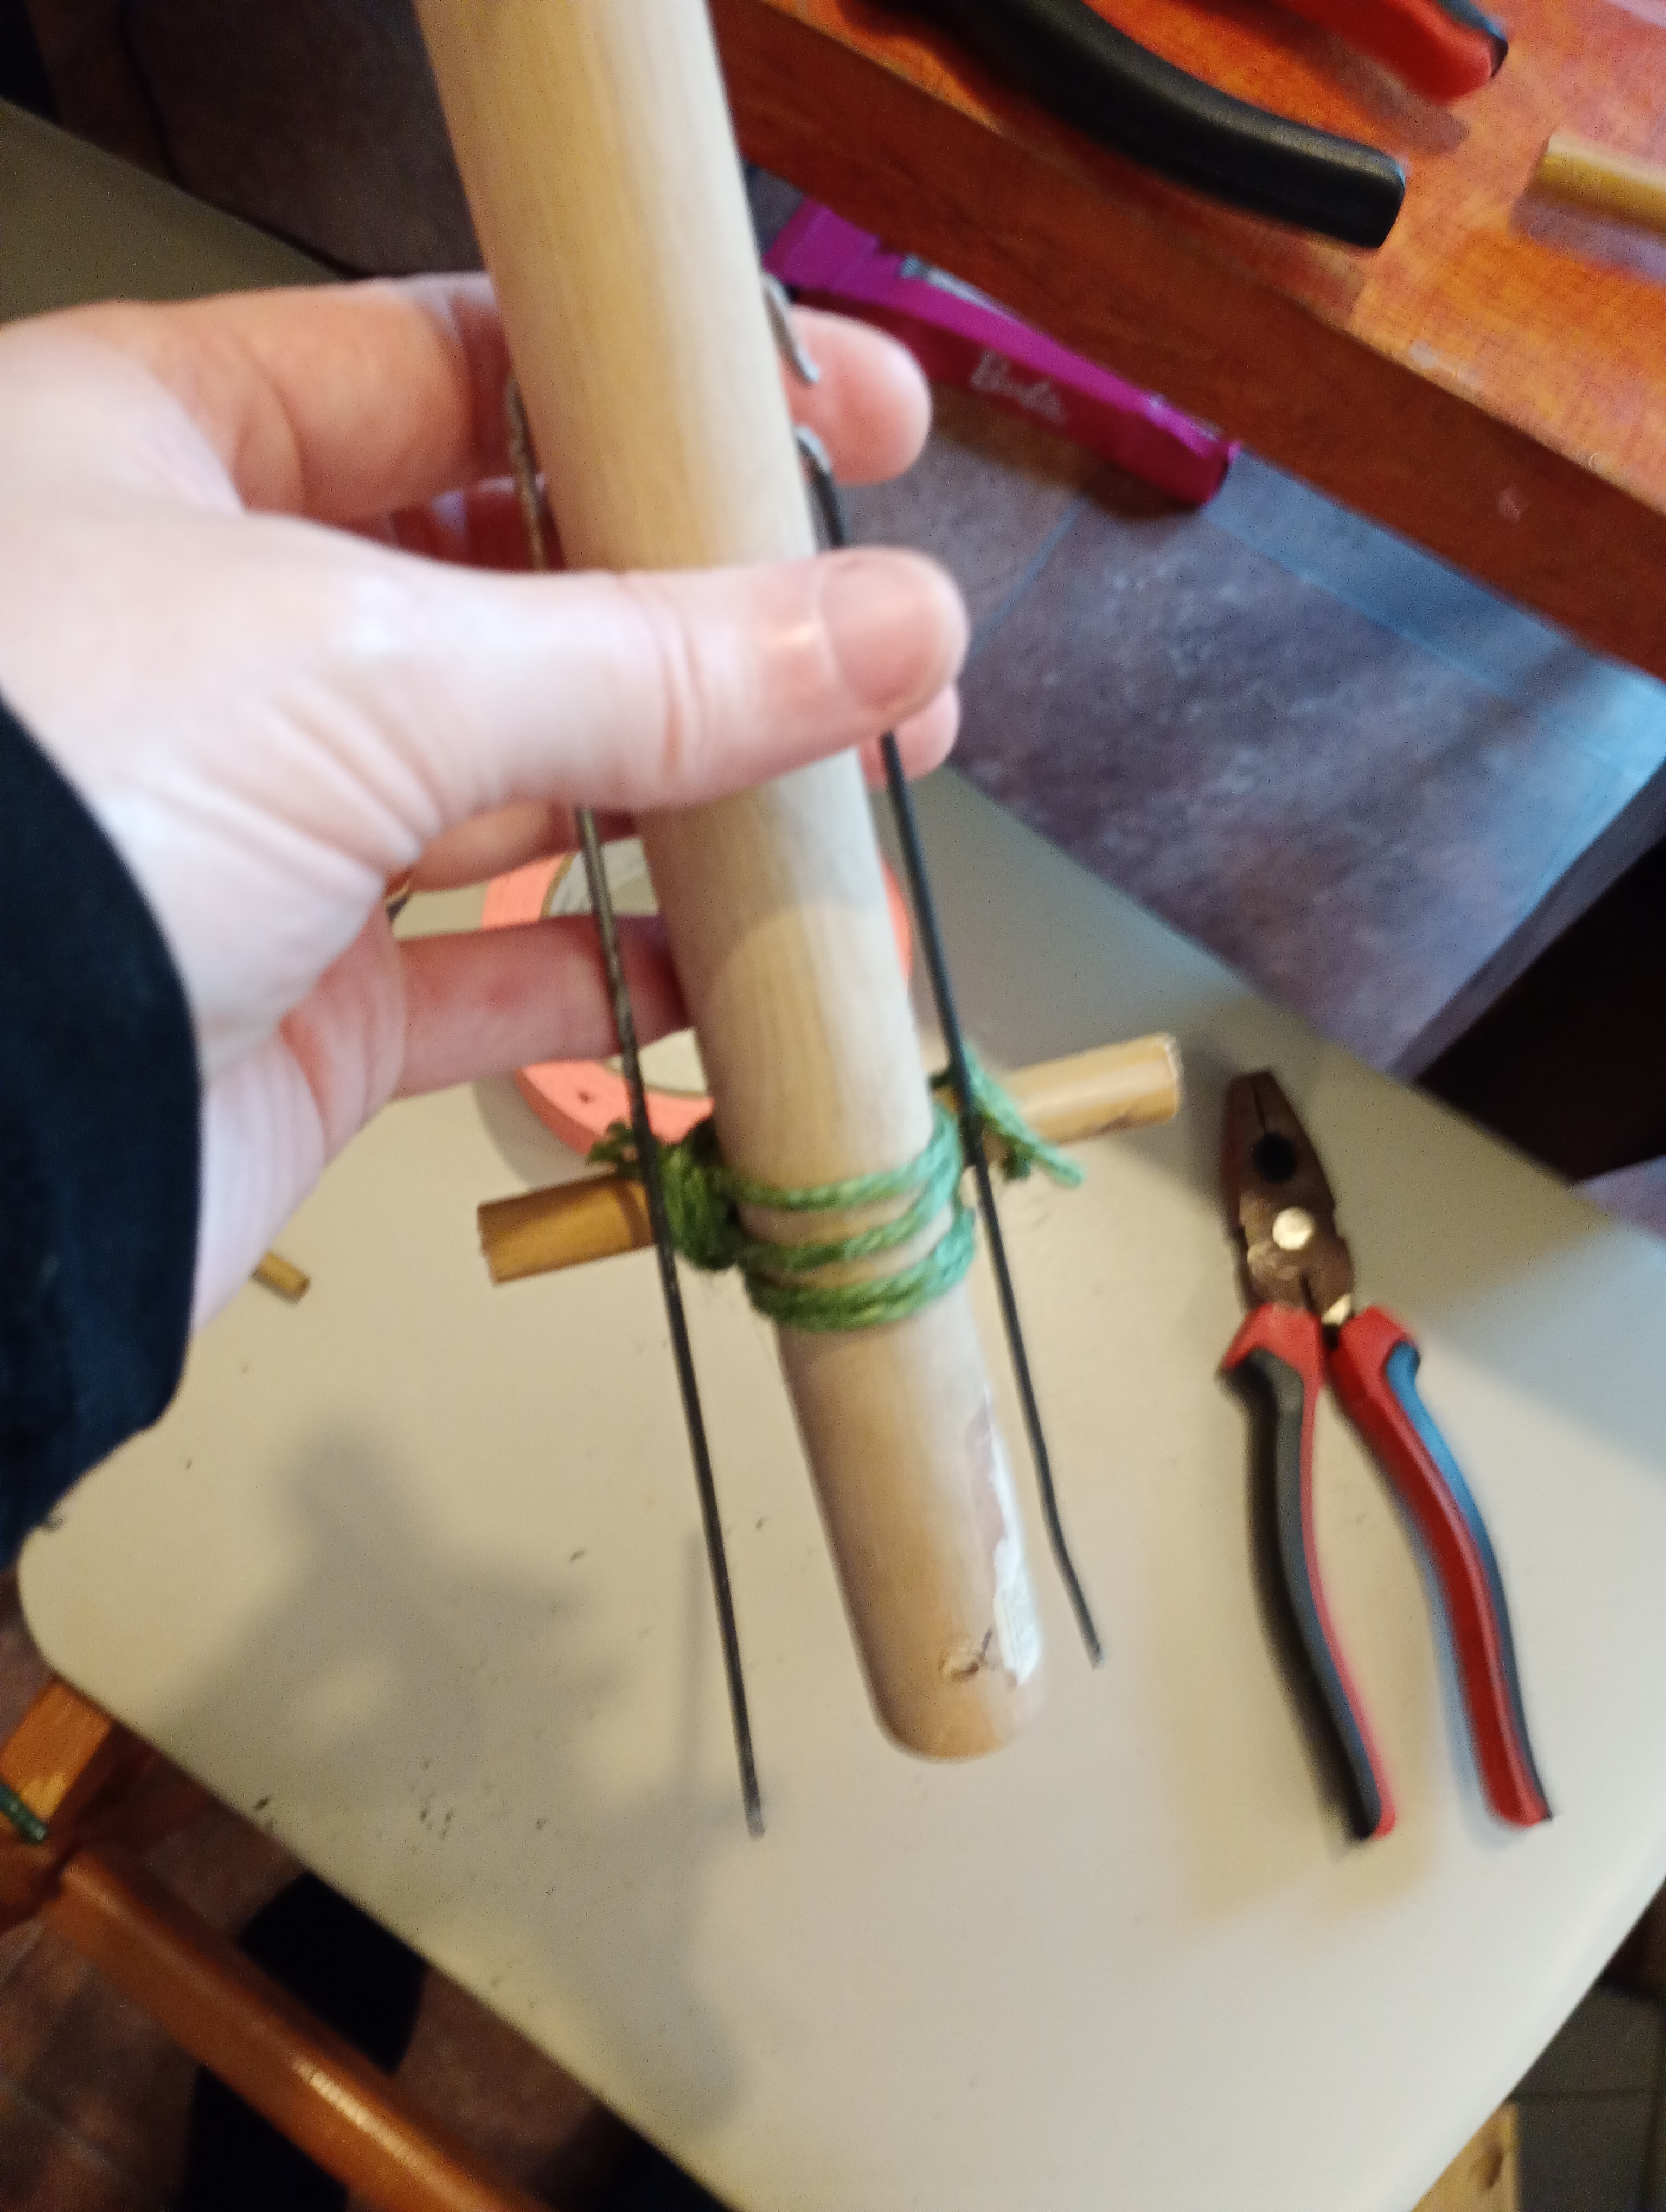
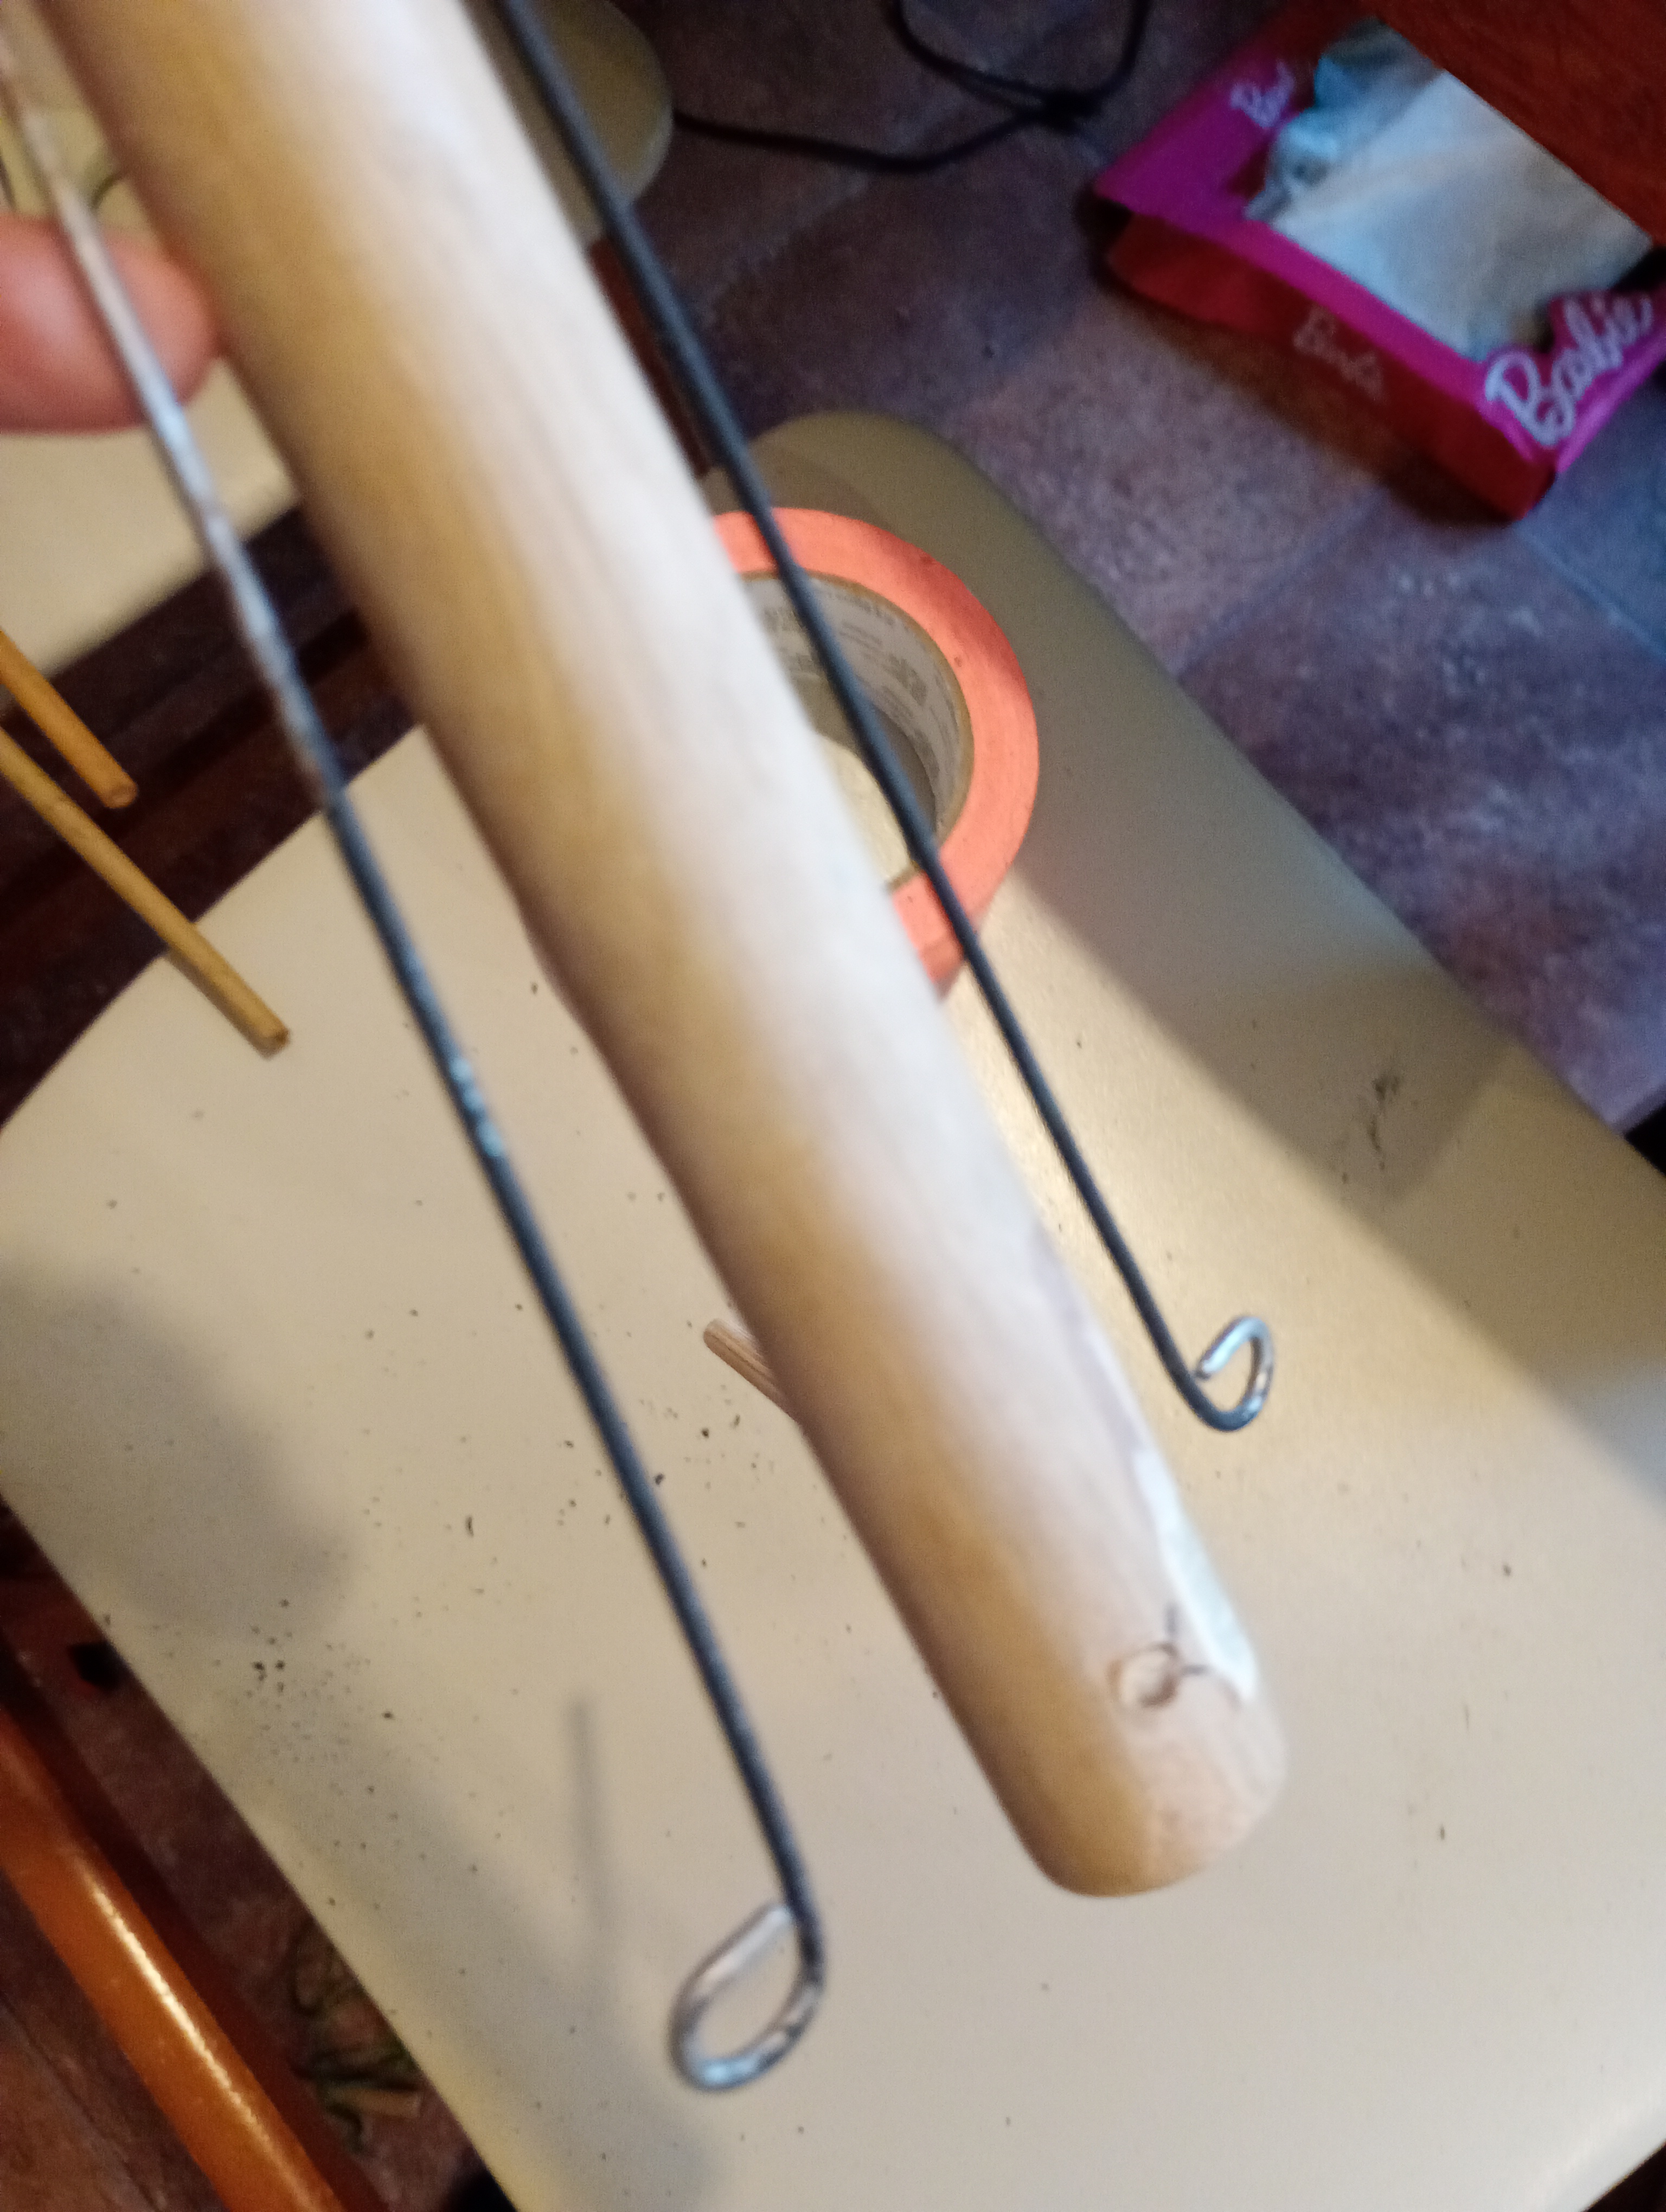
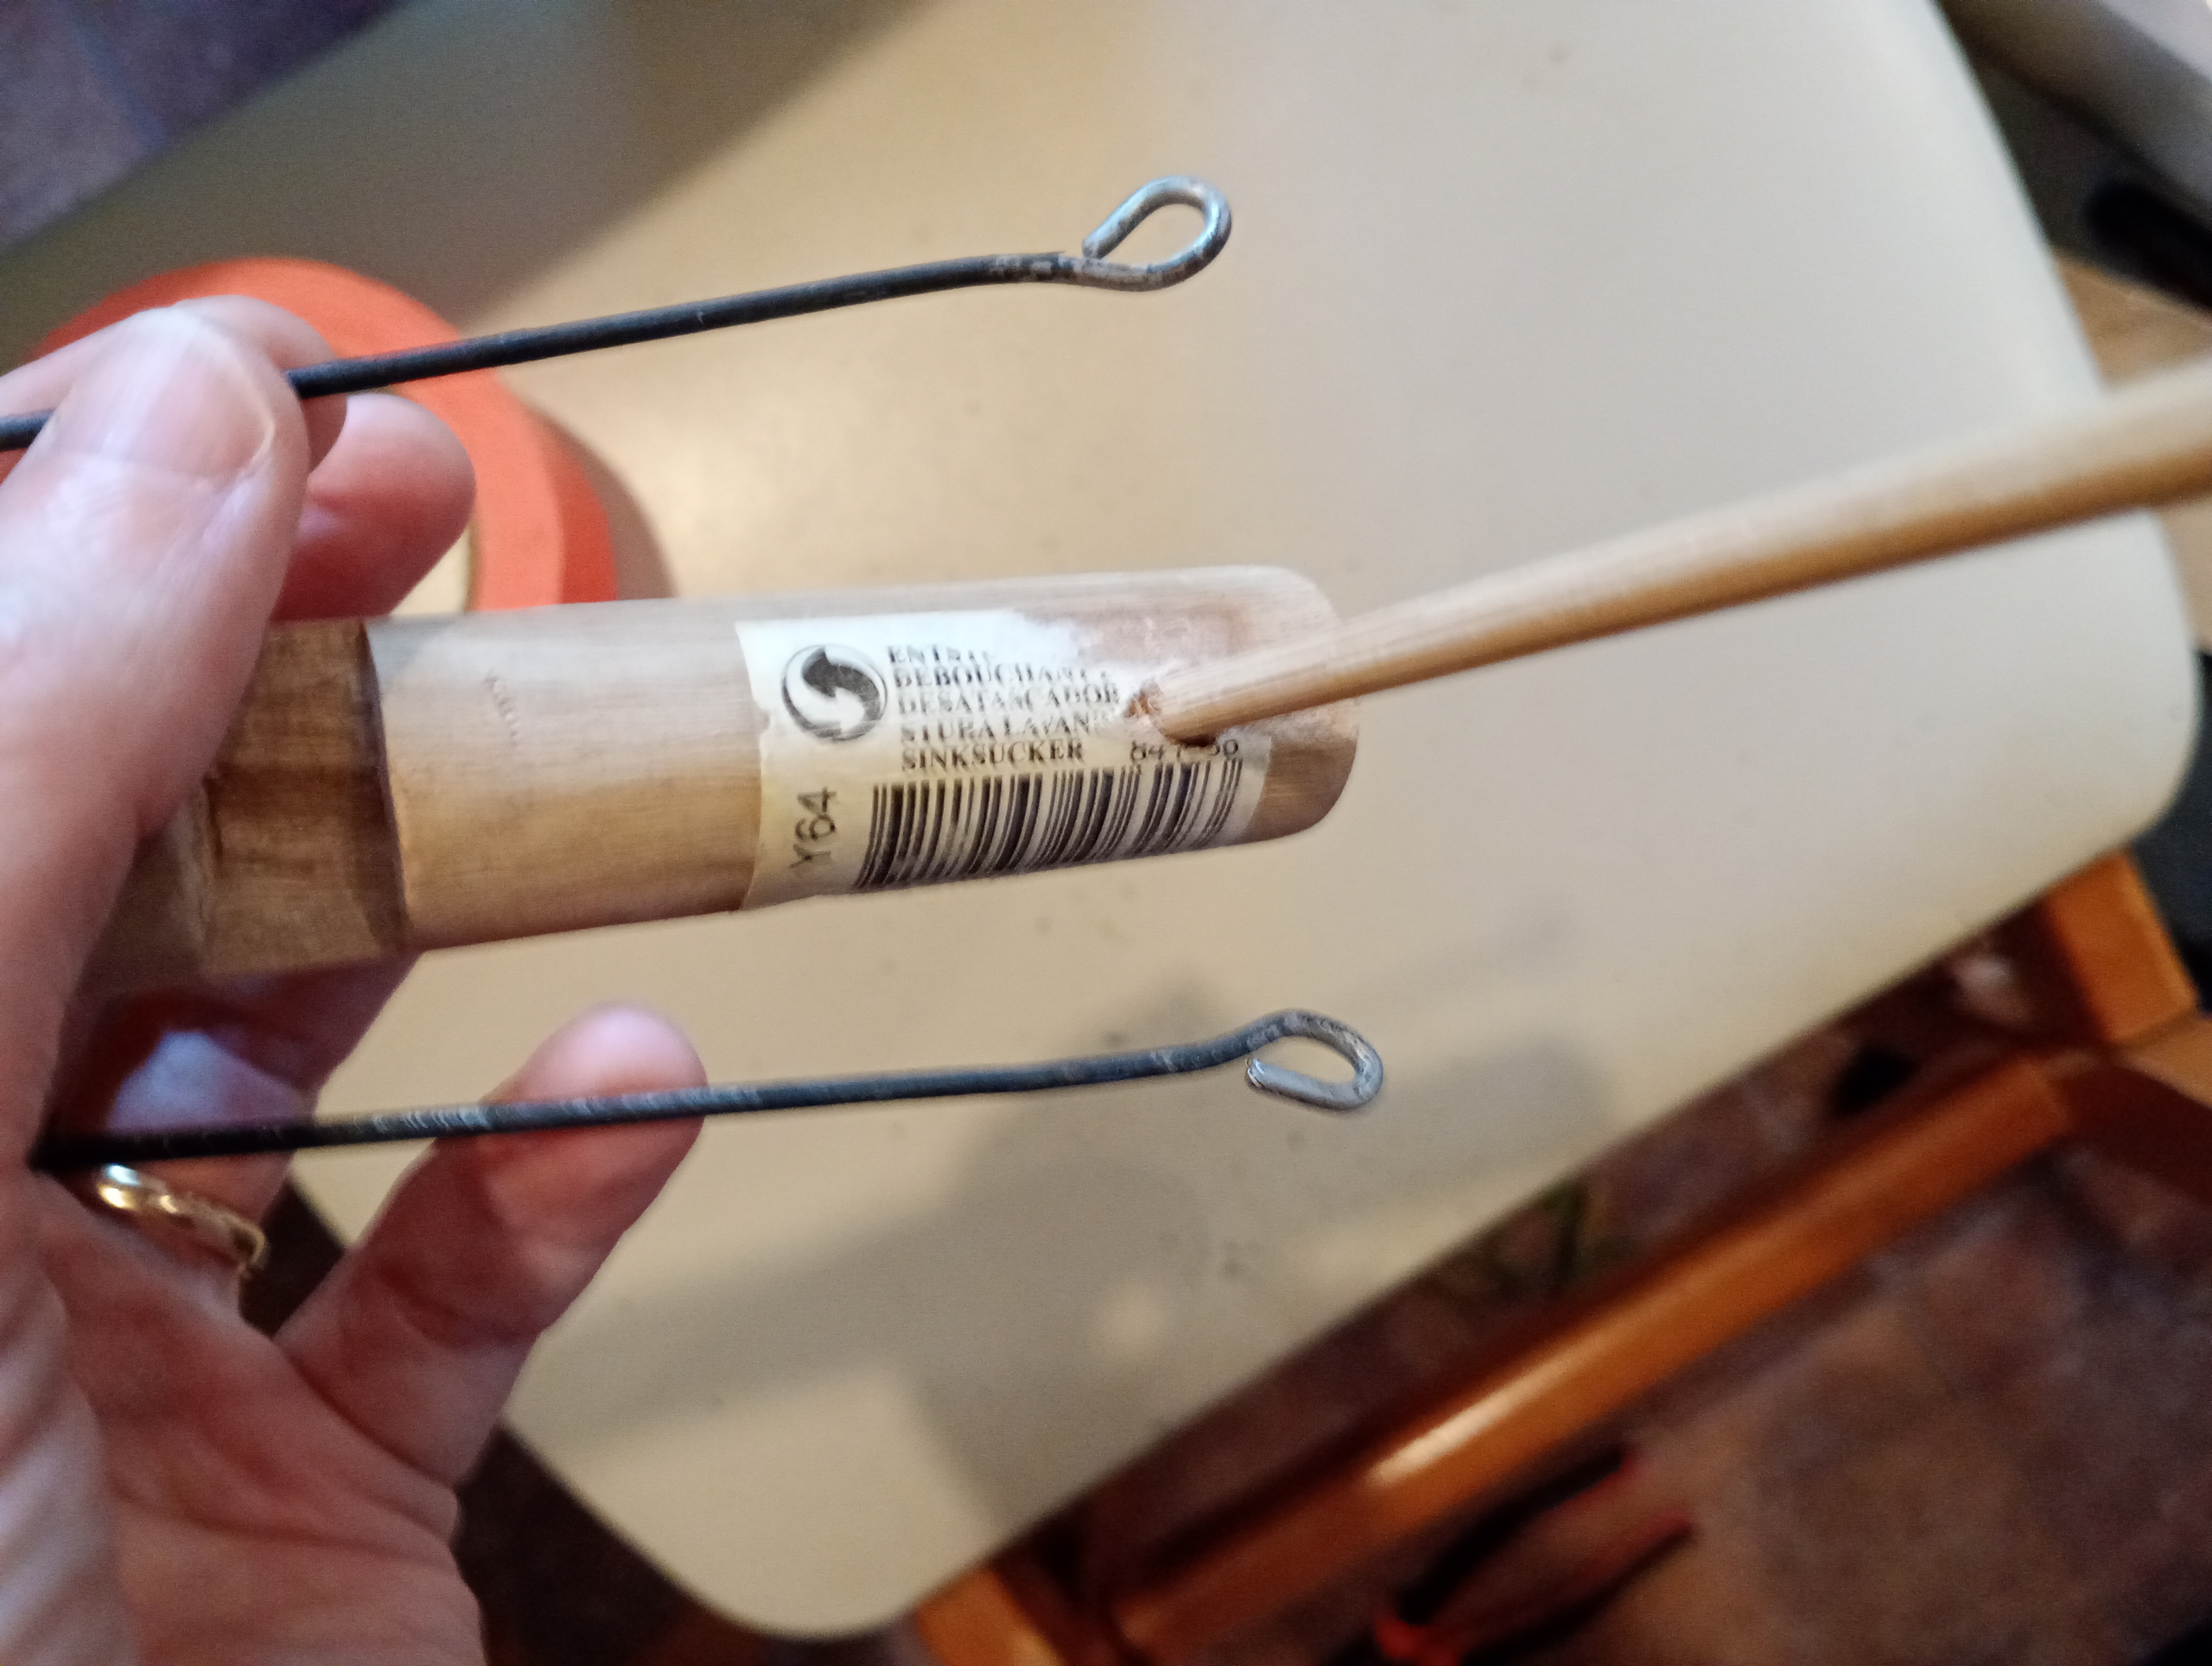
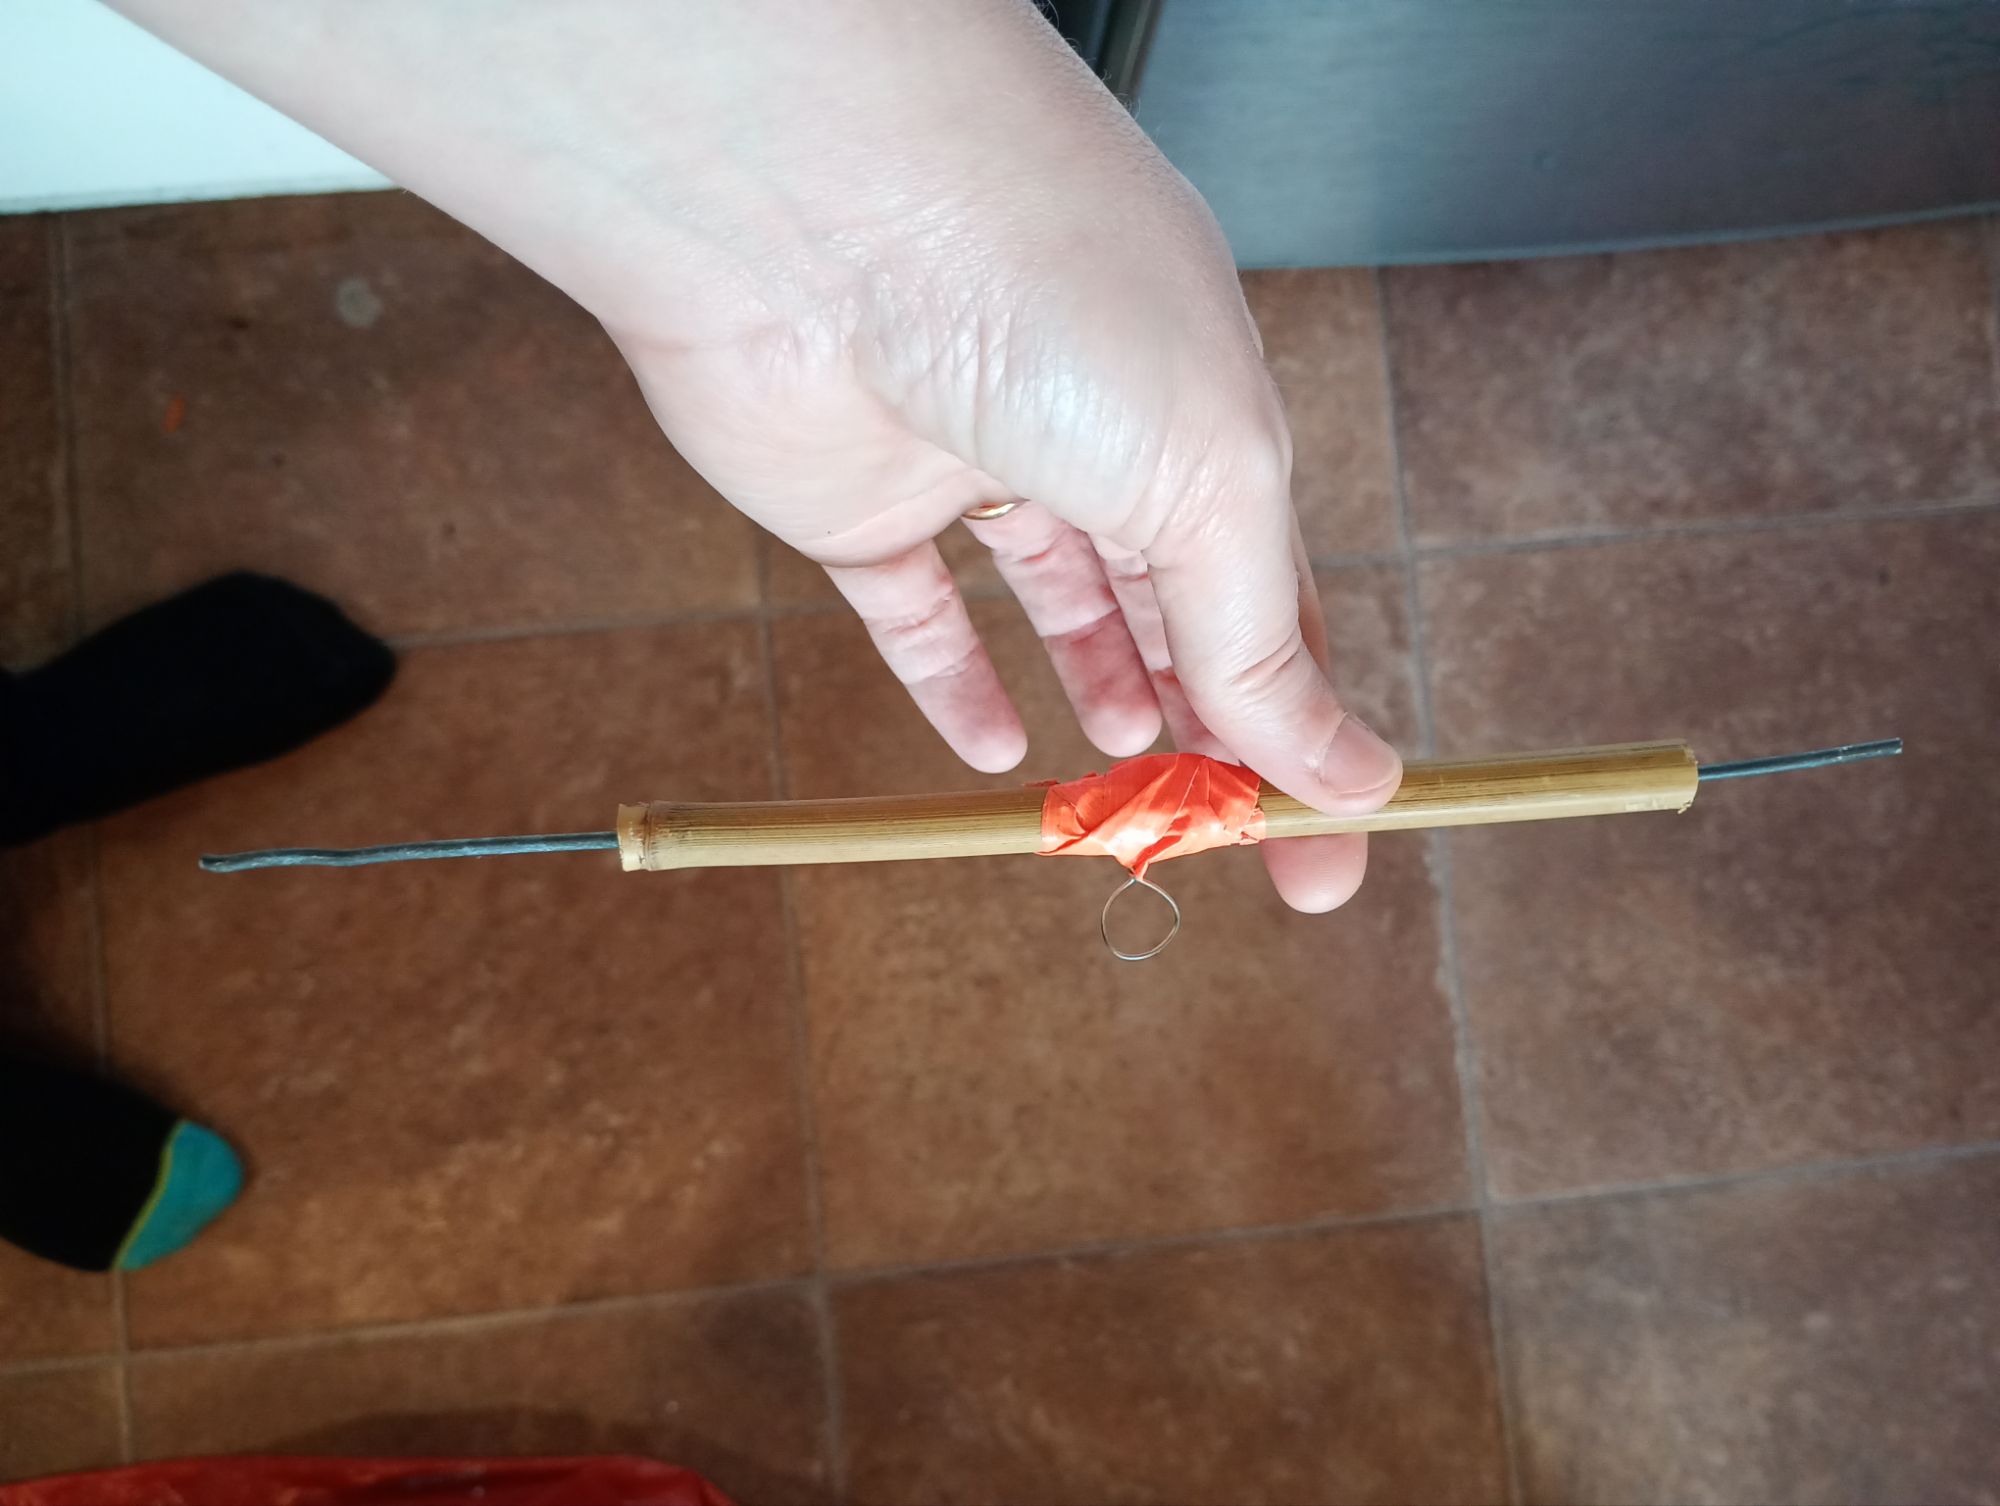
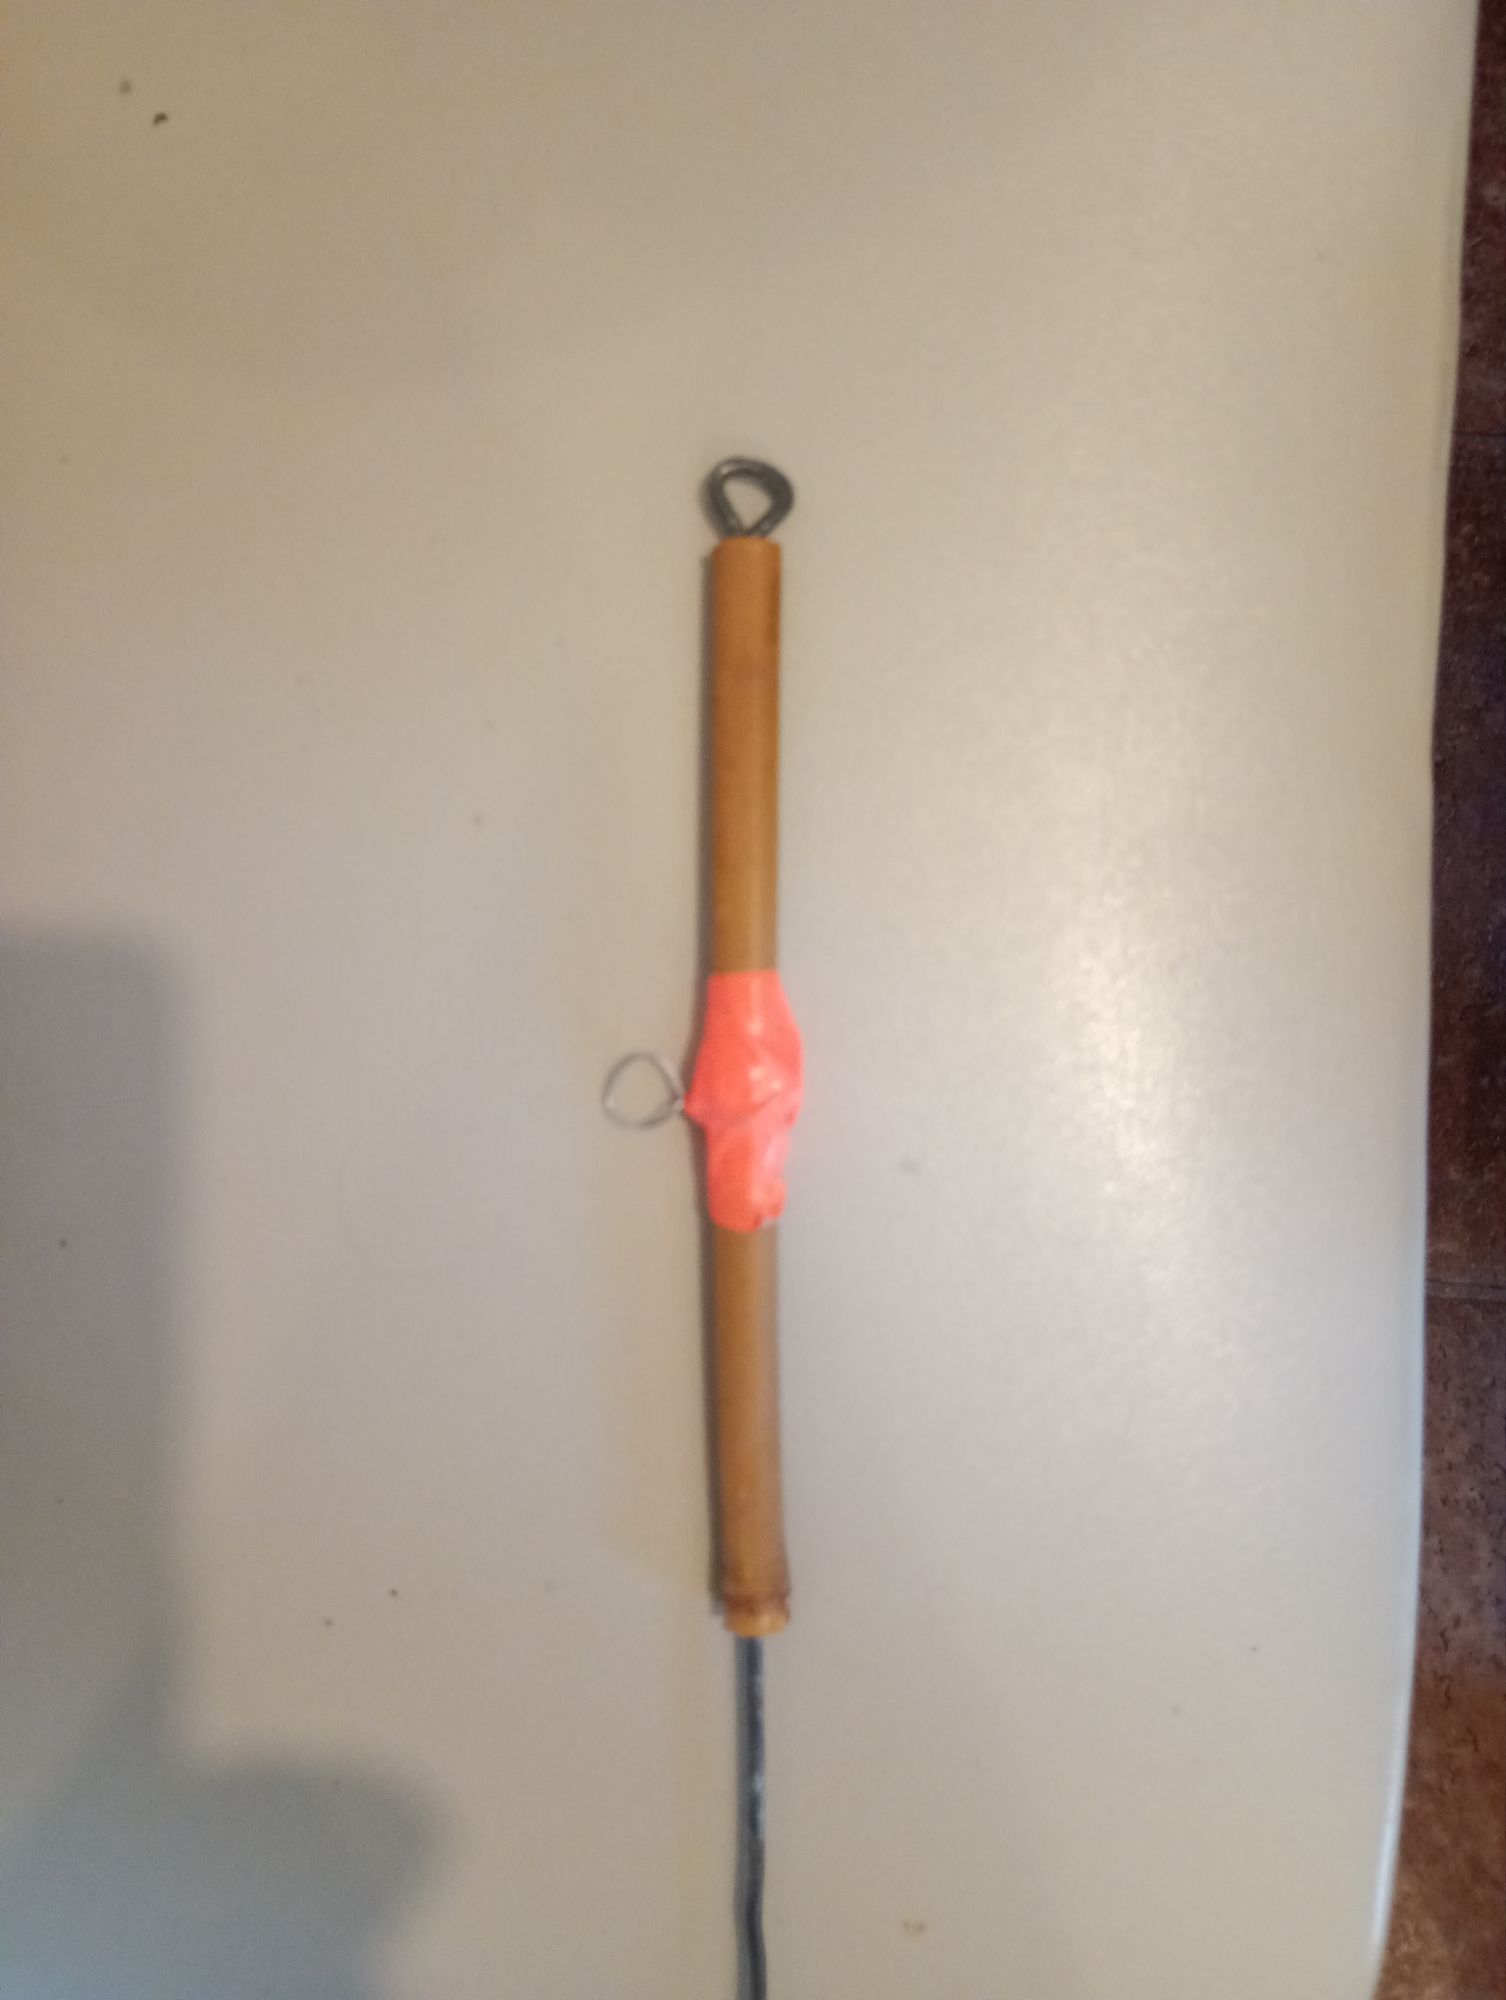
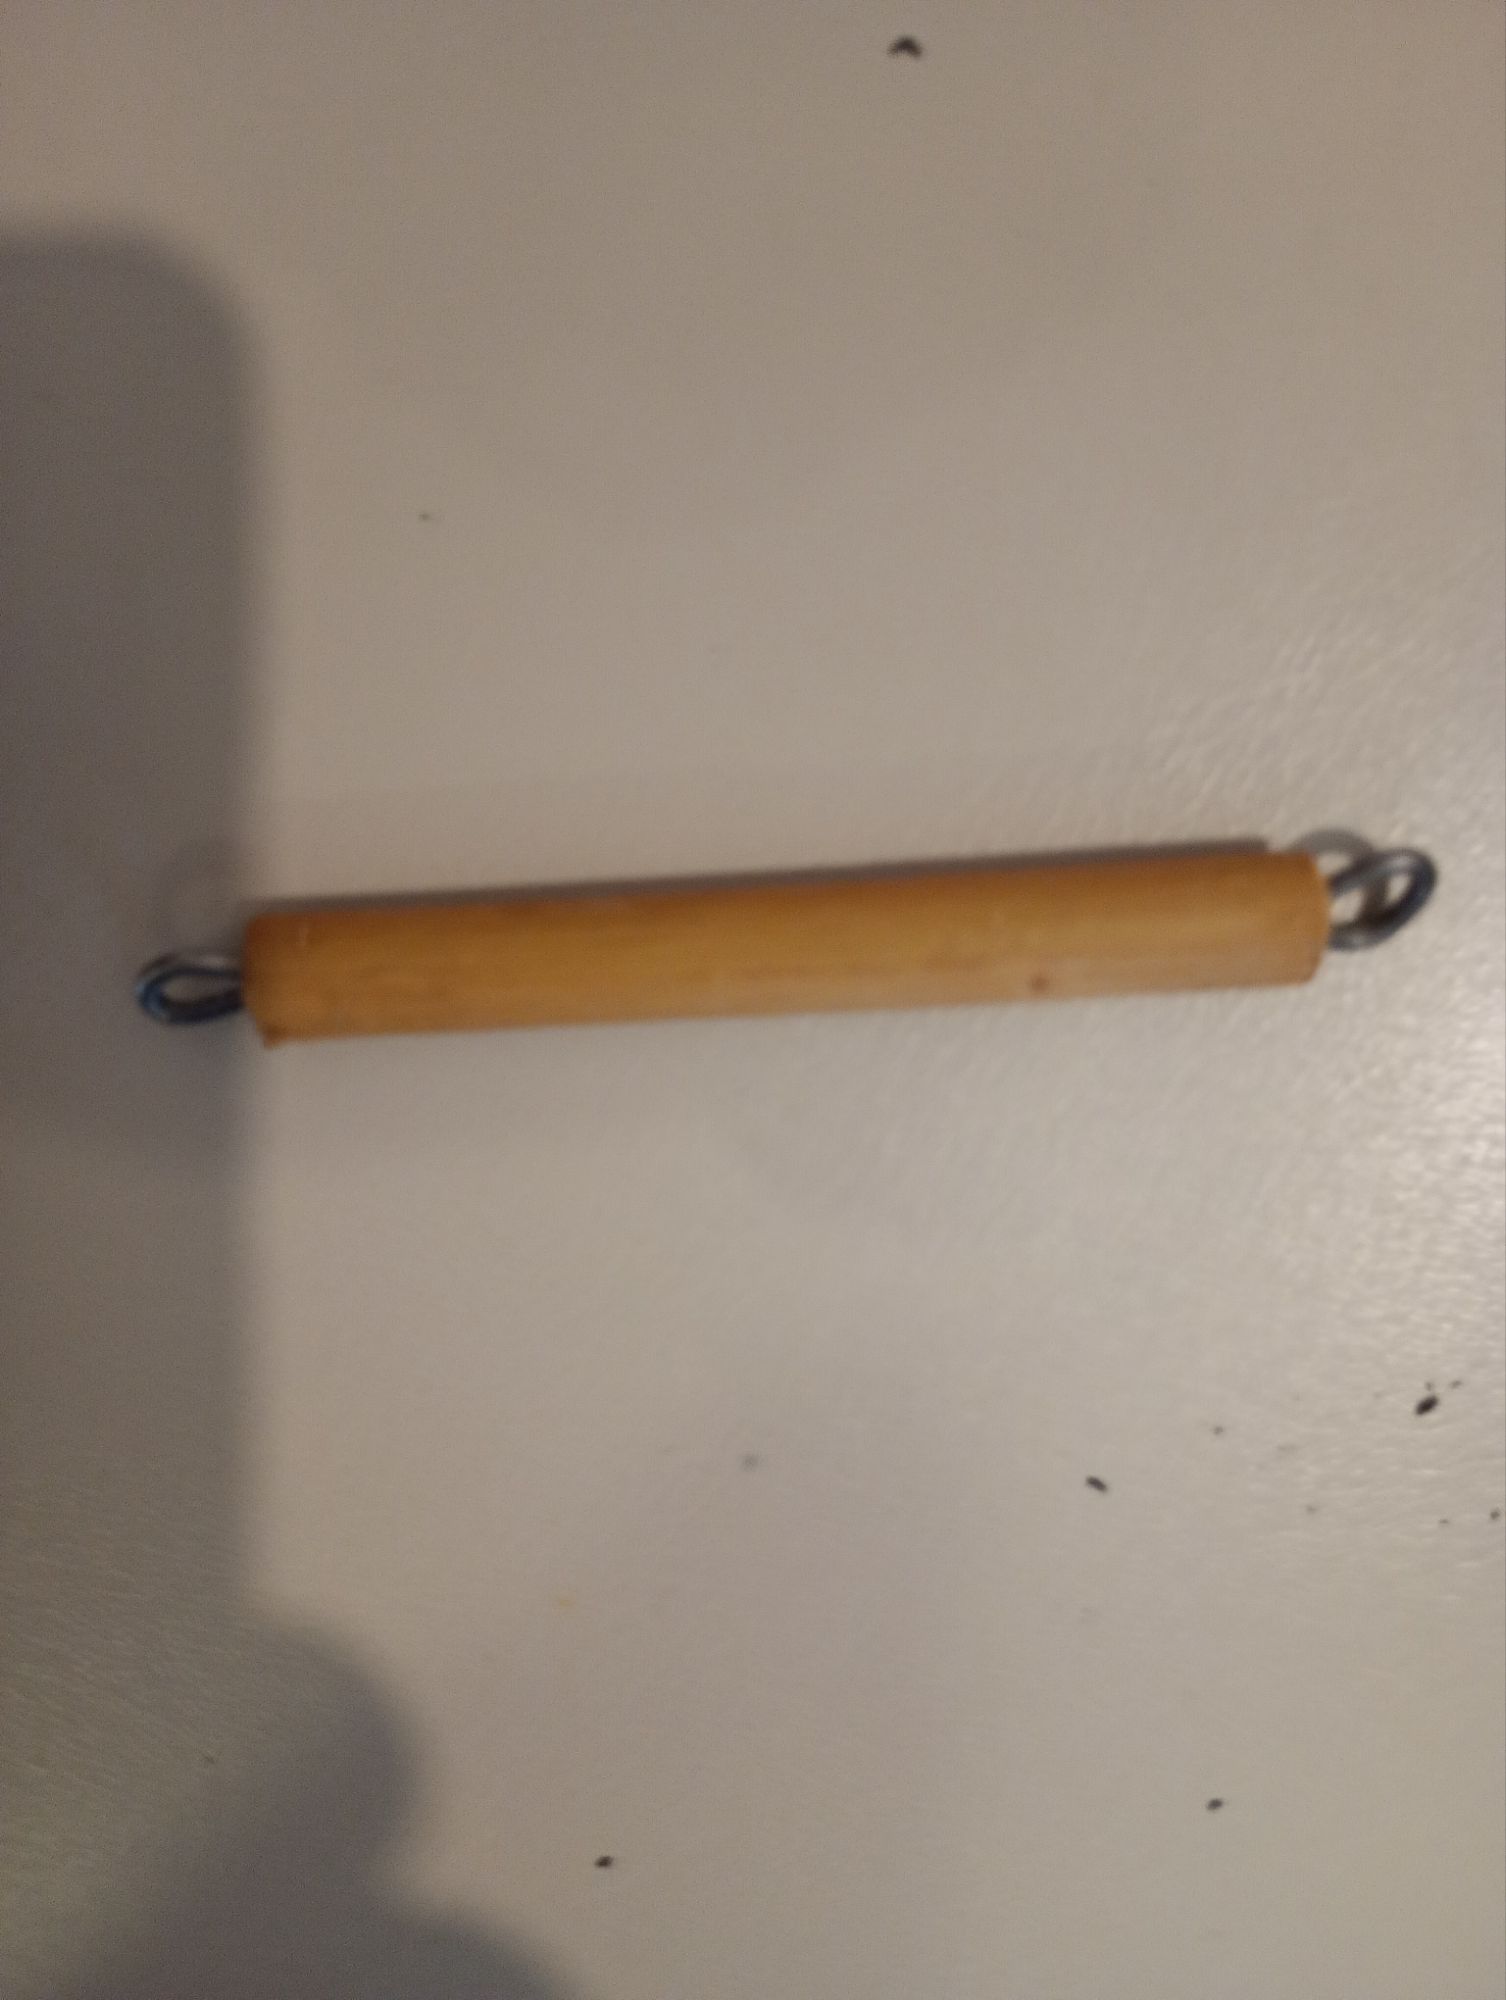
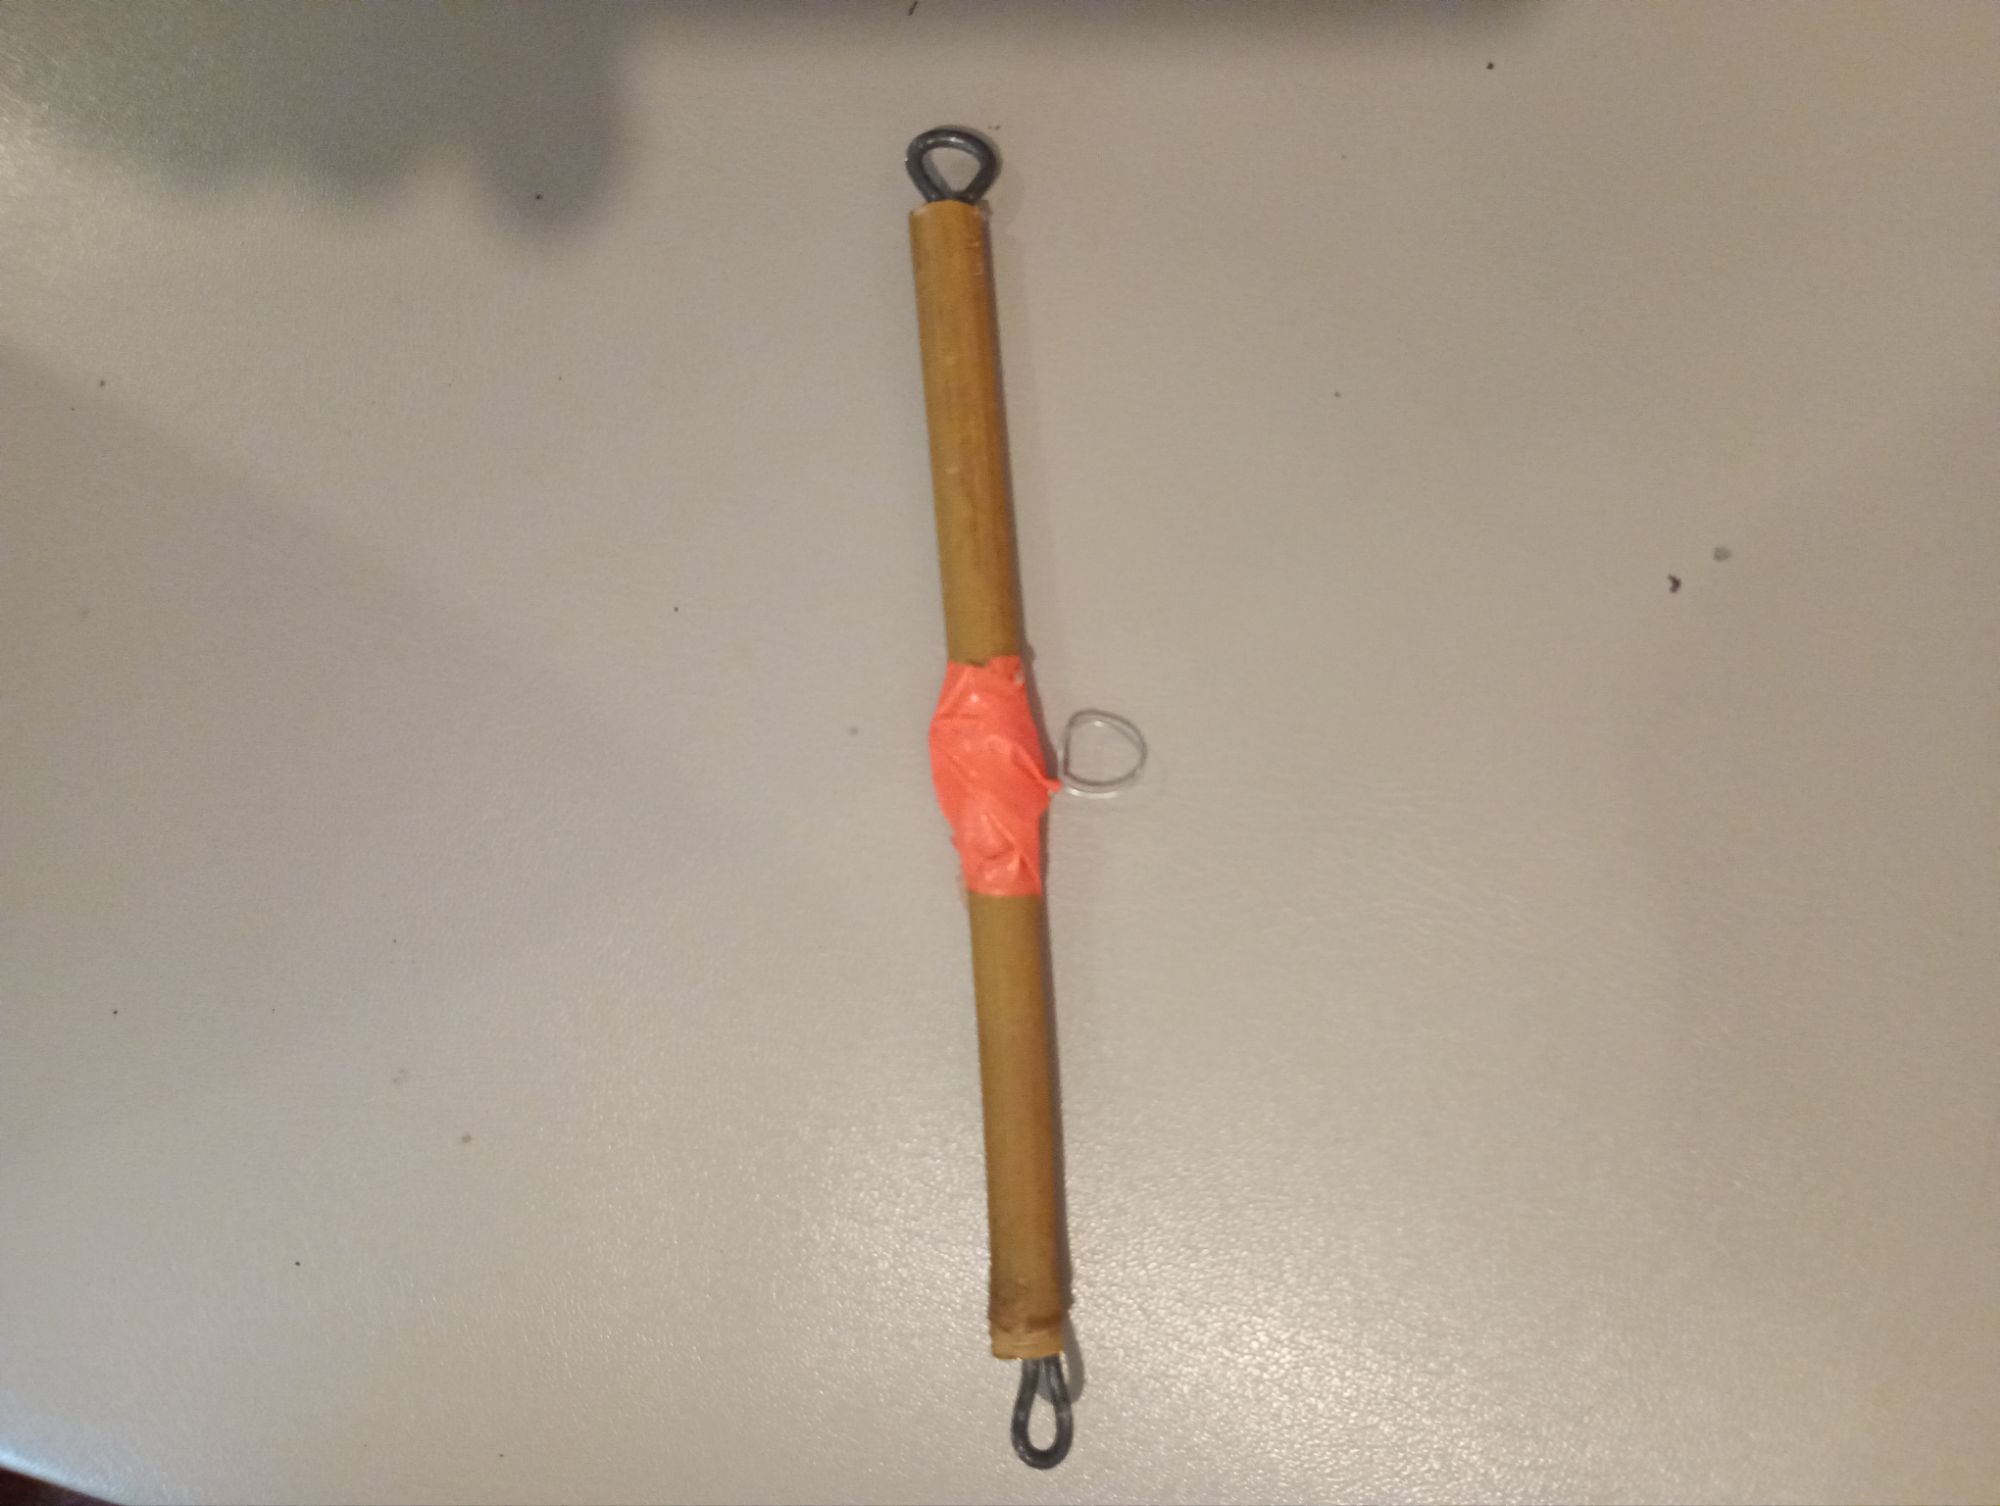
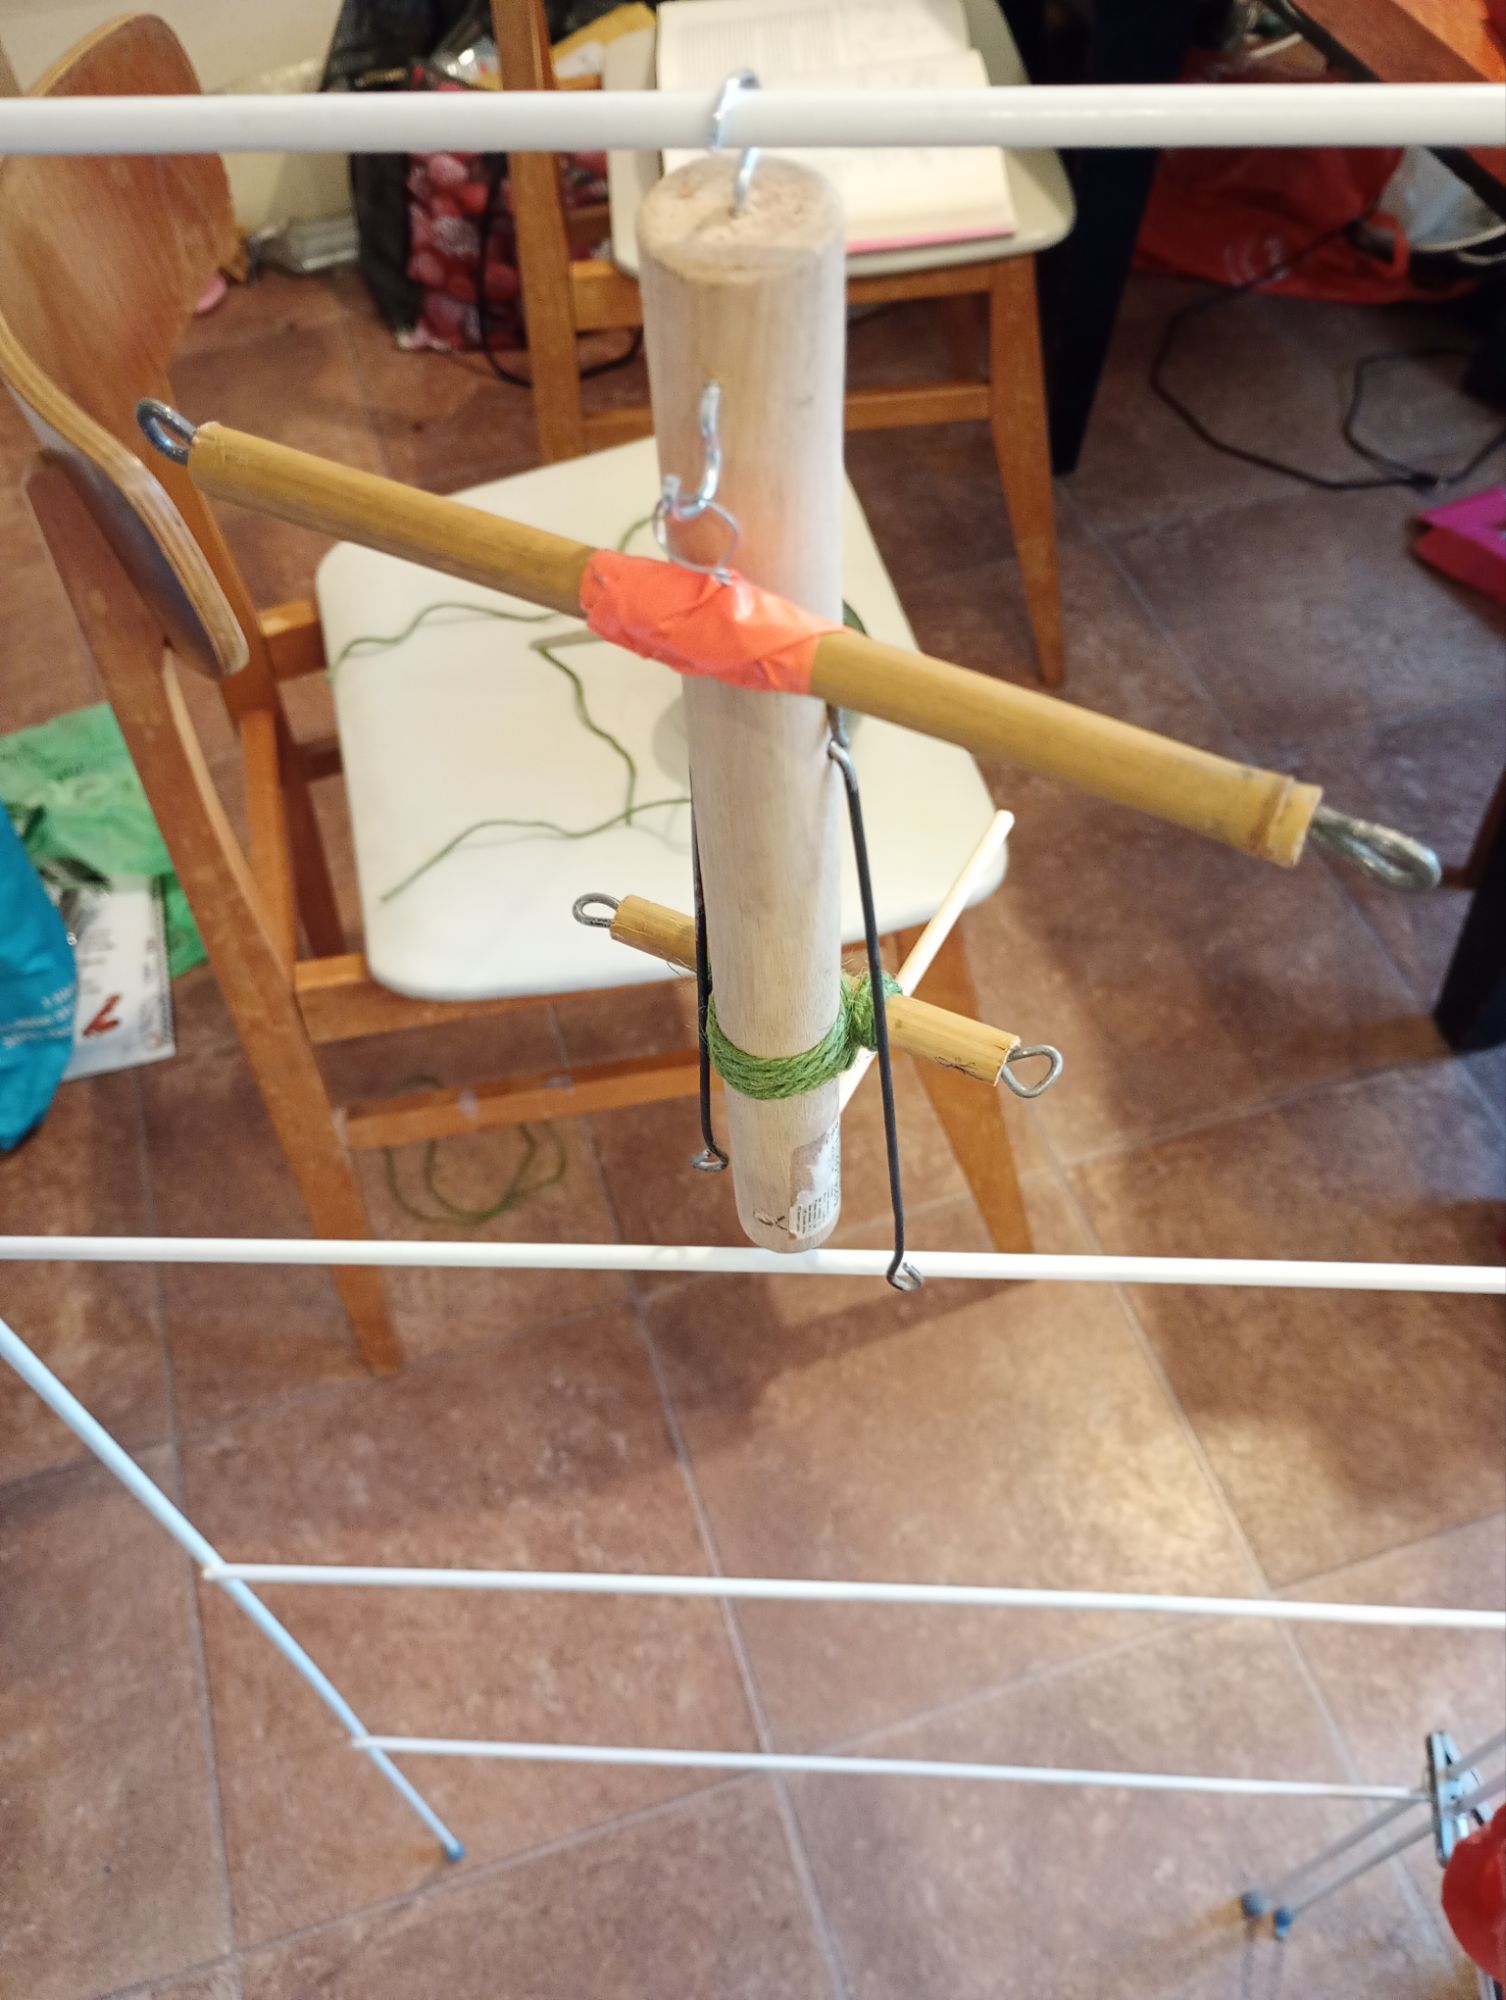
I couldn’t remember exactly how the controls of the puppets at the masterclass were constructed. So, I adapted instructions, from a David Currell book I have, to what materials I had lying around the house.
These attachment points for the head weren’t right as you can see the head is tilting backwards.
As I haven’t got a proper gallows to hang the controller and puppet on to string it, I had to manage as best I could with a clothes airer and a piece of string. Not ideal, as the weight of the puppet pulled the string down but I managed fairly well anyway.
I secured the head crossbar with string both because that meant I could remove it for repositioning or to replace with a different size and also because the slot I cut was a little too big.
I will get a video of him moving at some point. I tried weighting the feet with blu tack to get them to move correctly, but I haven’t got the positioning right yet and they have a tendency to flip backwards.
Since then the Pinocchio puppet has arrived. I will post more about him once I start doing him up a bit.