Mr. Punch gets a new body (upcycling a vintage vinyl Punch head).

I was doing some sorting out the other day and decided to investigate the box on top of my wardrobe in which I kept my treasured, old, childhood toys.

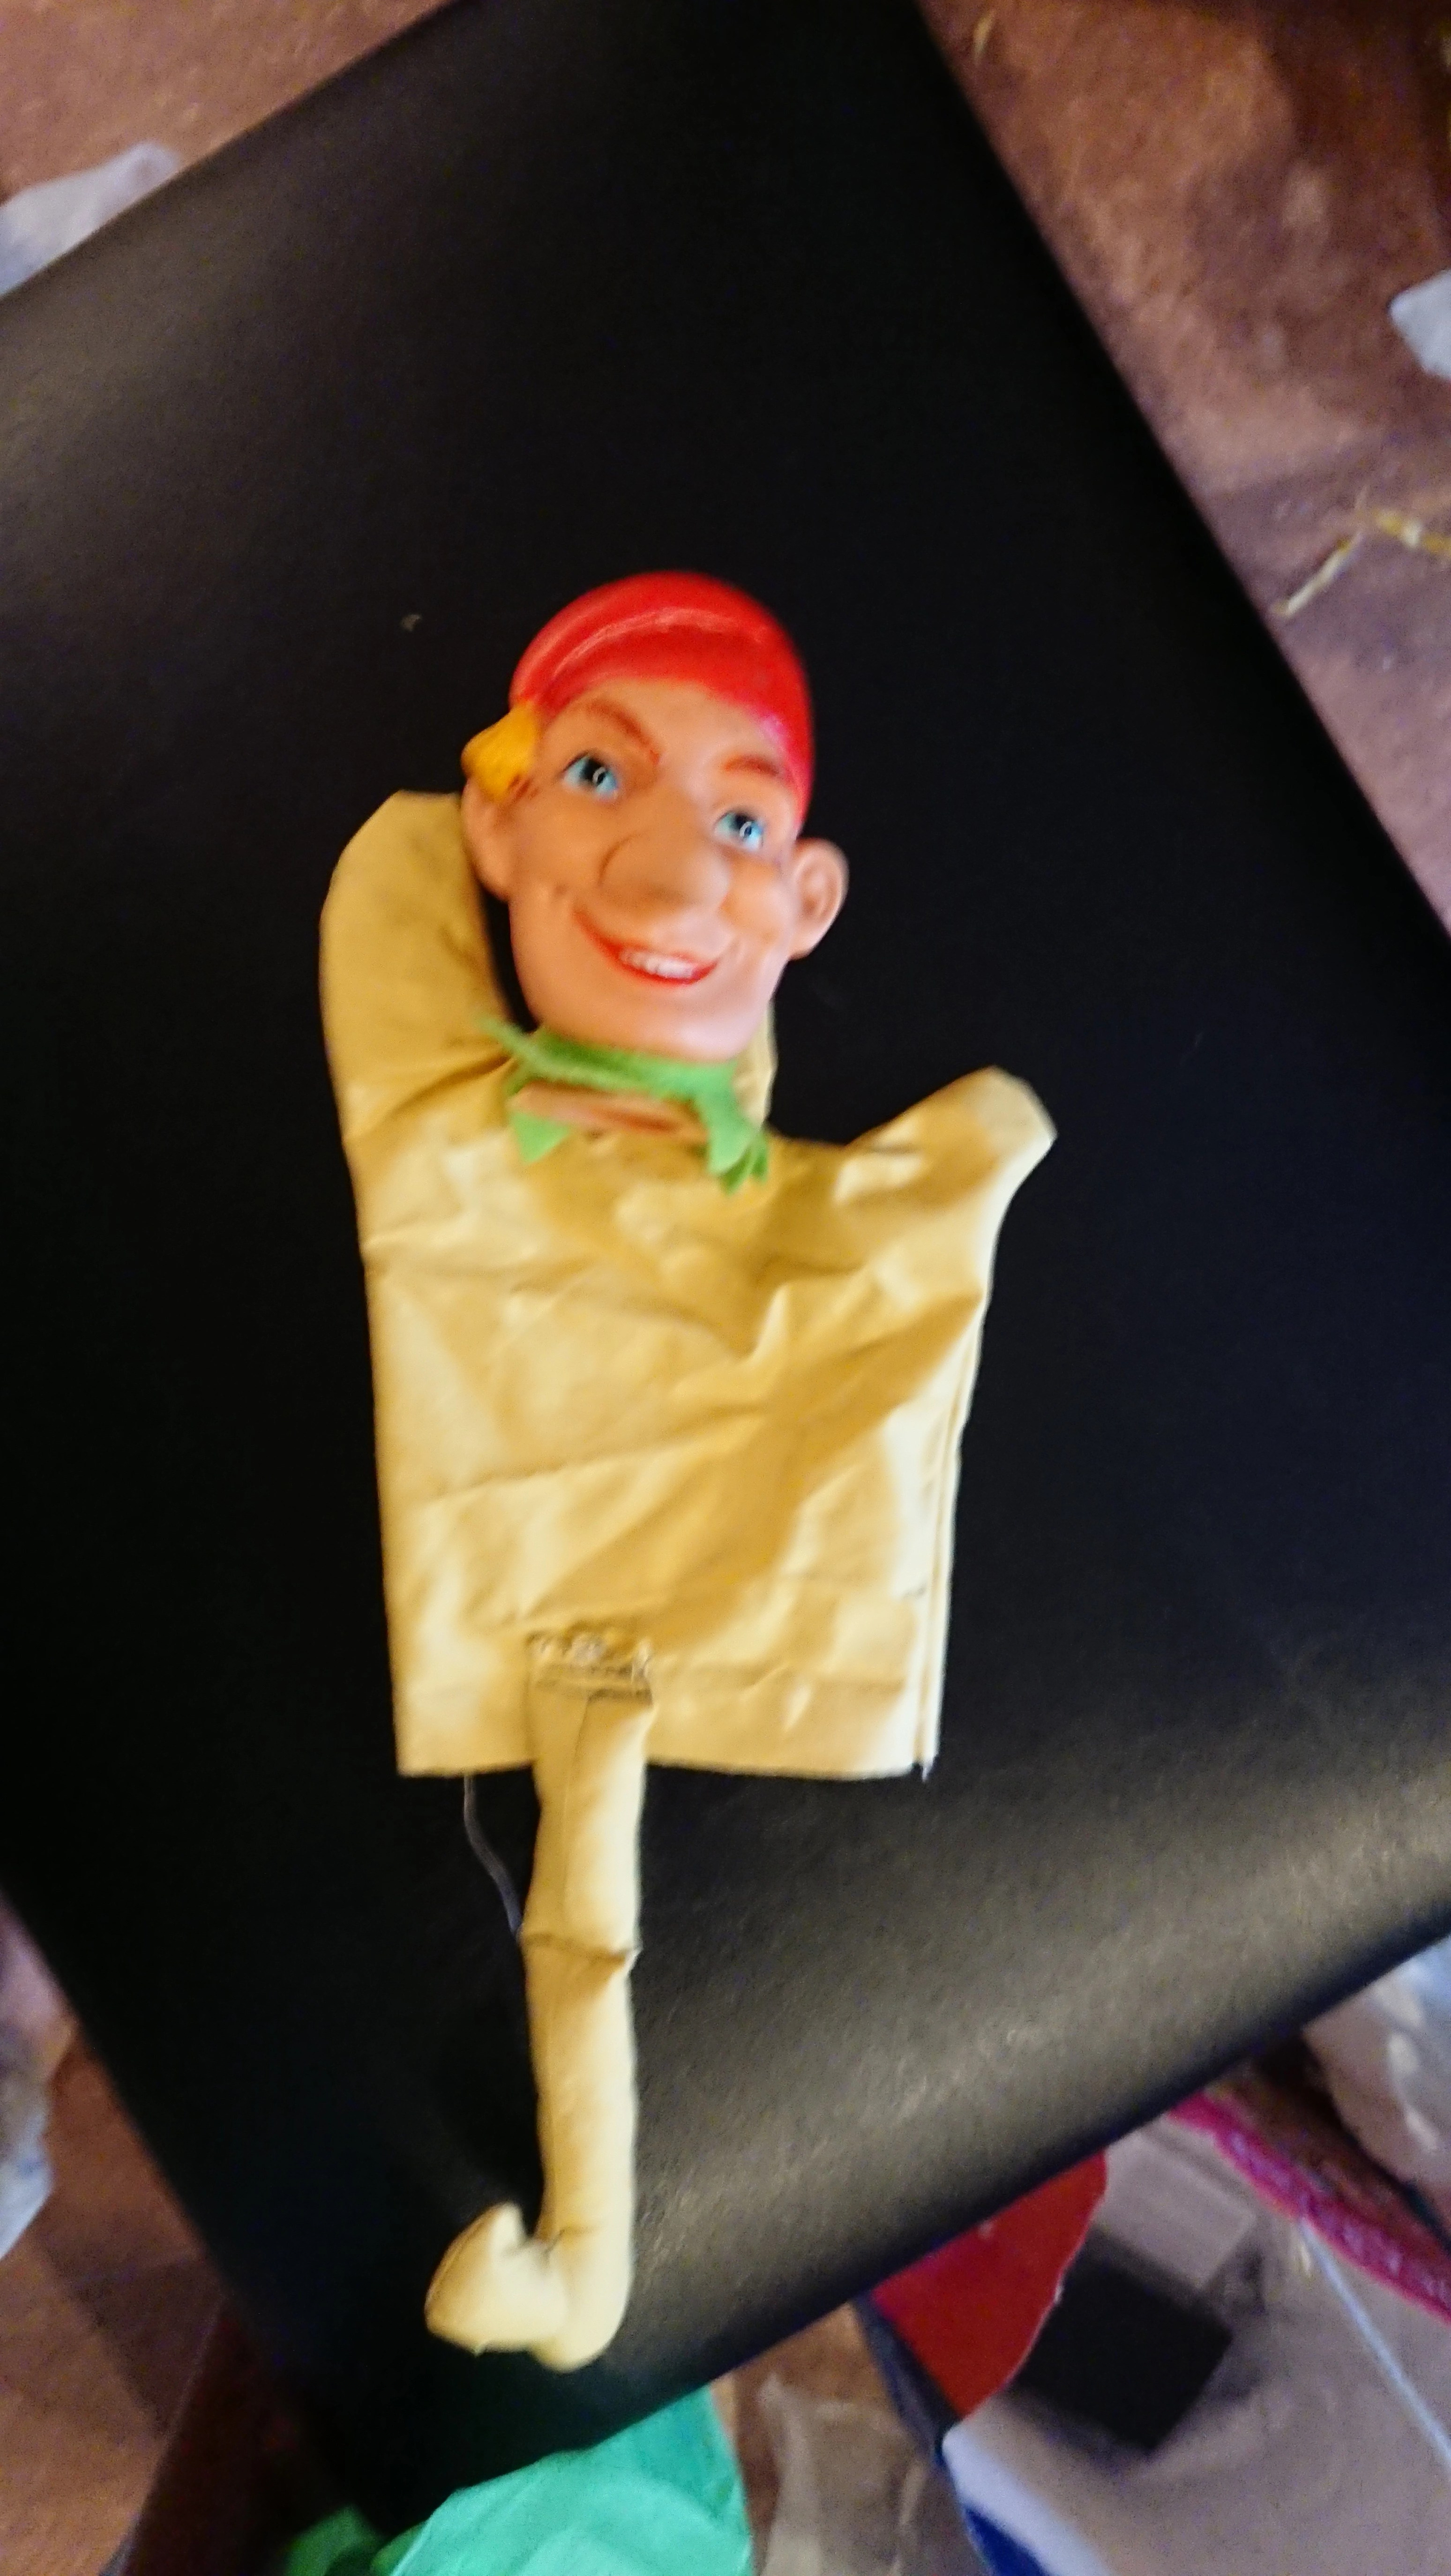
Amongst other things, I found this old vinyl toy puppet head of Mr. Punch. My mum got him for me from a charity shop a very long time ago and he originally had a very simple two coloured fabric body with some fabric “buttons” up the front. After a while the stitching failed and Mr. Punch’s body came off and then went missing altogether.

I gave it a clean and set the head aside with the thought that I could make him a new body and then give the puppet to my kids at some point. They already have one Punch puppet but his slapstick is a little felt one attached to his hand so this one would be able to pick up and put down objects (including a slapstick if I make one).

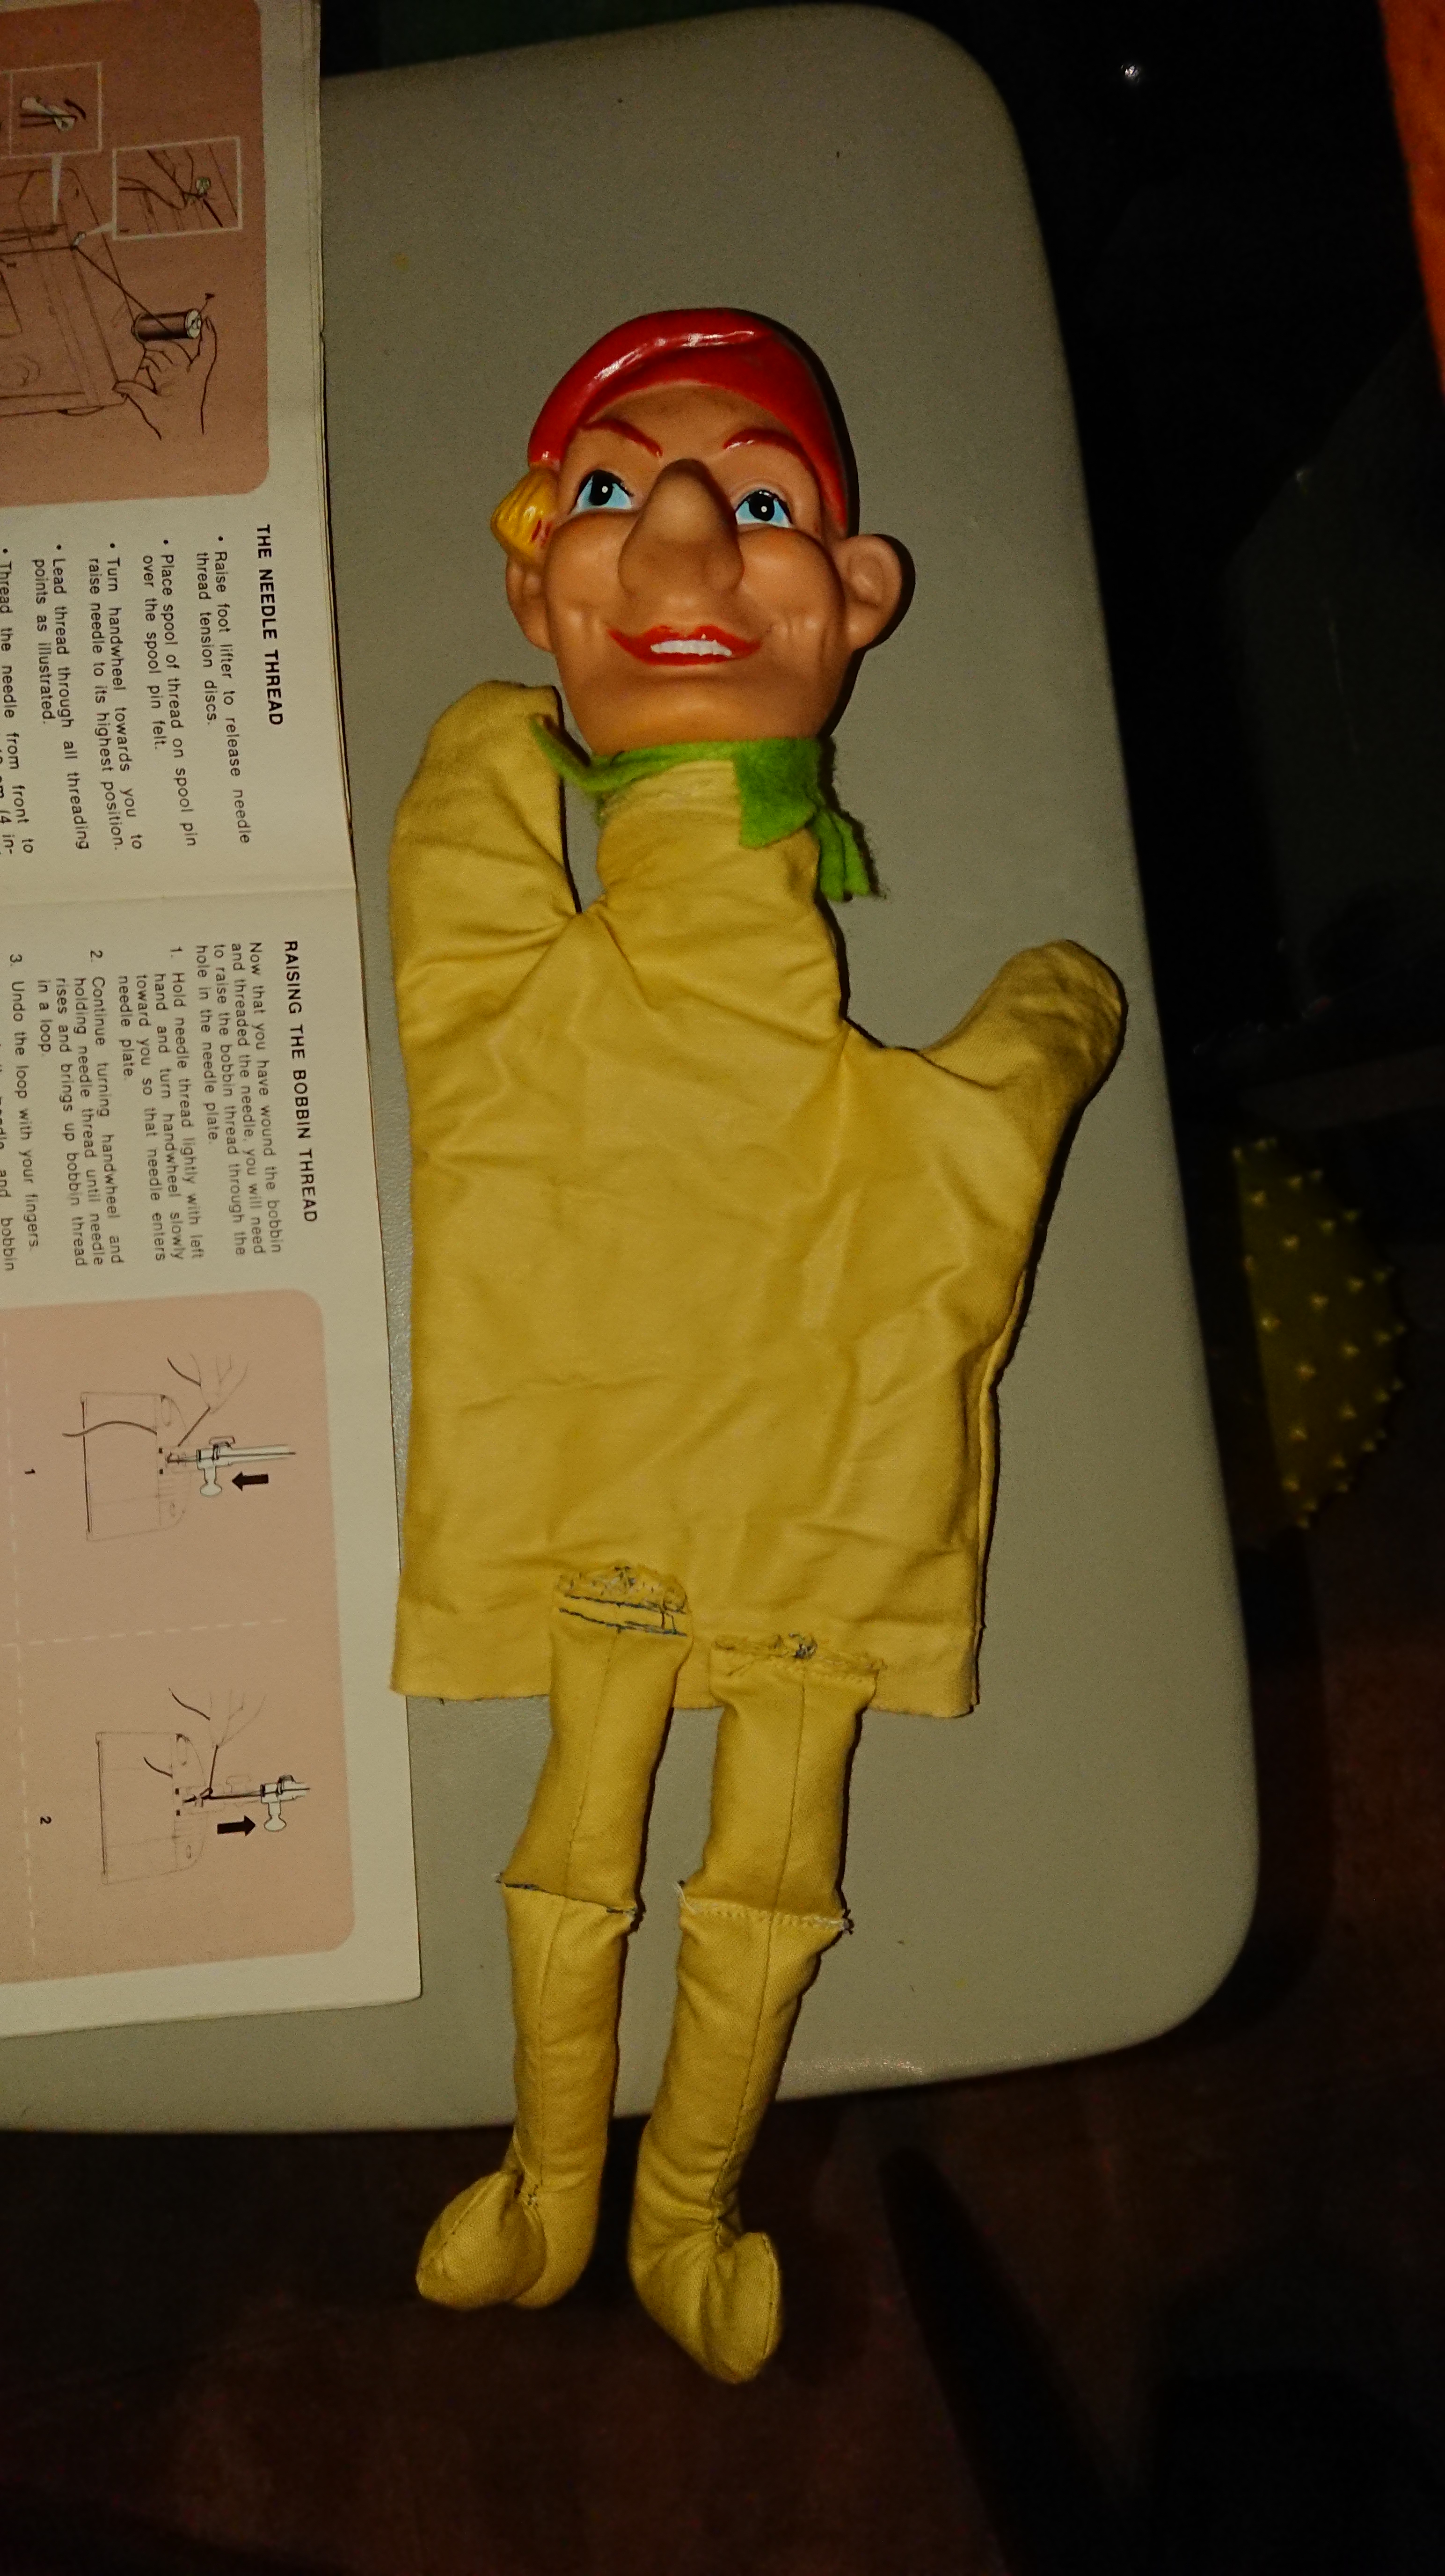
Then I decided to get the old sewing machine that has been taking up space and gathering dust fixed and I was requested to try it out for myself to make sure it was working properly. I thought this would be the perfect opportunity to fix up Mr. Punch with a new body.

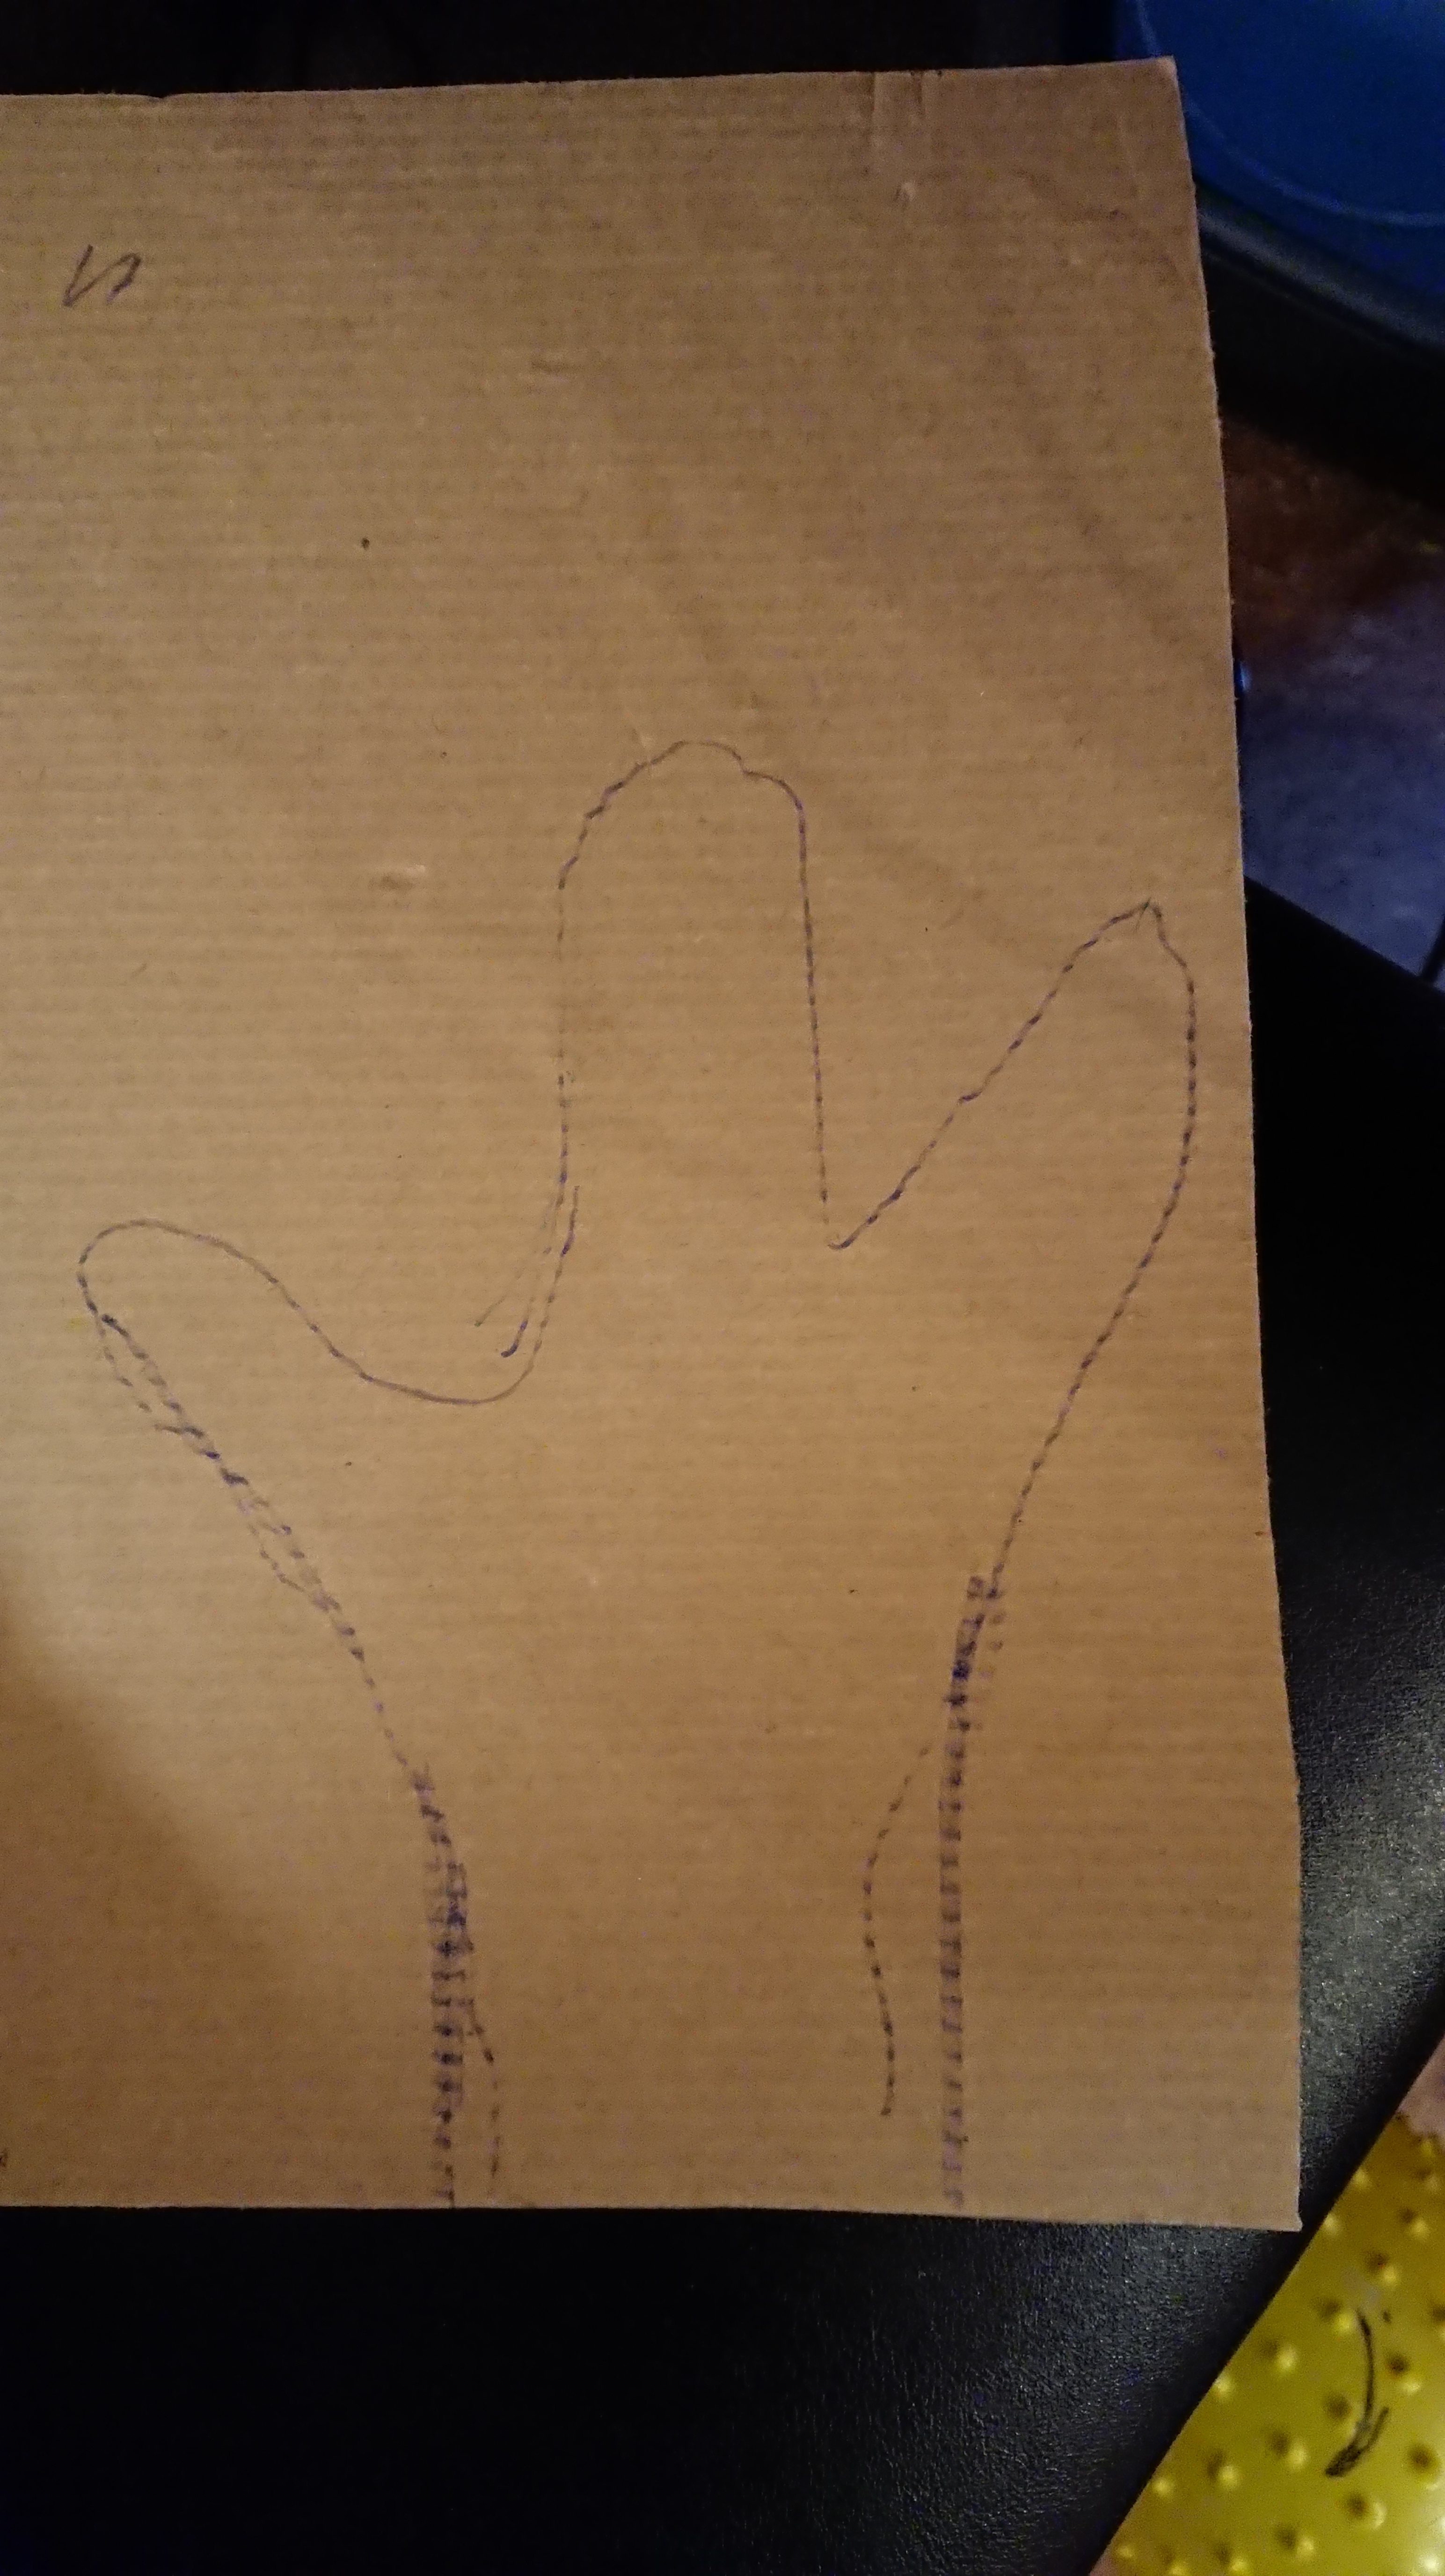
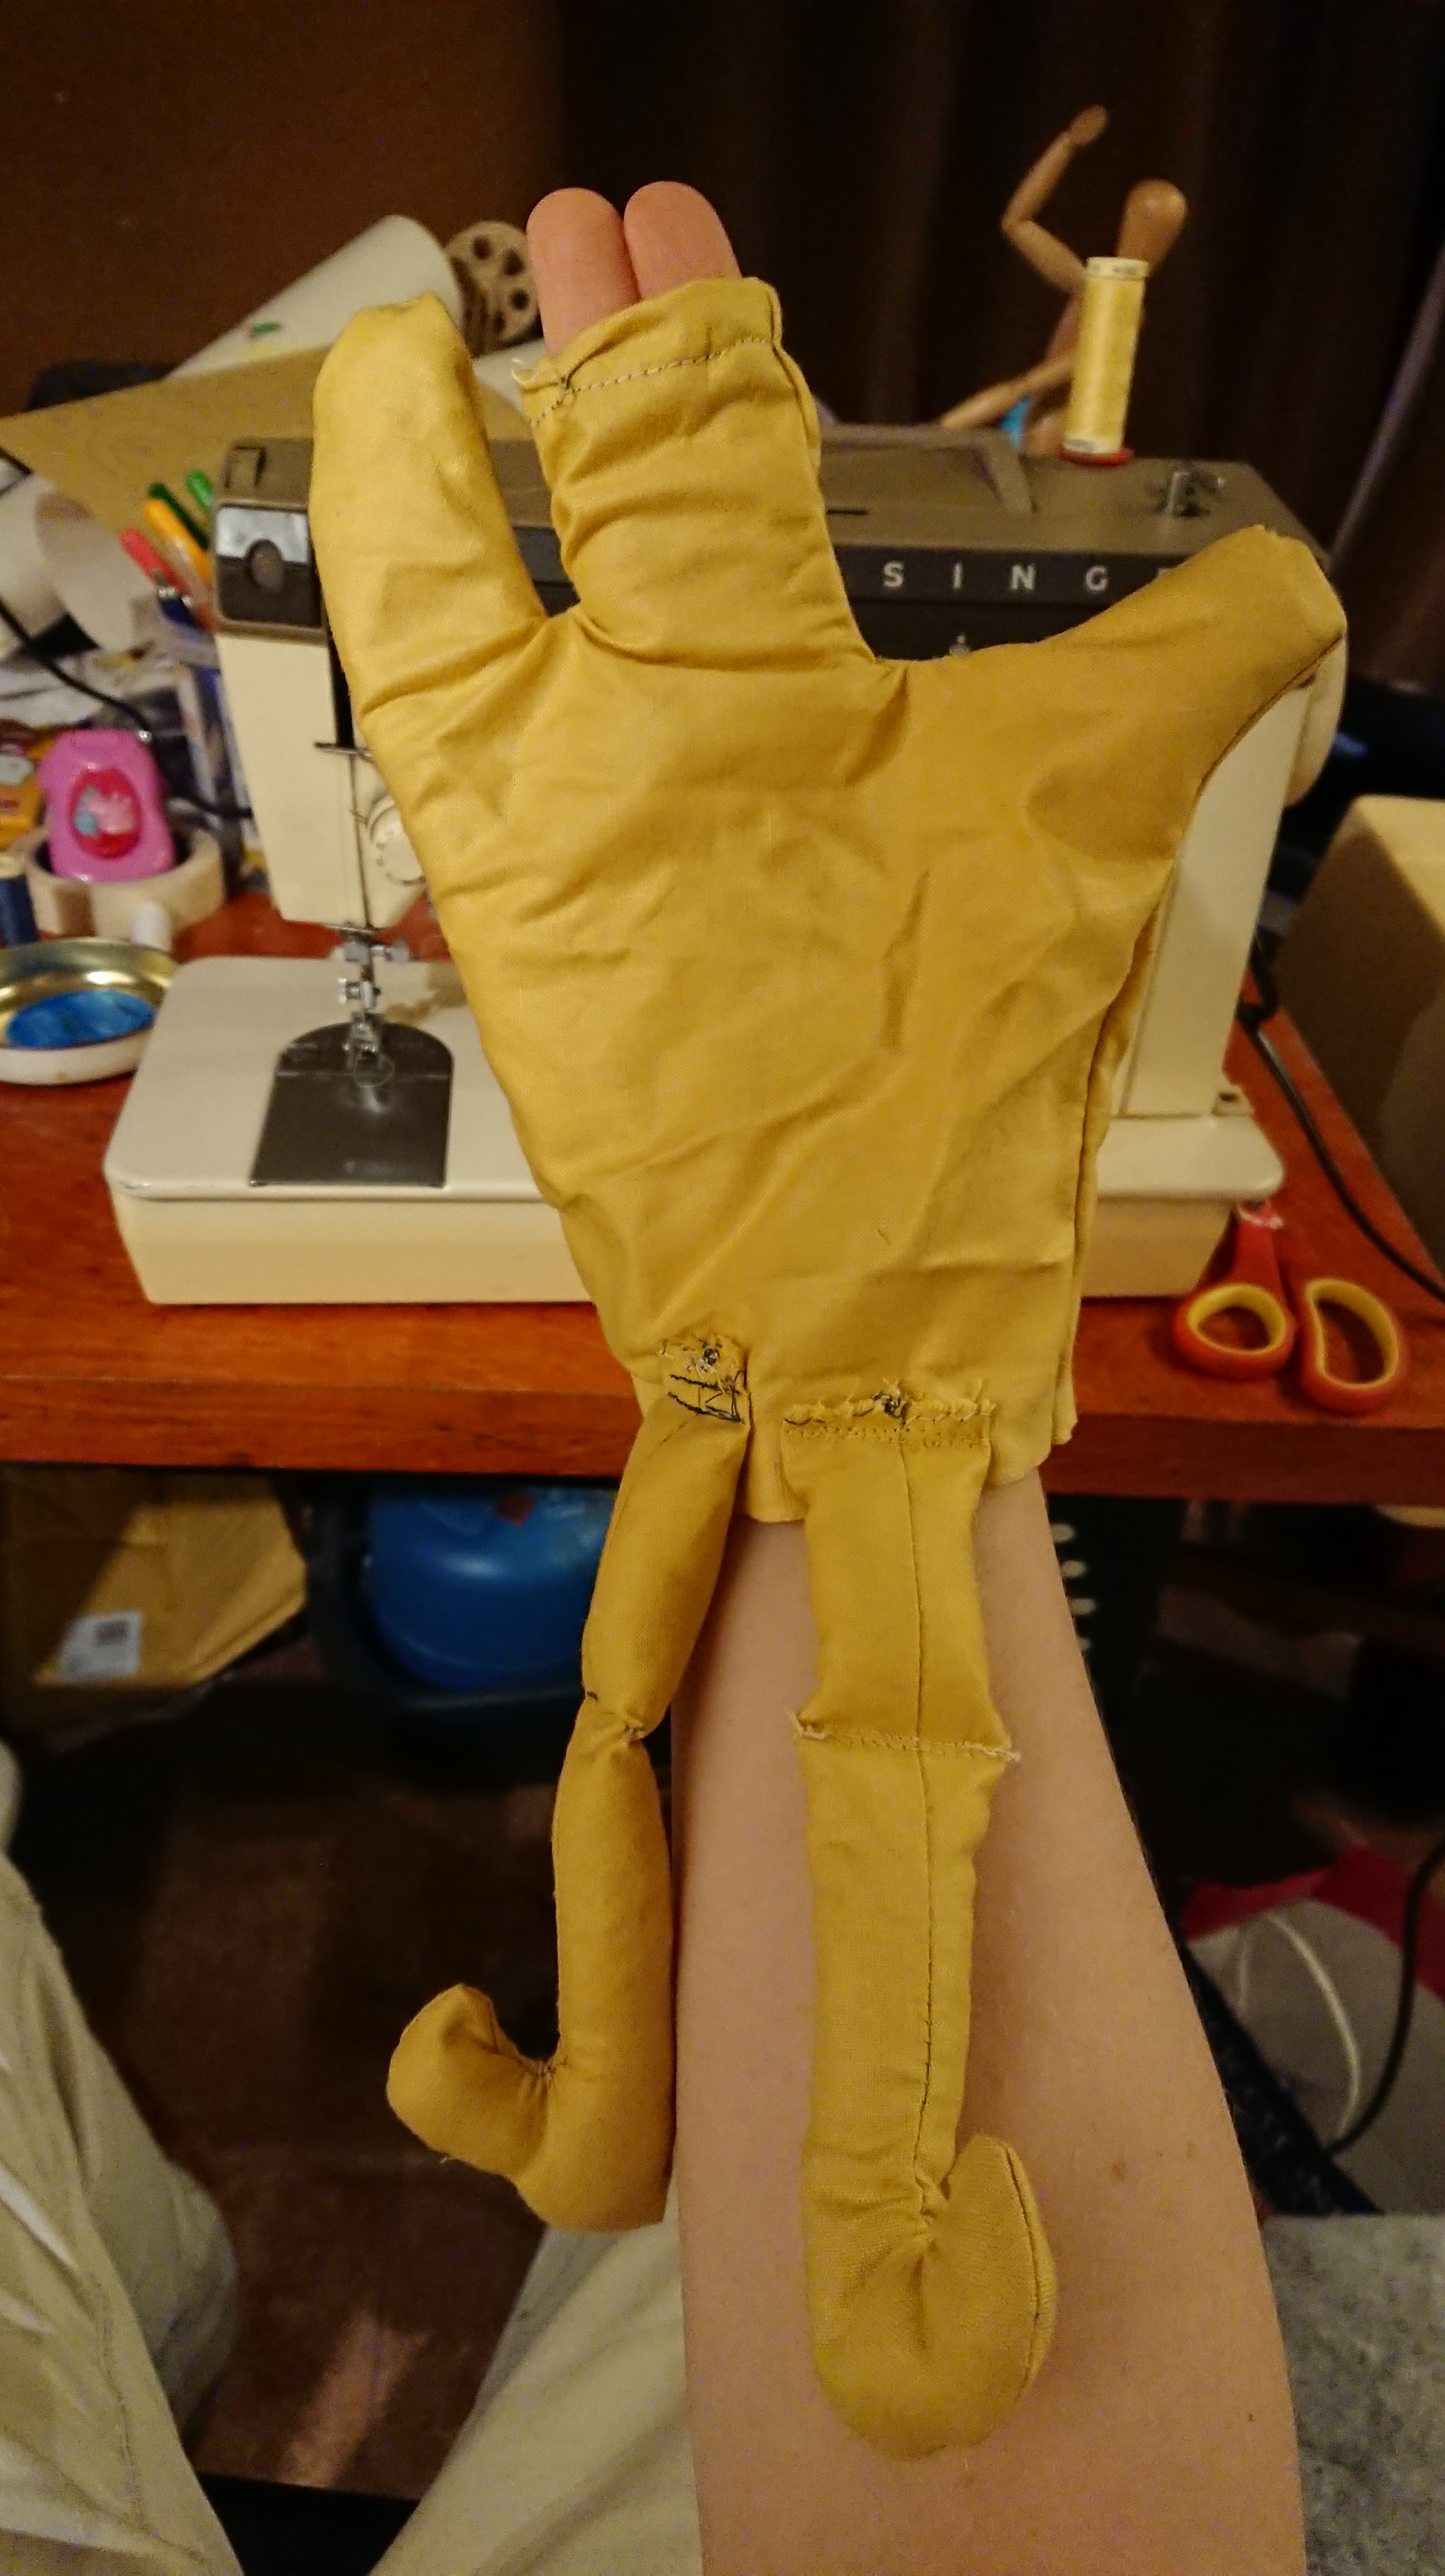
I decided to use my own hand for the template rather than using my son’s hand as his hand would be too small for the proportion of the head and by using mine they shouldn’t outgrow the size of the glove.

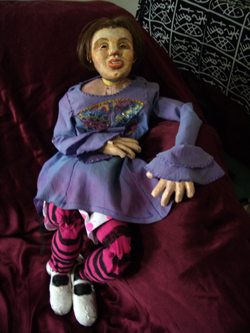
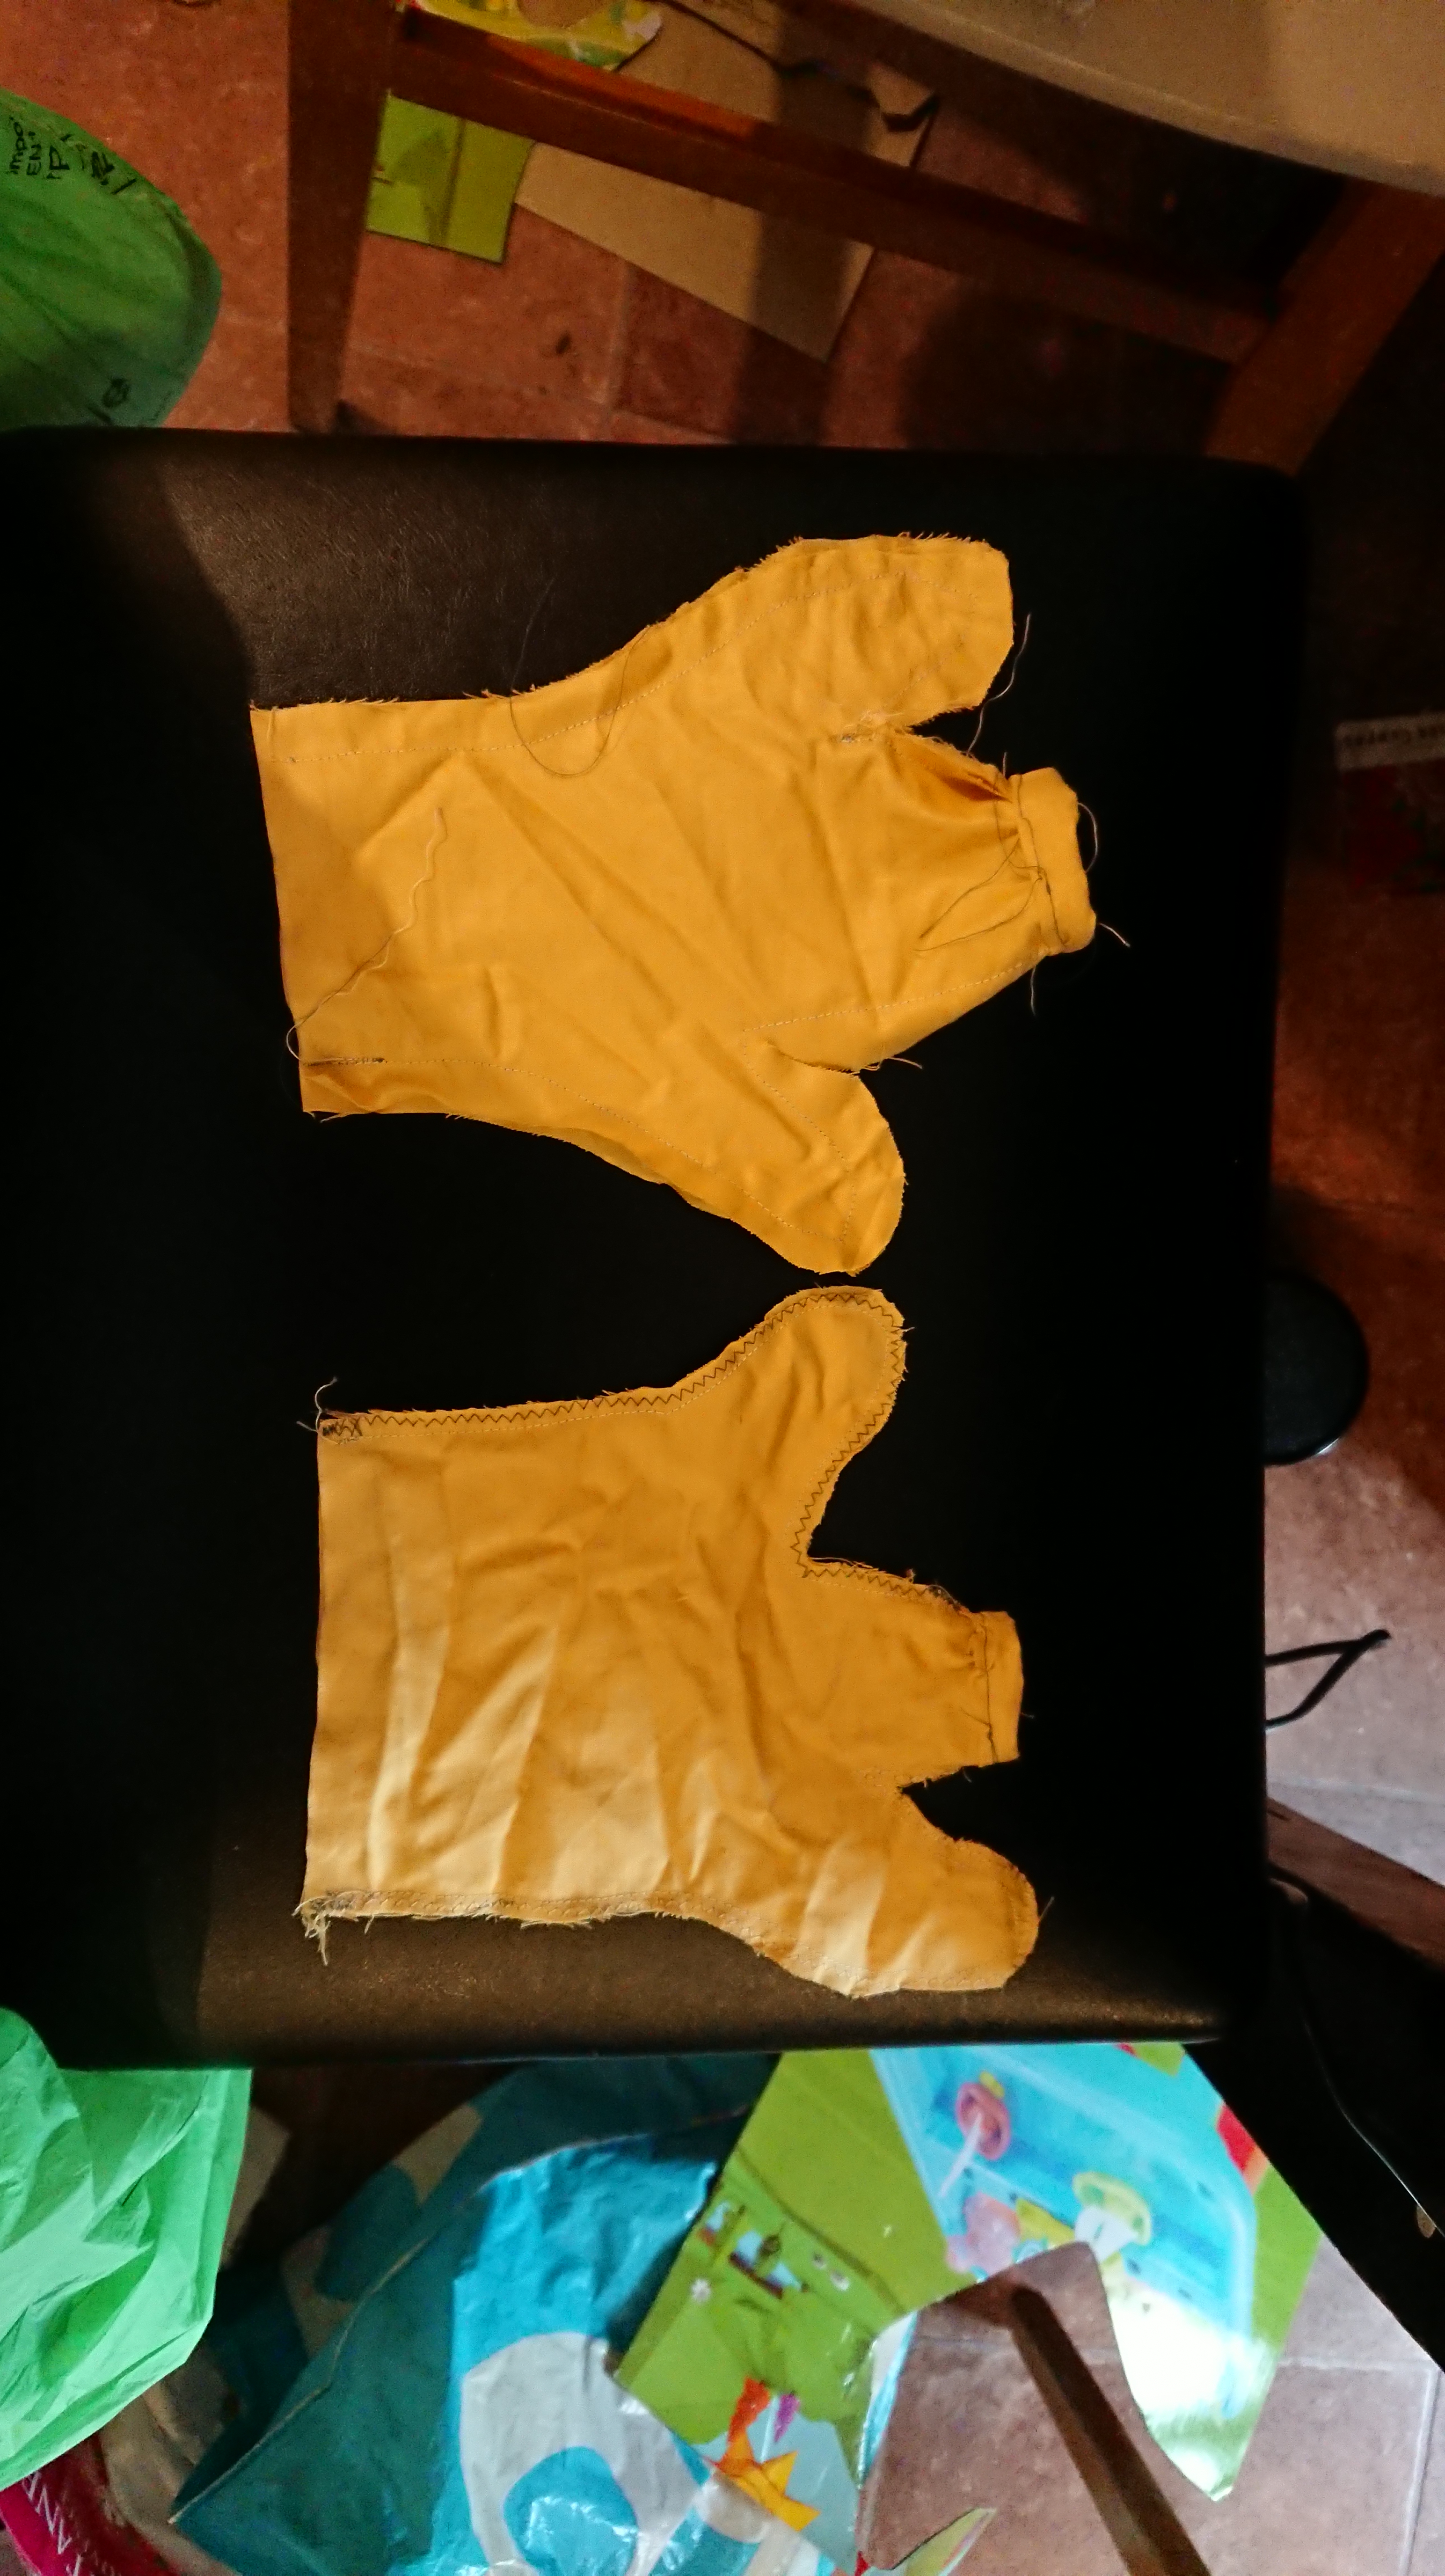
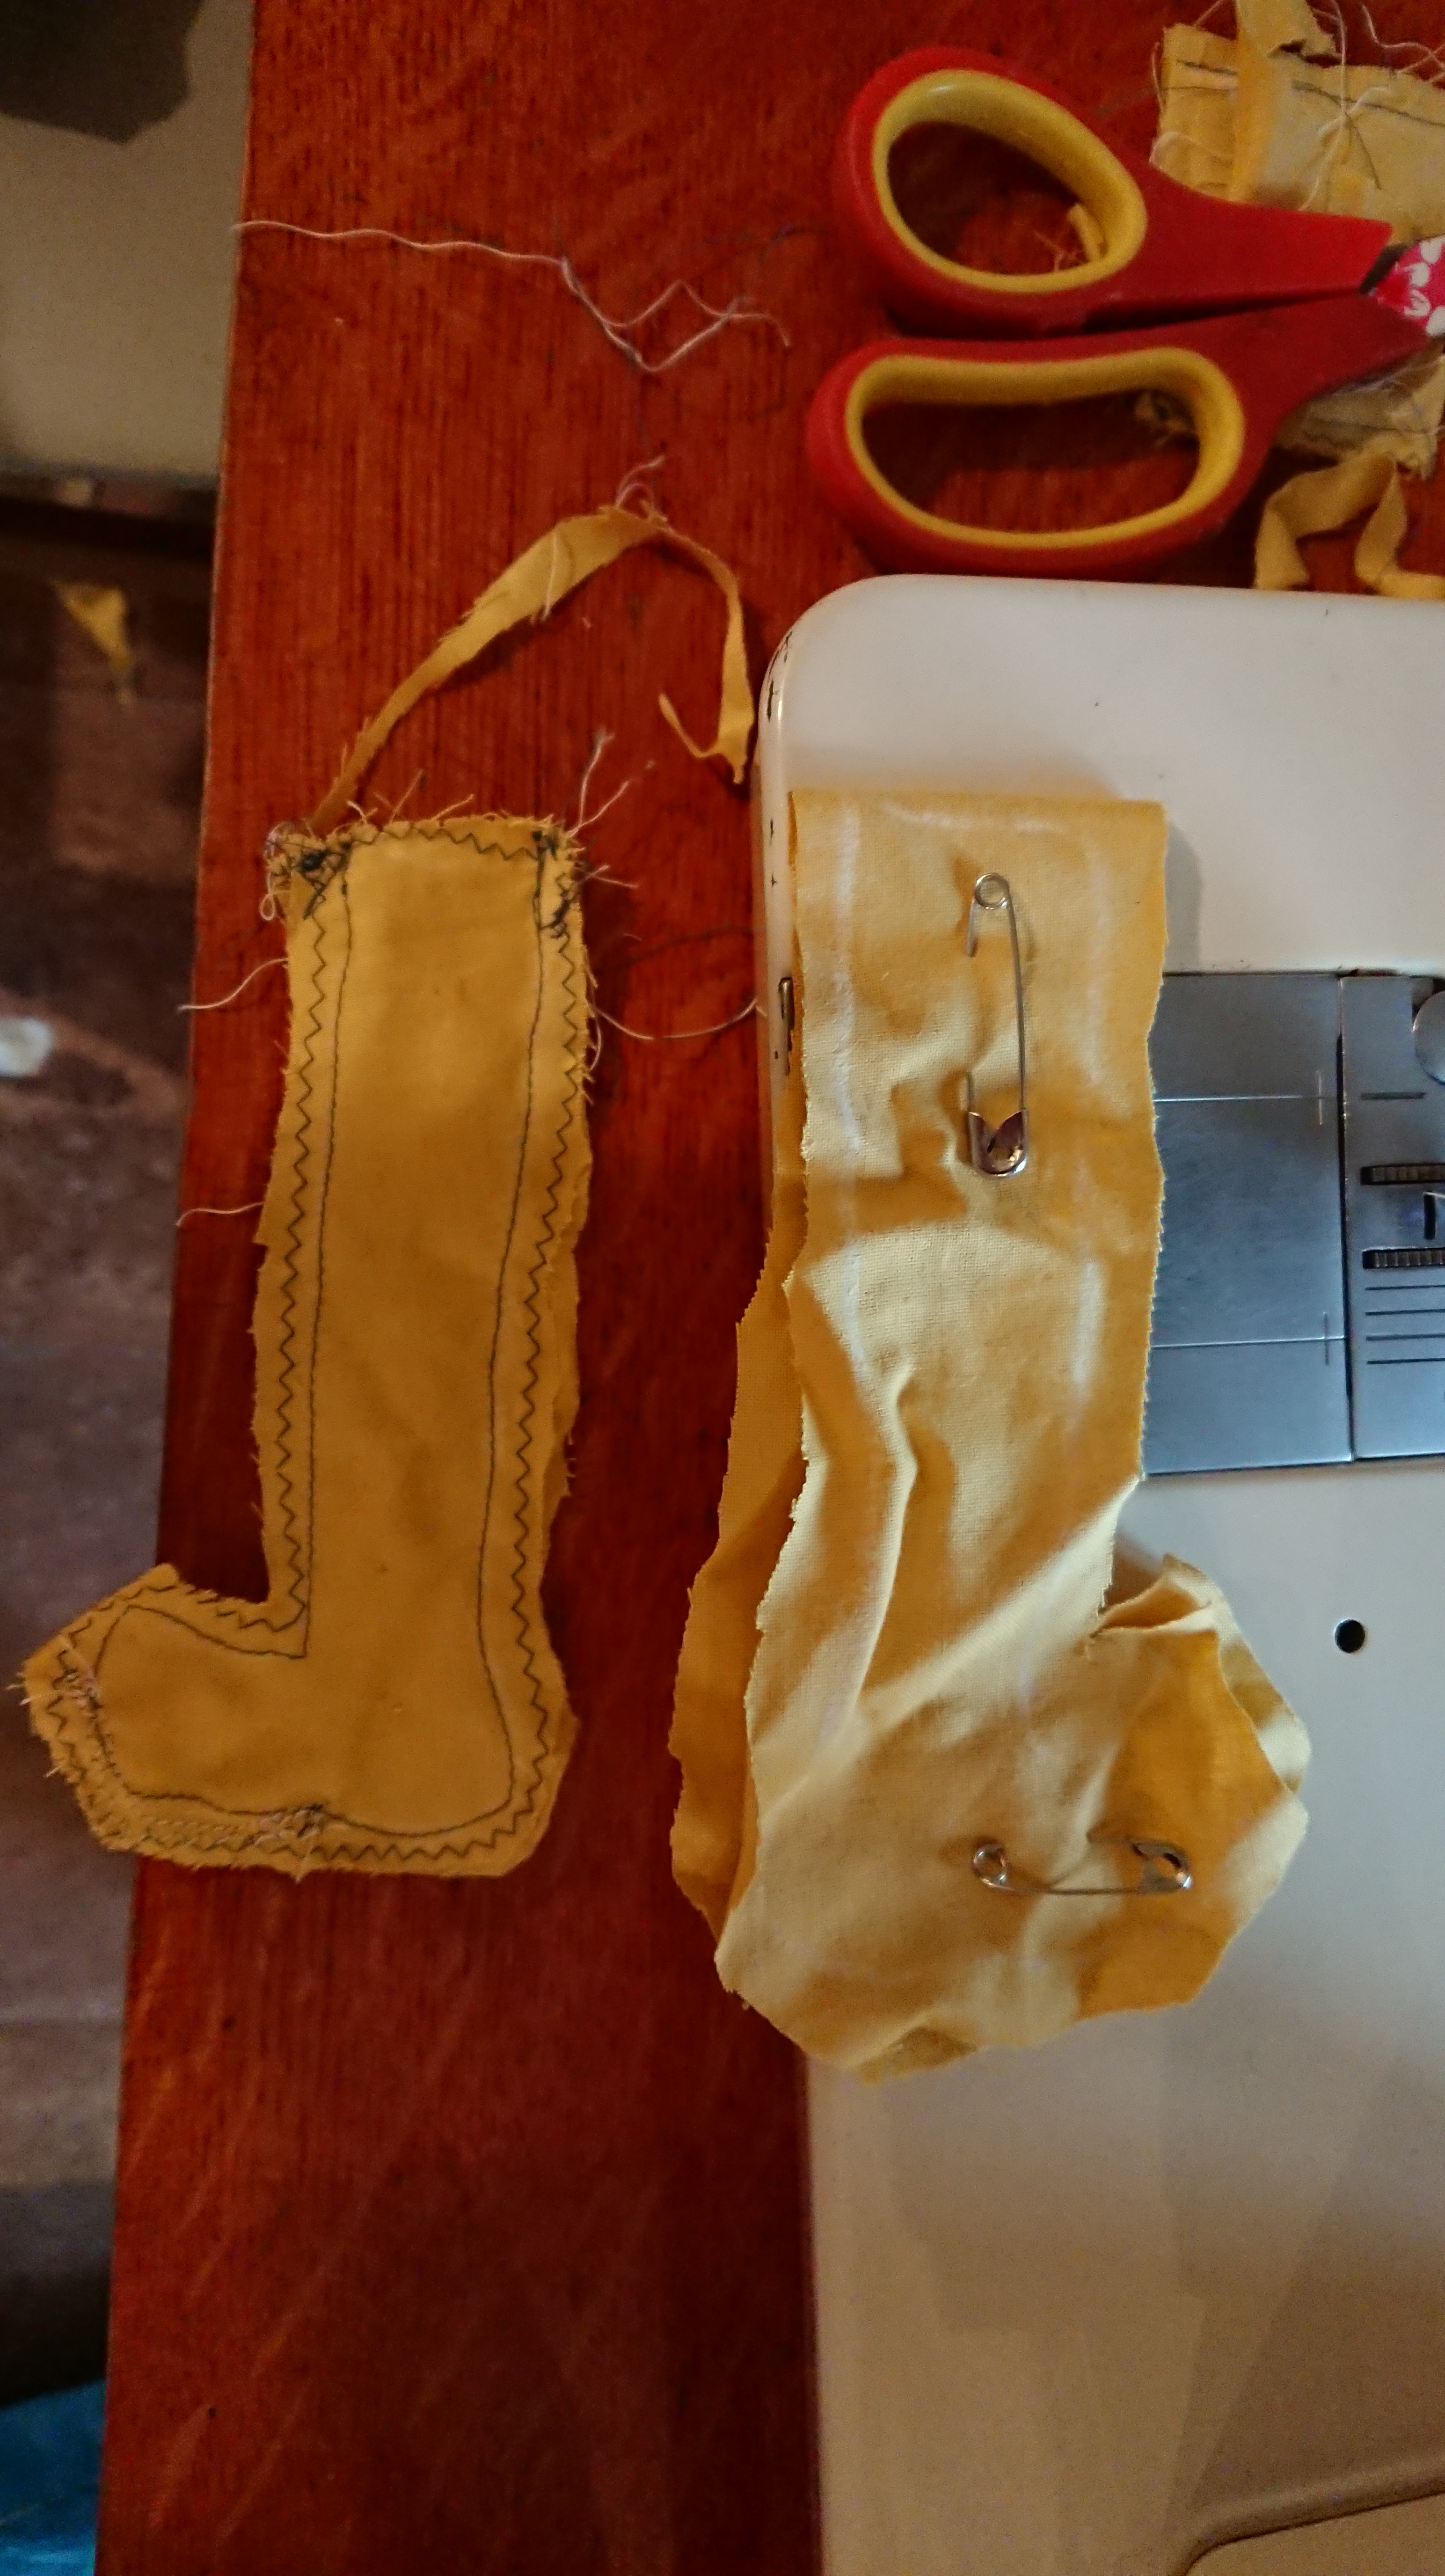
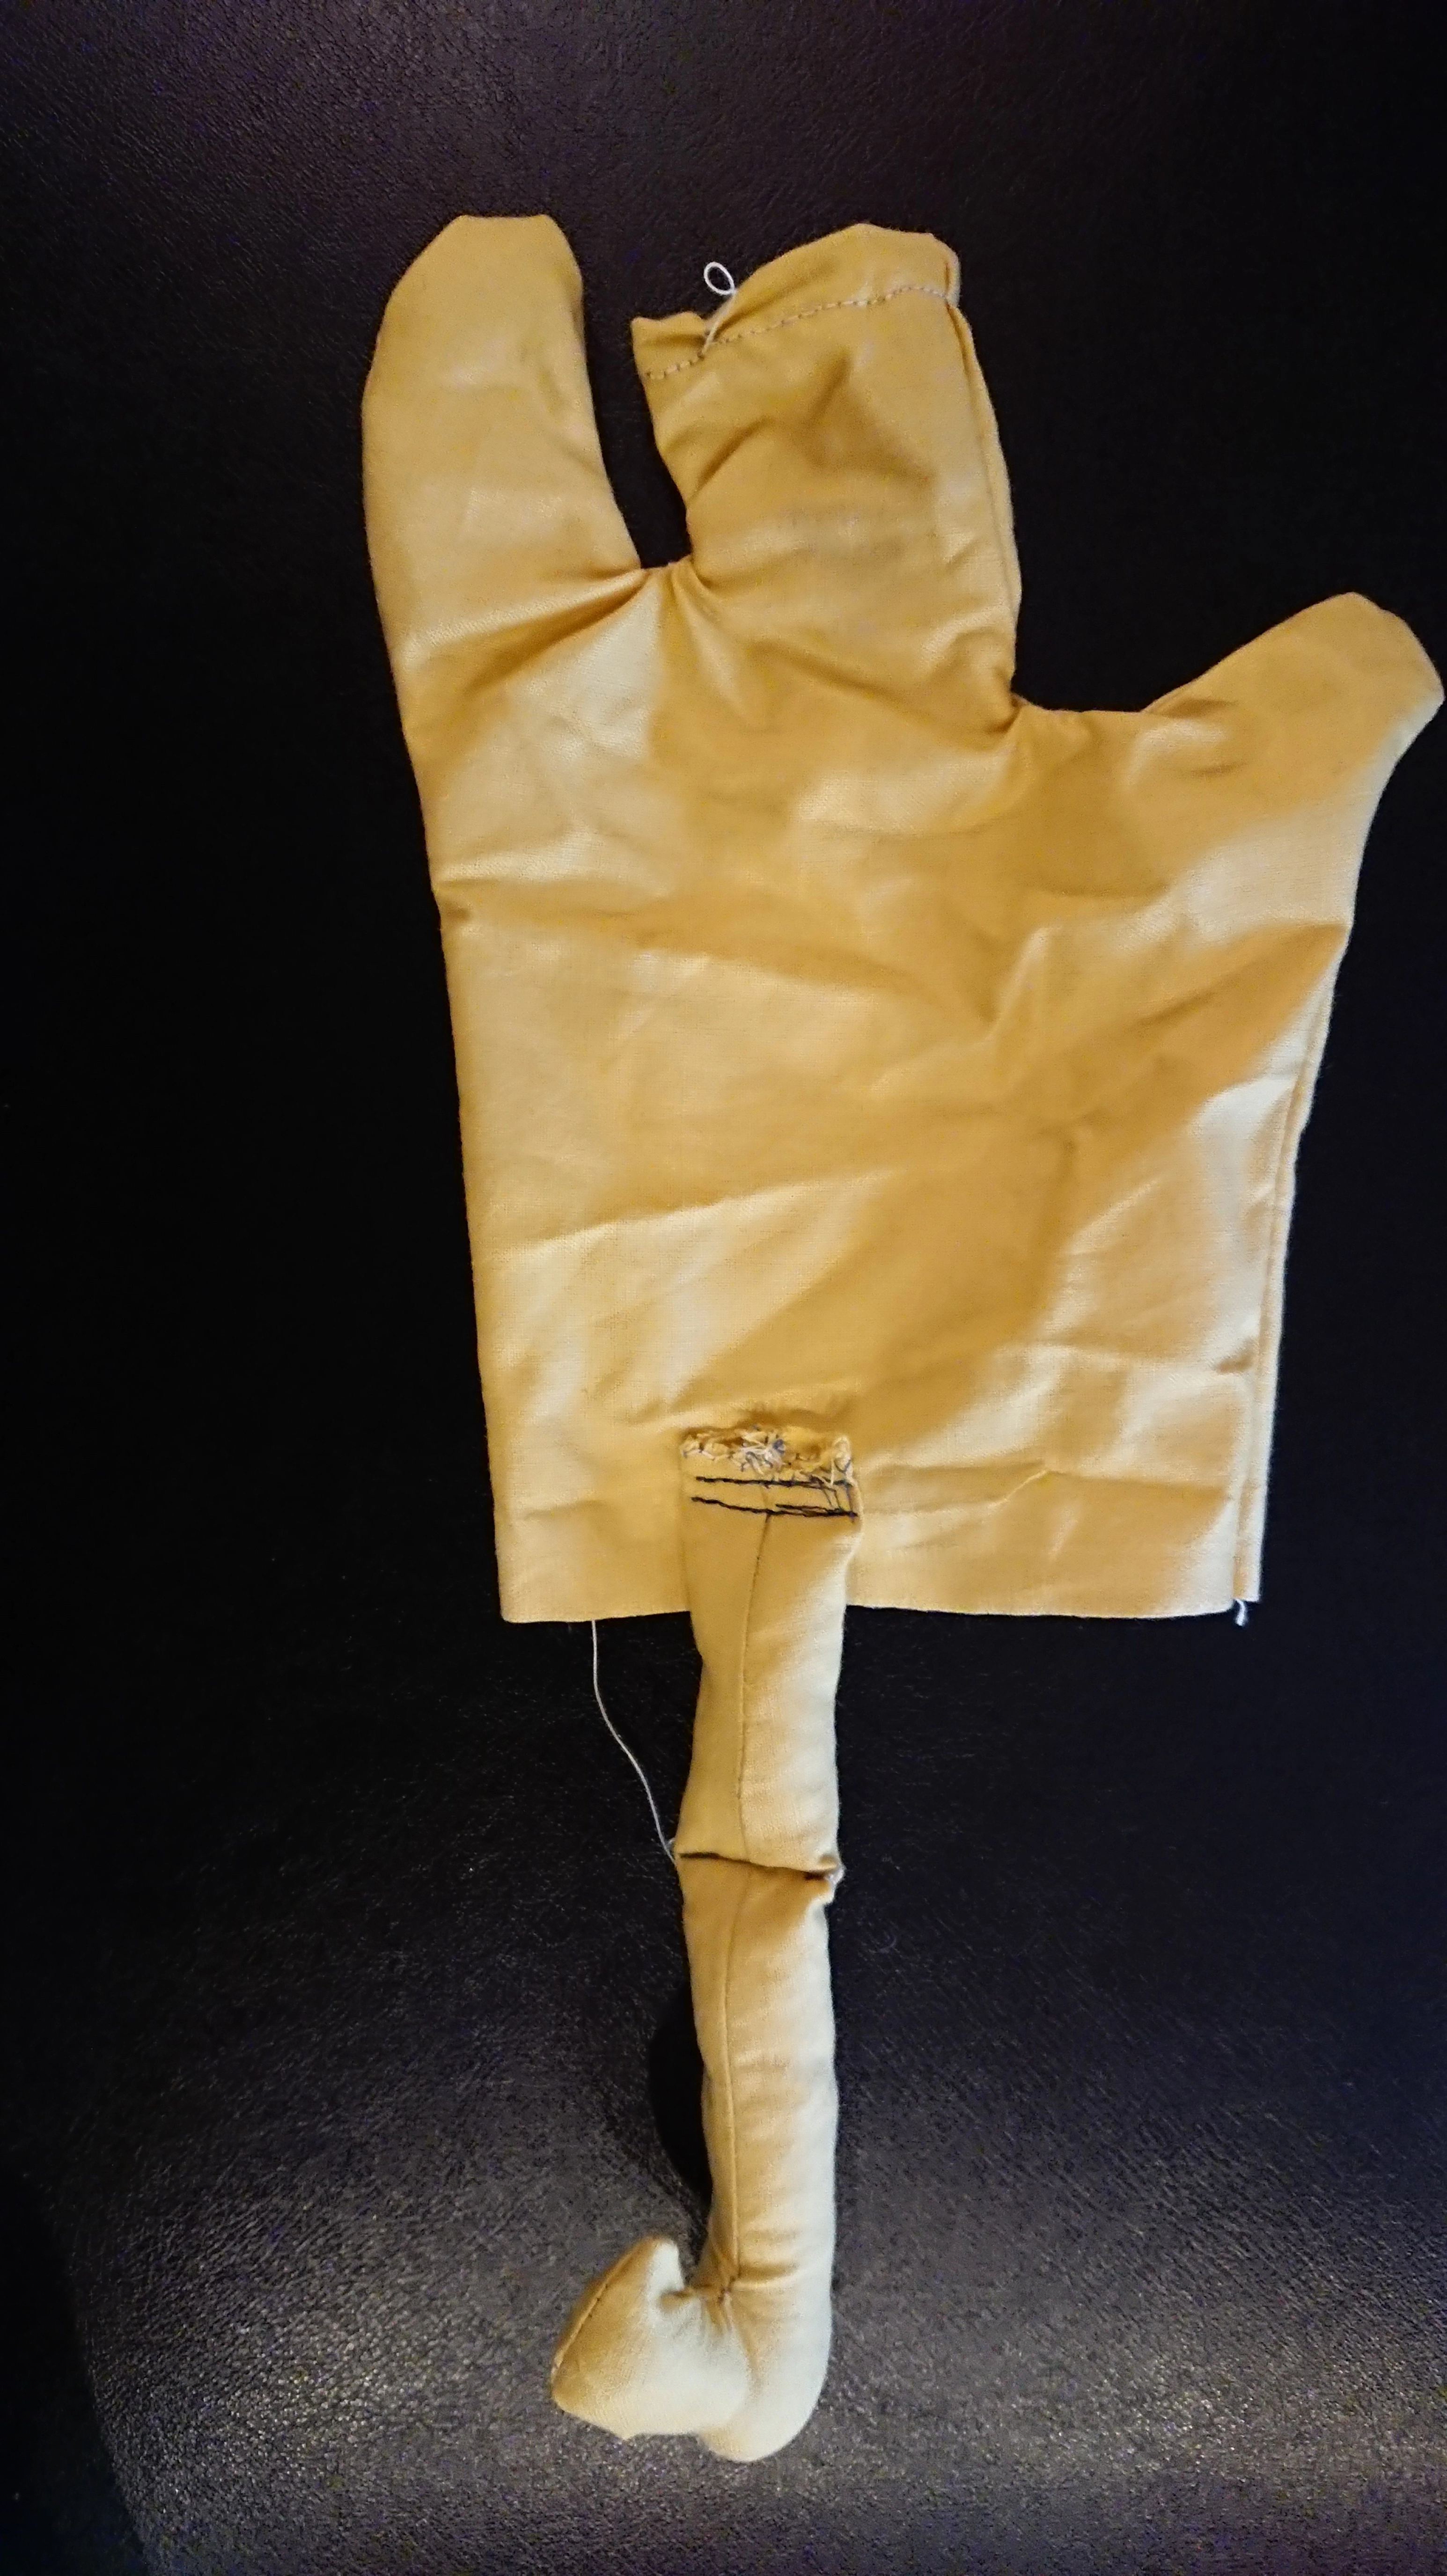
As you can see from the captions above I had a few false starts. I intended to make the neck of the body the width of the widest point of the cone shape at the bottom of the head and then to use a gathering stitch to pull in the fabric at the top to the width of the narrowest part of the cone to fix it in place.

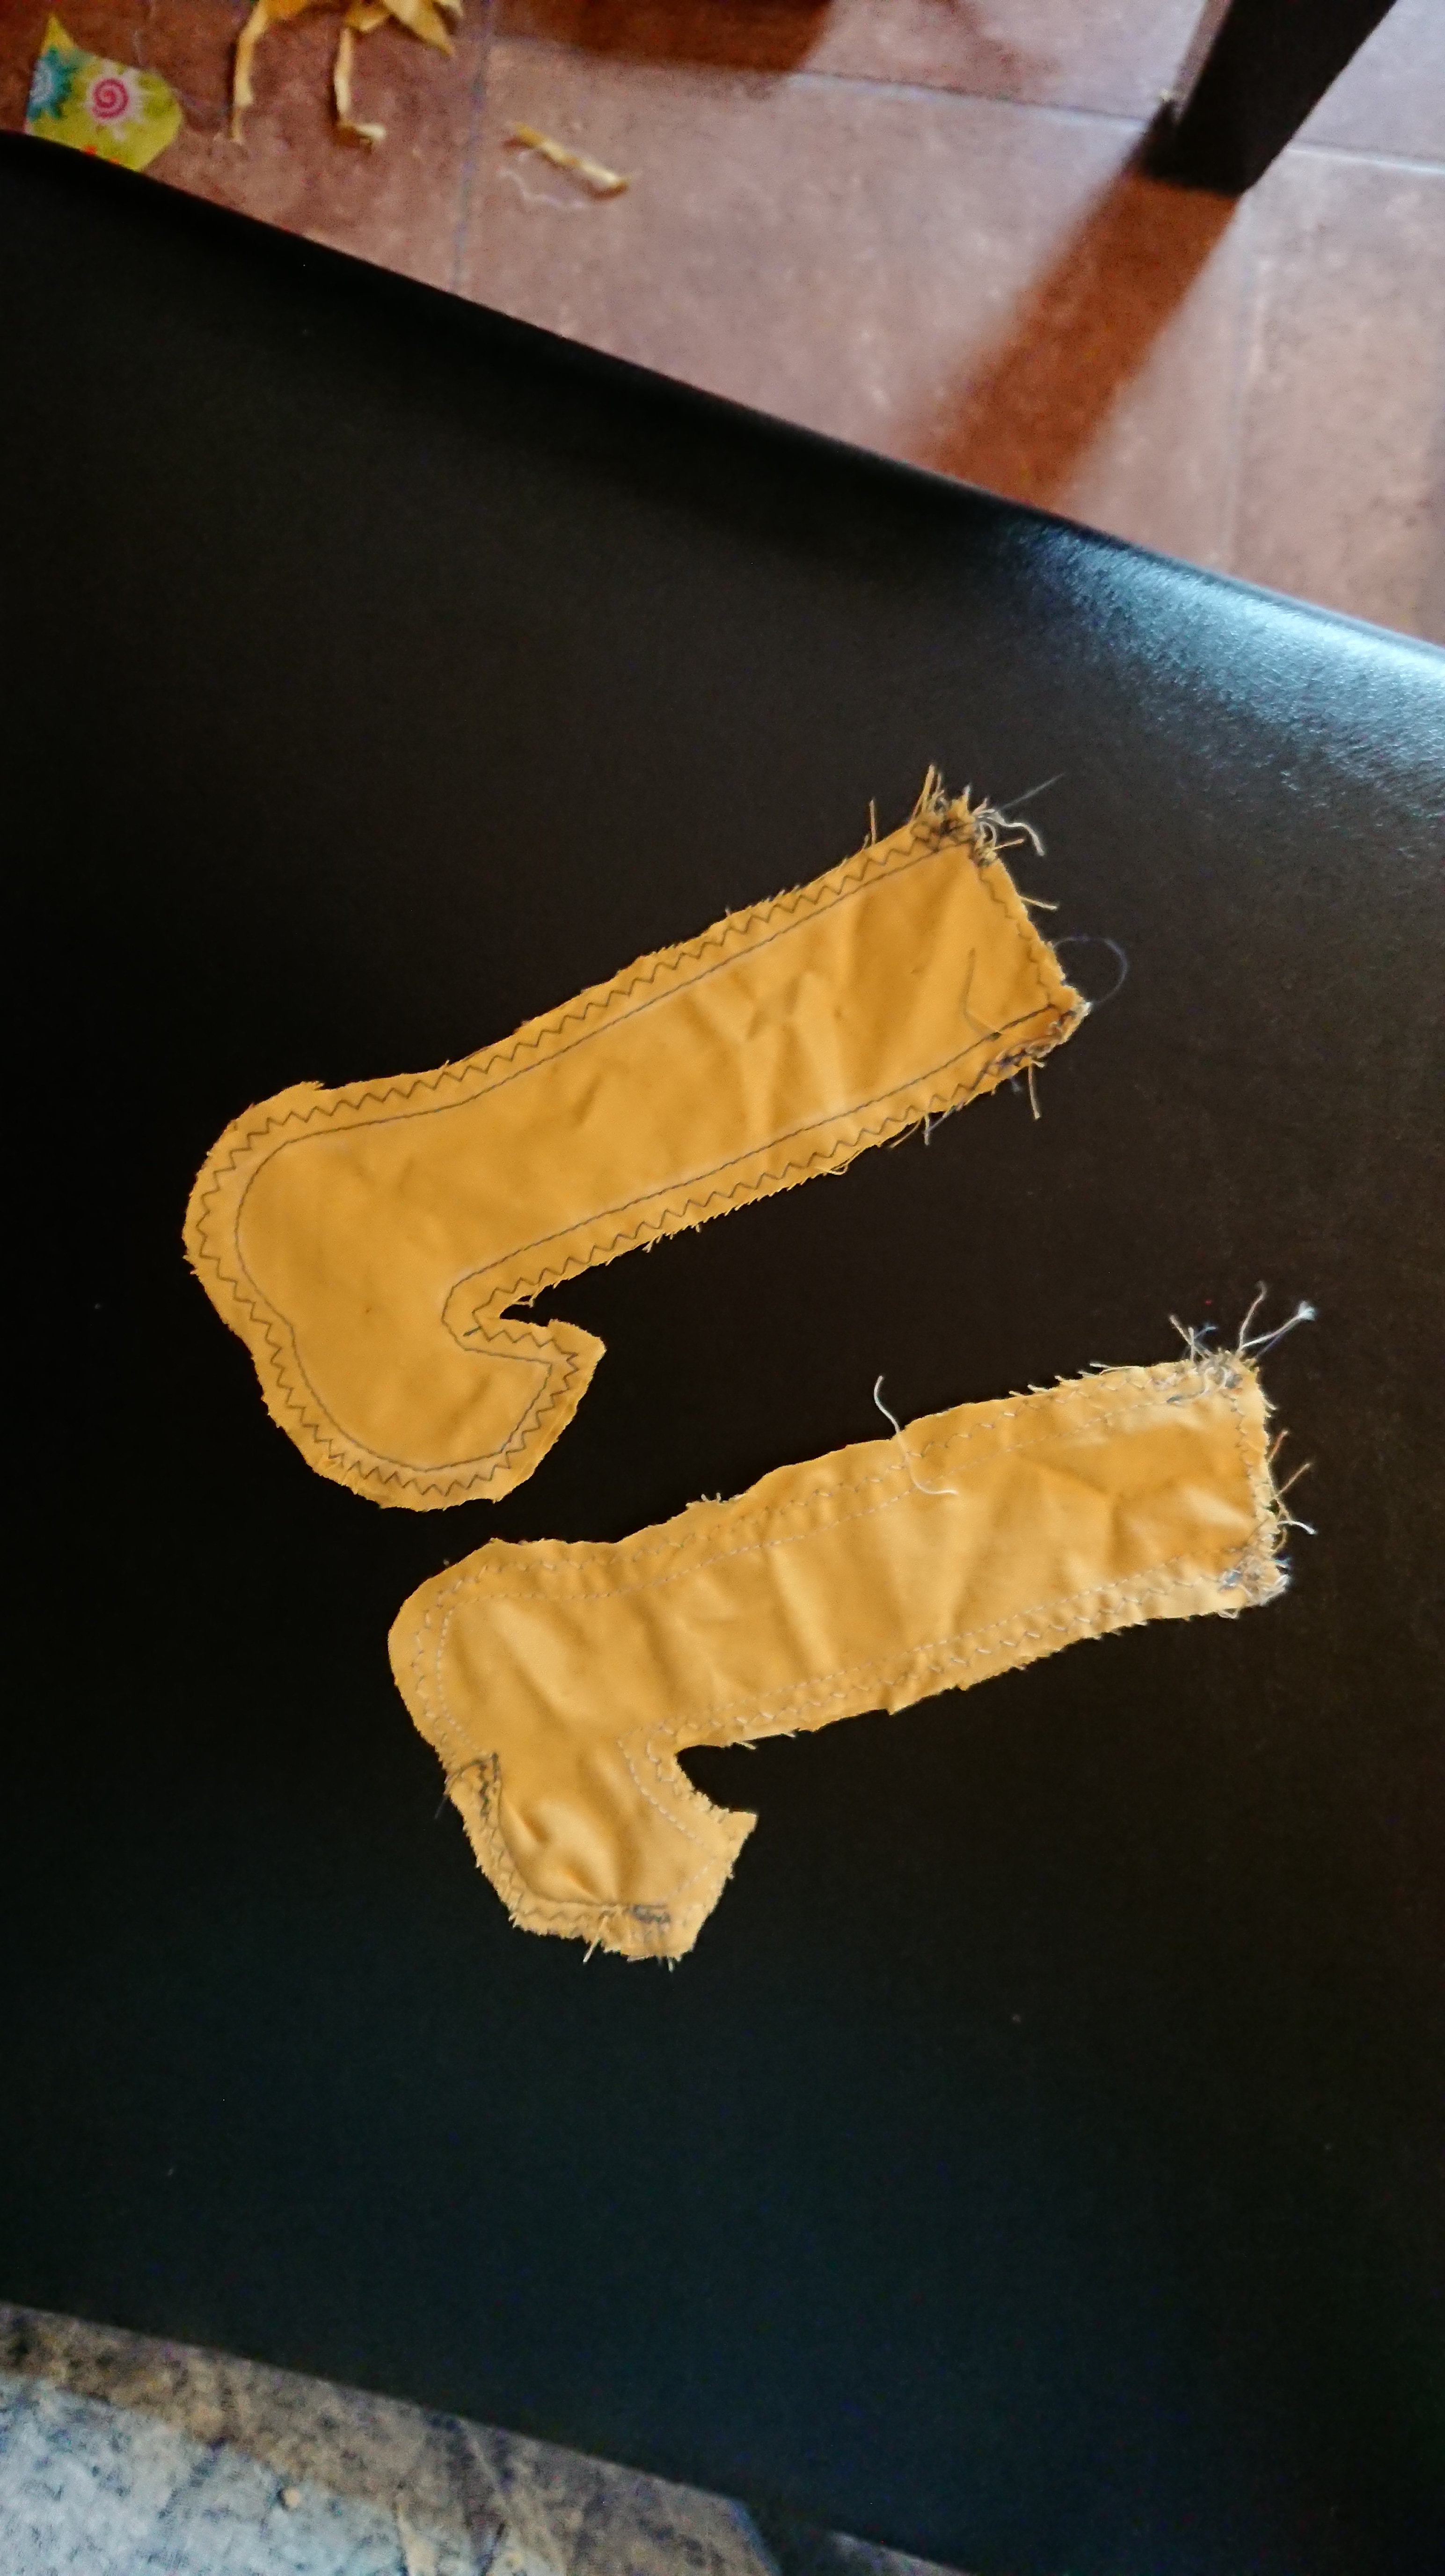
This didn’t quite work out as I intended as the neck turned out to be narrower than I wanted it to be. I am not a very practiced sewer, so all these errors were to be expected. I have, however, been learning a great deal about making glove puppets.

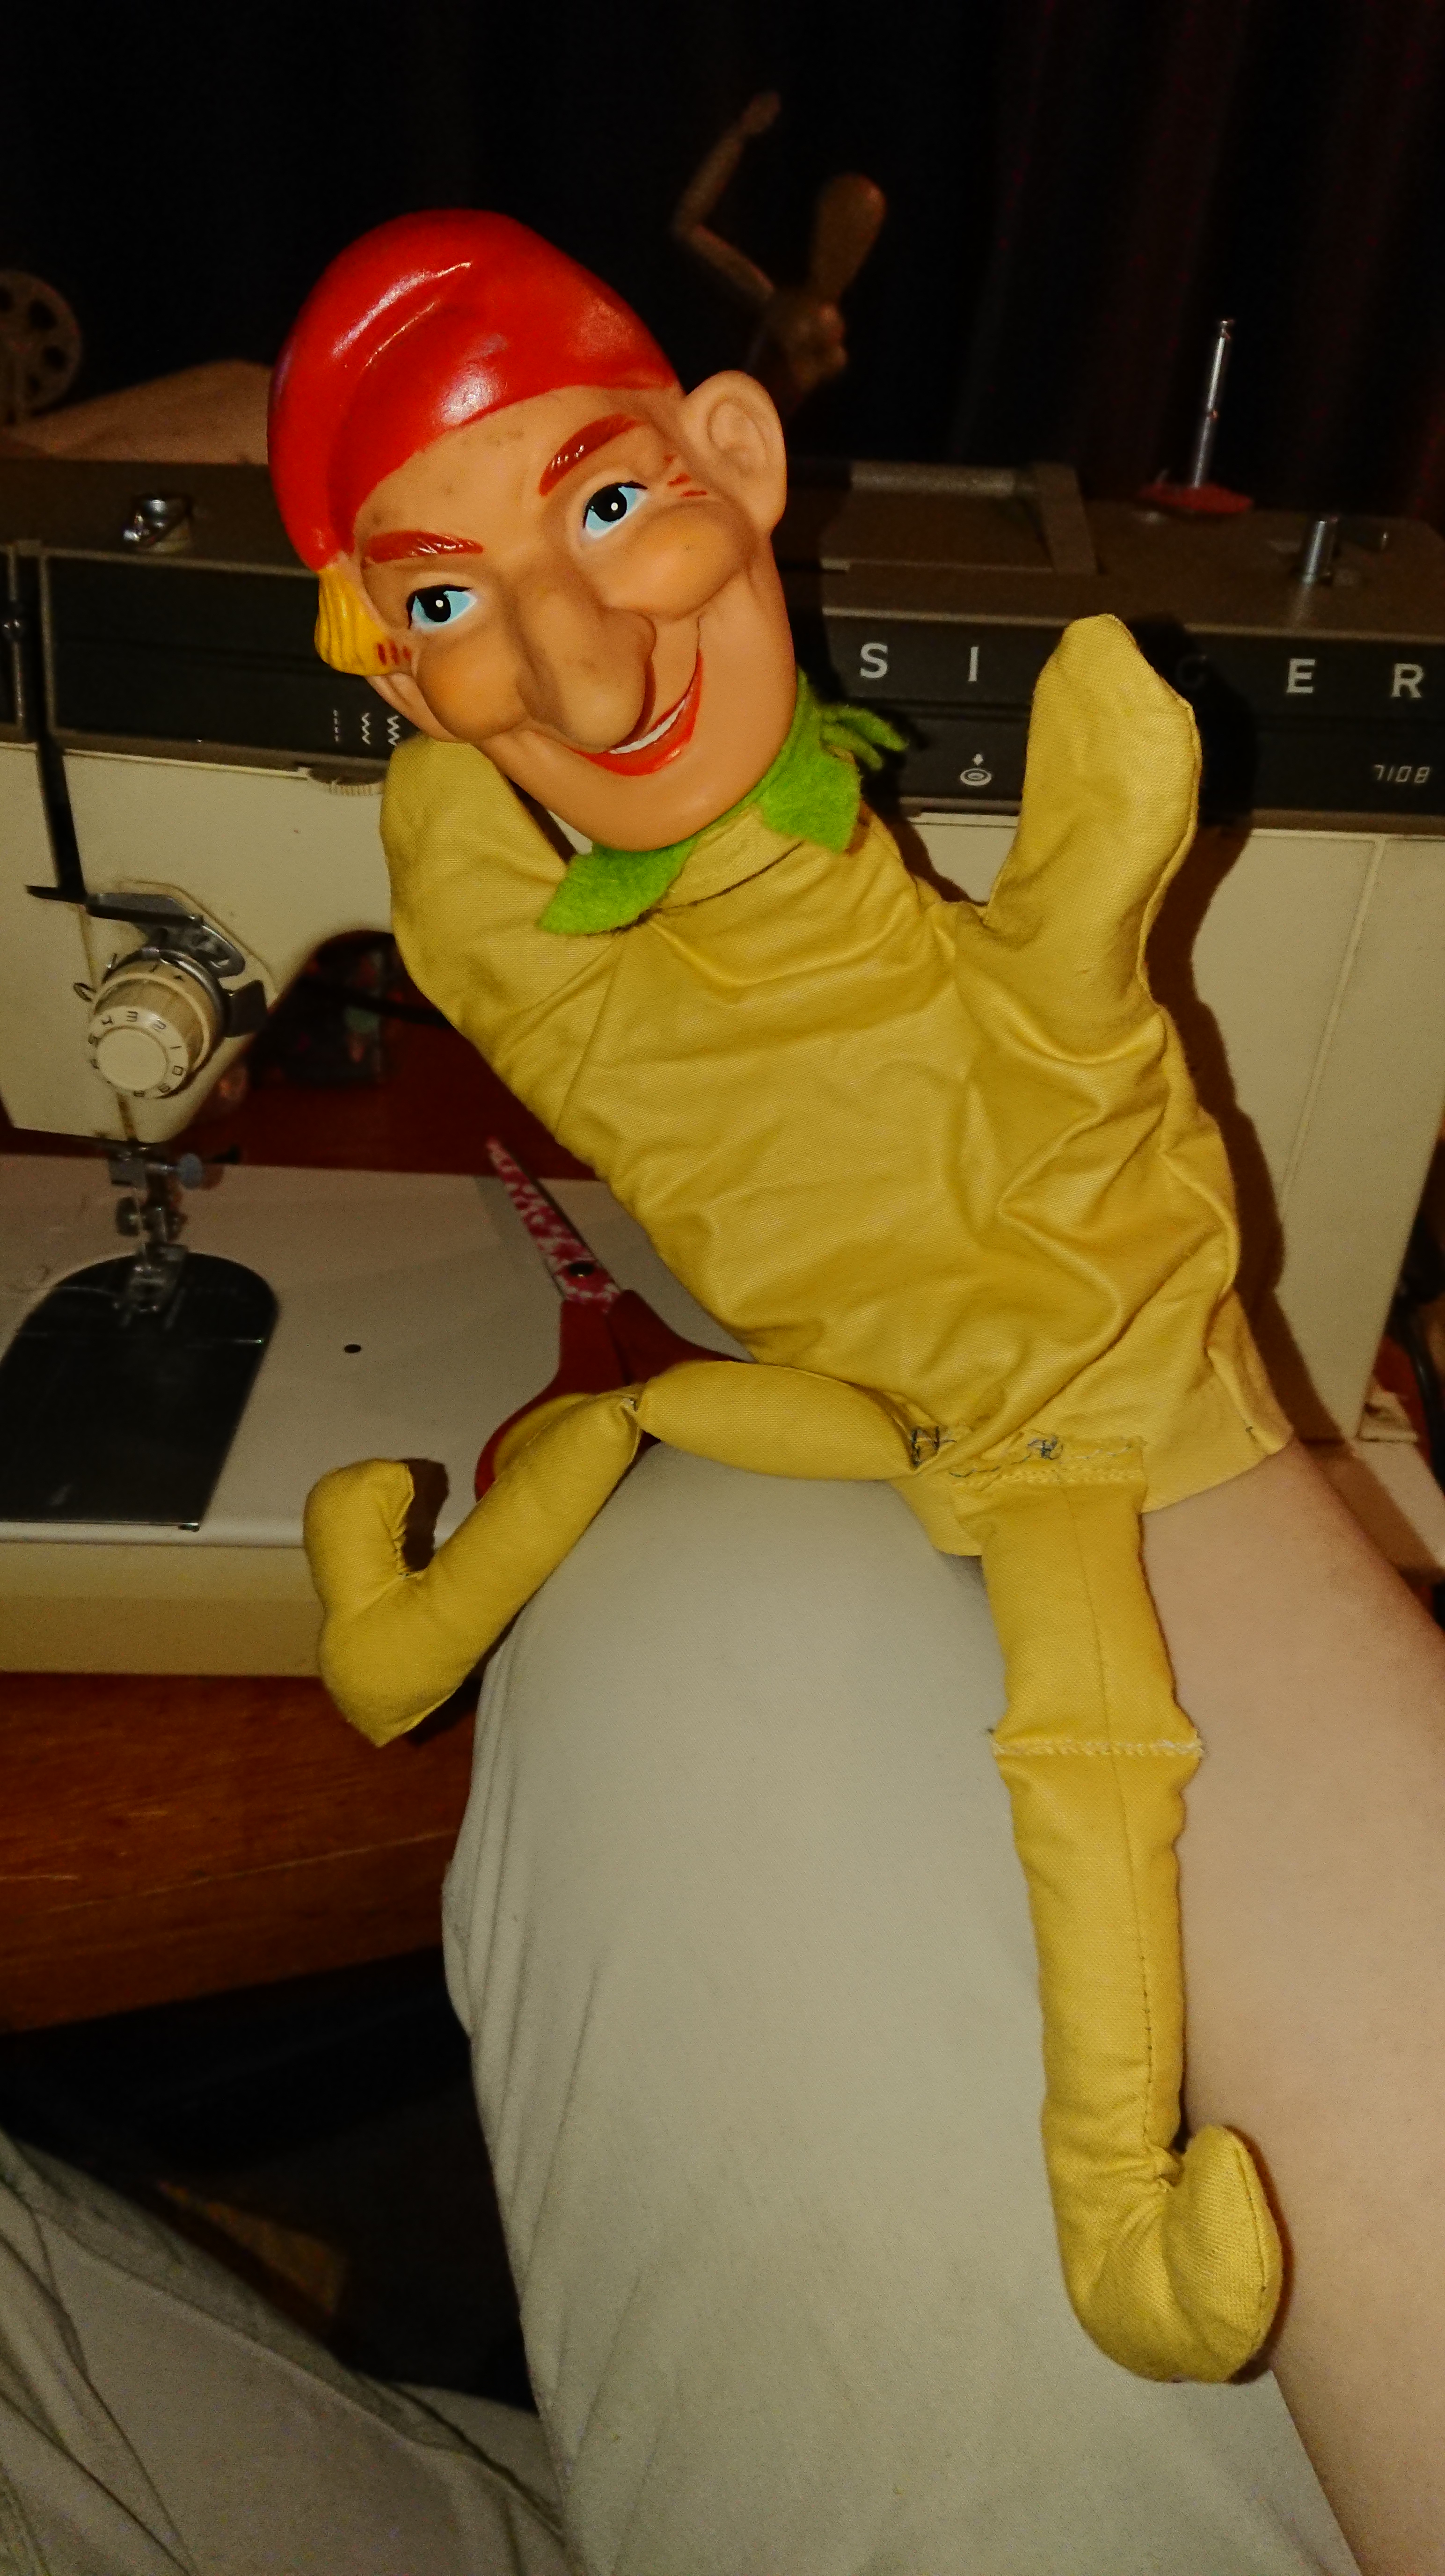
I didn’t want to remake the body a third time and thought I would try and get away with it by squashing the neck through the opening, (this was possible because of the material it is made of and wouldn’t have worked with a rigid material like wood or papier mache). It was a great deal of faffing around to get it in and the stitching is straining somewhat but I am happy enough with it.

As you can probably tell, it isn’t finished yet. I shall be adding hands, clothes and trimmings to it. I may or may not add a longer sleeve to hide the arm, it depends what we decide to use it for. I have to admit, however, that I am seriously considering keeping it for me rather than letting the kids have it 😉.

Watch this space for further updates/developments on the build! If anyone knows of a good way to get rid of the marks on his face, let me know. I could try repainting it but I’m not sure which paint I would use and if it would be better to leave it alone. Please leave a comment if you have any questions or suggestions!

P.S. Black Friday Sale in the merch shop 30% off everything, today only! CLICK HERE to browse and grab a bargain.

Shadow Shows and Workshops in Schools!

Earlier this year I visited Bramham and Shadwell primary schools in Leeds.

I was invited to inspire the kids who had been making their own puppets in class.

They were treated to a triple bill of short shadow puppet shows (“Jabberwocky!“, “Edward Lear’s Nonsense” and “The Interrupted Wedding“) followed by Q & A about the shows and the puppets and my life as a puppeteer.

Alice Bunraku style puppet

I also brought a variety of different puppet types for them to see and explain how they worked and what countries in the world they came from. As the children had been making glove puppets I mainly showed them some different kinds of glove puppets and we talked about the different hand positions you can use when operating glove/hand puppets and I also brought my Alice Bunraku style puppet to show them as it is probably the most interesting puppet I own. The kids always love seeing how the head goes on and off and has a wig made from my own hair.

The children were all very engaged and had lots of interesting questions. They seemed very inspired by the puppets and loved the music in the “Jabberwocky!” show.

All the teachers were very helpful and welcoming at both schools, so a big THANK-YOU to them.

Later in the year I visited Bishop Rawstorne C of E High School in Croston for their special Chinese cultural day. The Year 7s and 8s were celebrating many different aspects of Chinese culture and there were lots of different people running many different workshops including lion dancing, calligraphy, cookery etc. and I was employed to perform one of my shadow puppet shows and run a Chinese style shadow puppetry workshop.

As time was limited I opted to make simplified versions of traditional Chinese puppets by concentrating just on silhouette style puppets rather then translucent ones with colour.

I made a series of templates for the children to use based on the 12 animals in the Chinese Zodiac story and as there was very little/no time to actually rehearse with the puppets and the school were very keen to have the children perform a show I thought this story would be a good choice as they could parade their puppets from one side of the screen to the other to show the animals crossing the river and everyone who wanted to would get a chance to perform.

Below is the process of me making the prototype for the tiger puppet based on one from the V&A museum collection. The Victoria and Albert Museum have a very large puppet collection and the costume section is definitely worth a visit too, (CLICK HERE for my previous blog post on a visit to the V&A)

I did a lot of research on Chinese puppetry and puppets in preparation and discovered how much more there is to traditional Chinese puppetry than I realised. There is not just one Chinese shadow puppetry tradition but several different ones from different parts of China each with its own artistic style and construction methods. I also found out that Chinese Shadow Puppetry is on the UNESCO list of Intangible Cultural Heritage of Humanity, (CLICK HERE to find out more).

I searched for pictures of traditional Chinese shadow puppets and recreated my own simplified versions and in the process discovered lots of interesting things about the way the puppets were jointed. I found a picture of a Chinese Lion puppet (I know it’s not a Zodiac animal, but I did extra lions and dragons so that there would be enough puppets for all the children) and when I recreated my own version was astounded at how well it moved and in particular the fact that you could get such a huge variety of movements using just one stick on the lion’s head and one on its tail. It made me realise that when you see a picture of a Chinese shadow puppet, you are only getting a small appreciation of what it is like compared to seeing it perform, because so much of what is brilliant about them comes from the jointing and the way they move.

The traditional puppets were made so that one puppeteer is able to operate several puppets at the same time, sometimes with more than one in each hand!

If you would like me to visit your school for a performance or a workshop CLICK HERE to get in touch. You can find out about the different types of workshops we offer on our website by clicking HERE.

We will be starting to design and sell templates for shadow puppets that you can print out for yourself at home. I was thinking of basing them around traditional fairy tales. If you have any suggestions of templates you would like to see, please reply to this post with your ideas 🙂